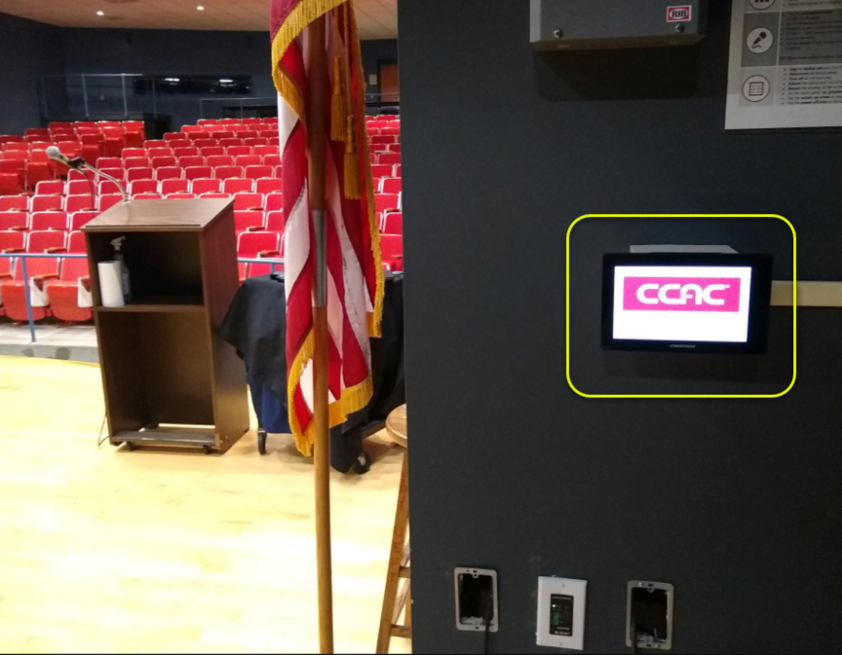
For help utilizing the technology within the Boyce Campus Auditorium. Please note that these instructions are only for Quick Set mode, which is designed for self-service. If you require the use of full system mode, please contact the ITS ServiceDesk to schedule a support call.
Power & Setup
Turning on Equipment
- Locate the touch panel on the stage, behind the curtain
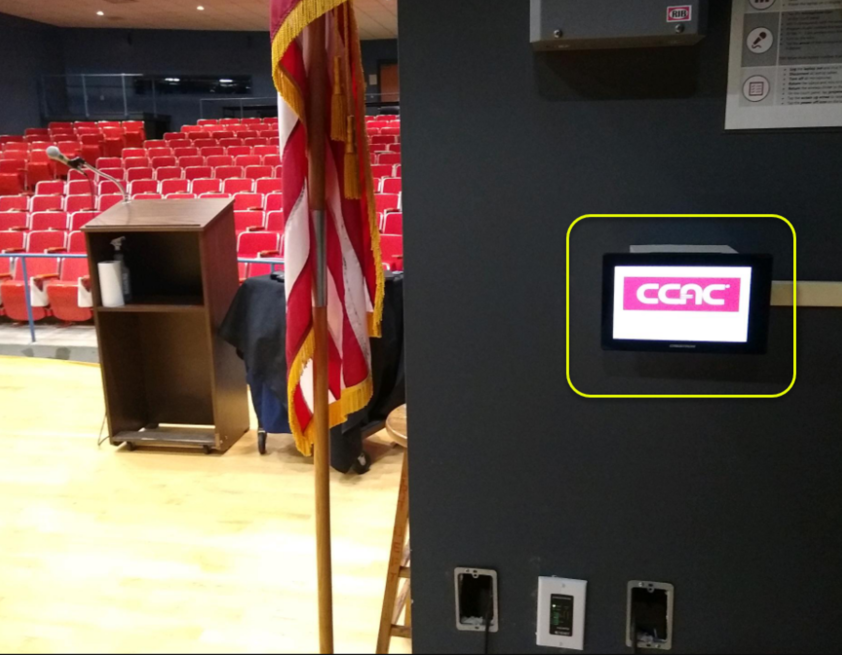
- If the system doesn't awake, tap the screen
- Press the logo to start the system

- The system will begin turning on
- Select the blue “Quick Set Mode” option
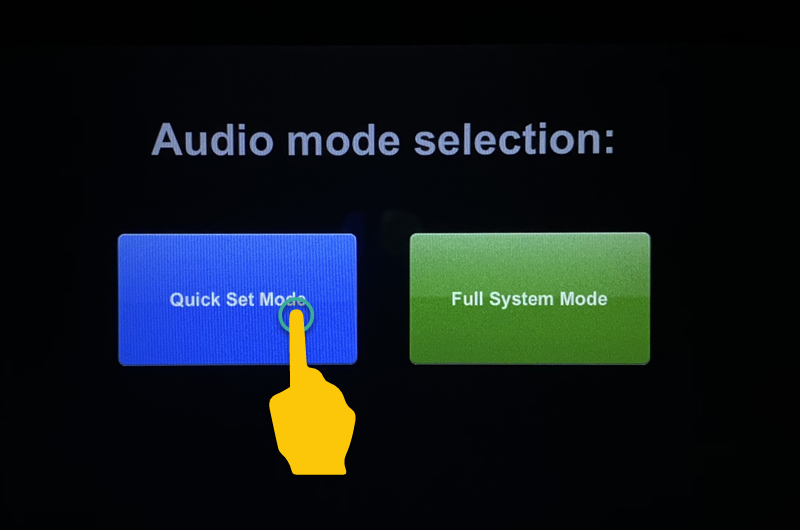
- The following options appear
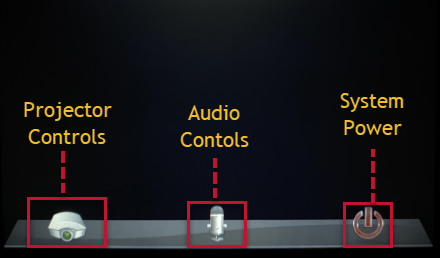
Turning off Equipment
- Locate the touch panel
- If the system doesn't awake, tap the screen
- Tap the red power button in the bottom right of the screen
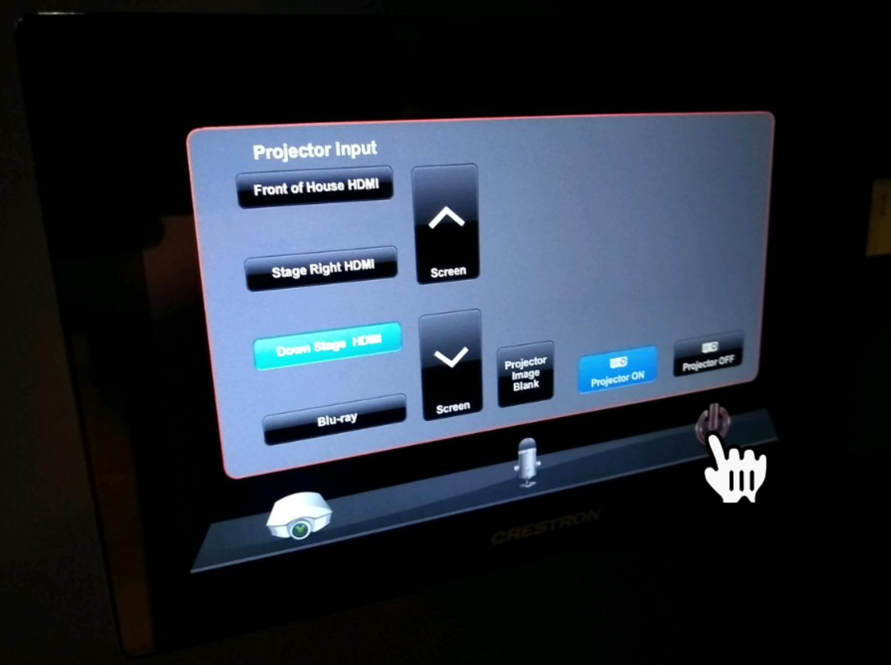
- Confirm you want to shut down by clicking the Yes button
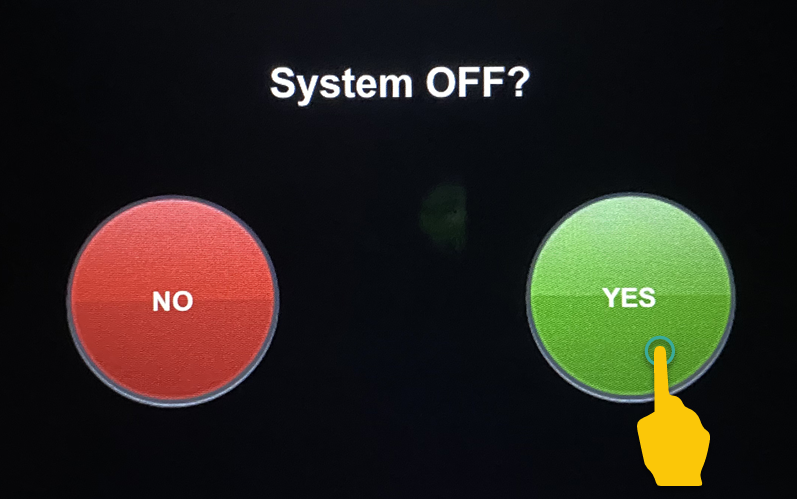
- The system will begin shutting down. This will shut down the projector and ensure the screen returns to the upright position
Video
Connect to Lectern Input
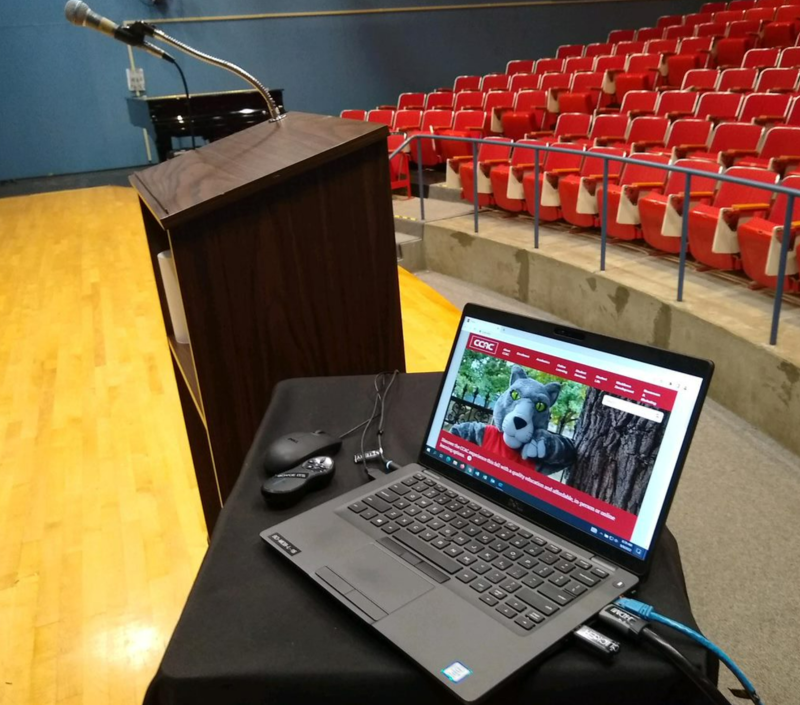
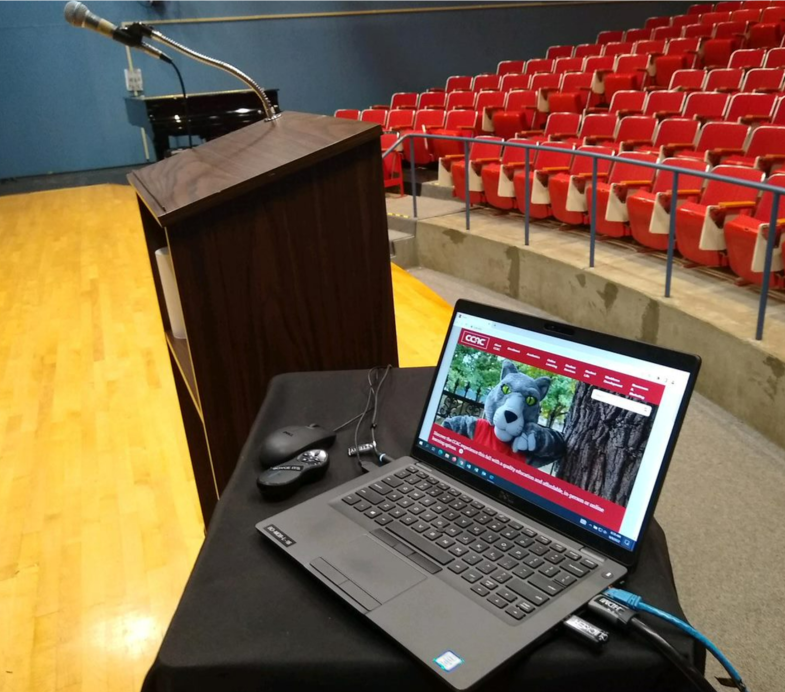
- Connect your laptop as pictured
- If you are using a CCAC computer, plug HDMI cable and network cable in to your CCAC laptop
- If you are a guest of the college, plug only the HDMI cable into your laptop
Turning on Projector
- Press the projector button
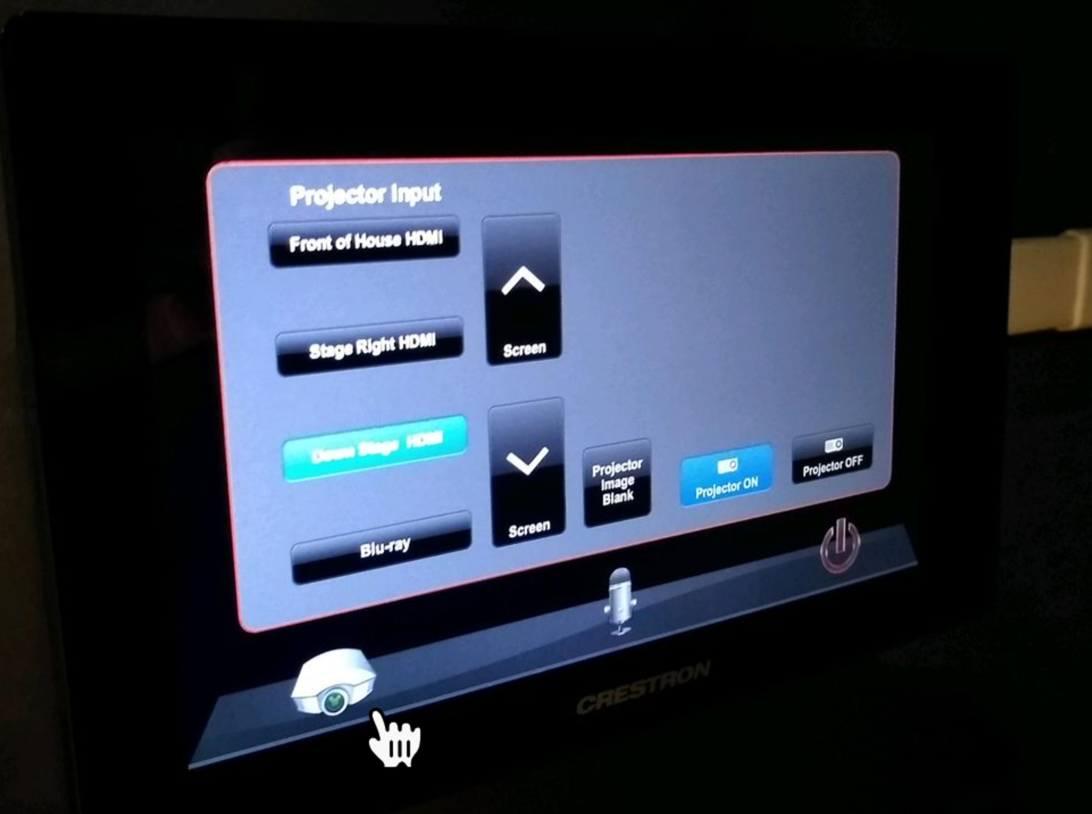
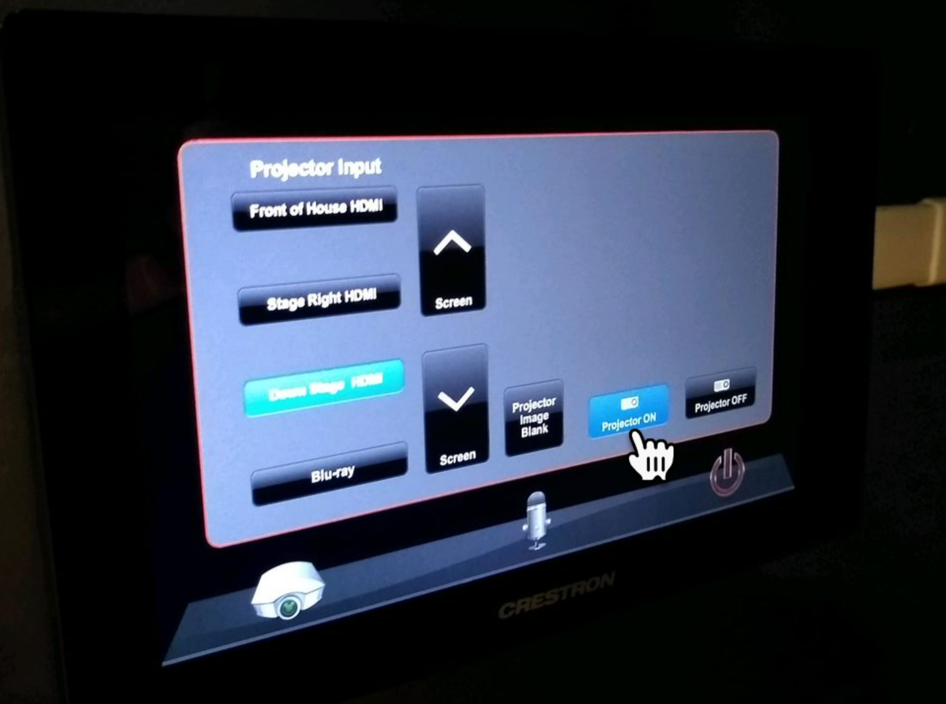
- Press the Projector on button
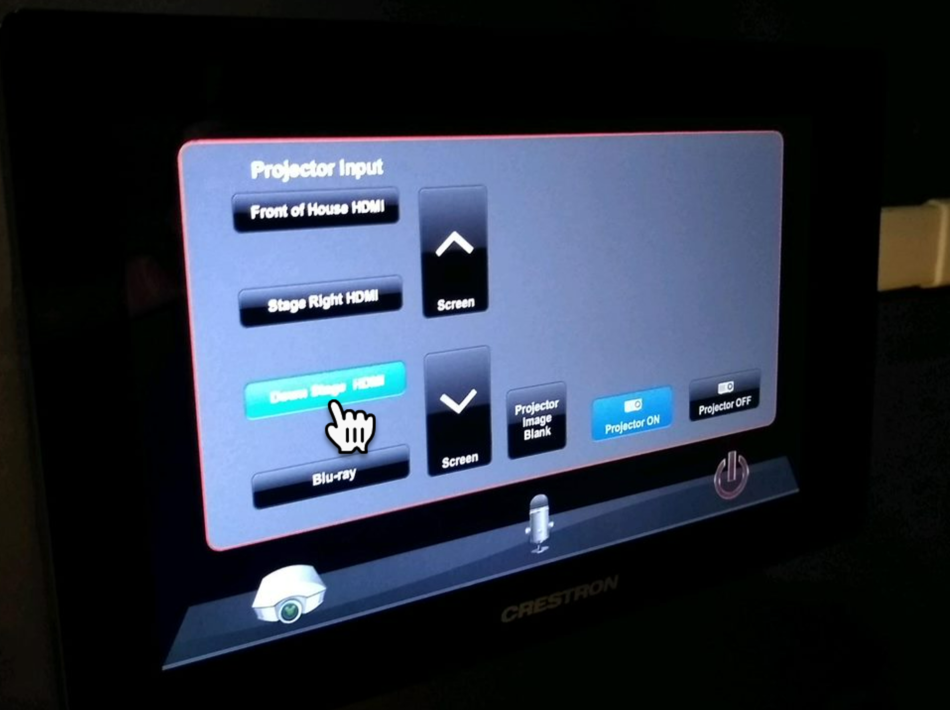
- Press the Down Stage HDMI button
- If you need to lower or raise the screen, press the screen buttons
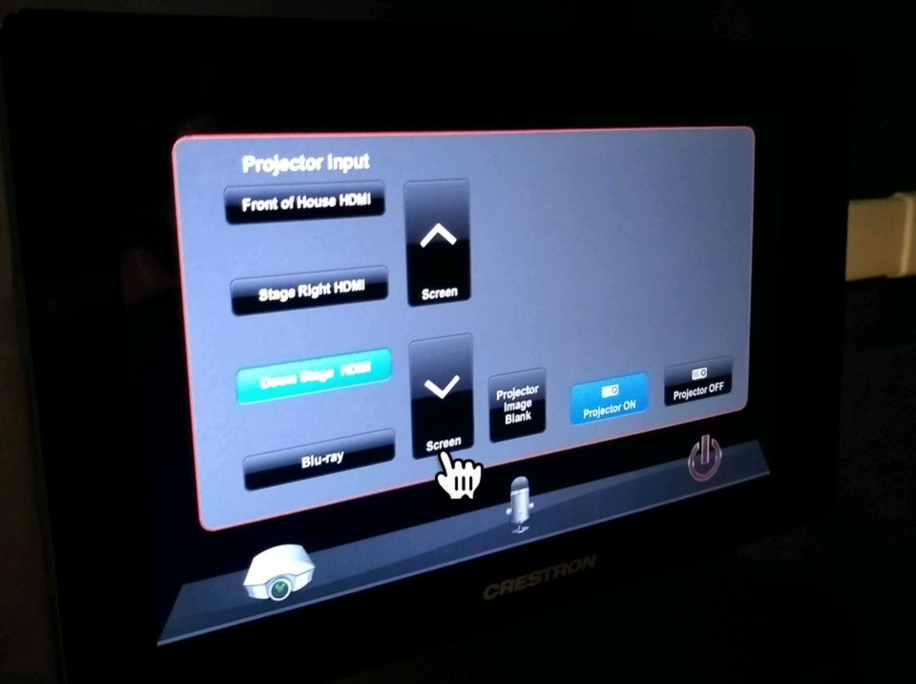
- Note that “Projector Image Blank” will black out the projector screen, but leaves it on
- Note that all other “Projector Input” options are for ITS use only at this time
Audio
Adjusting Volume - Microphones
- Press the microphone icon. You will see the following options
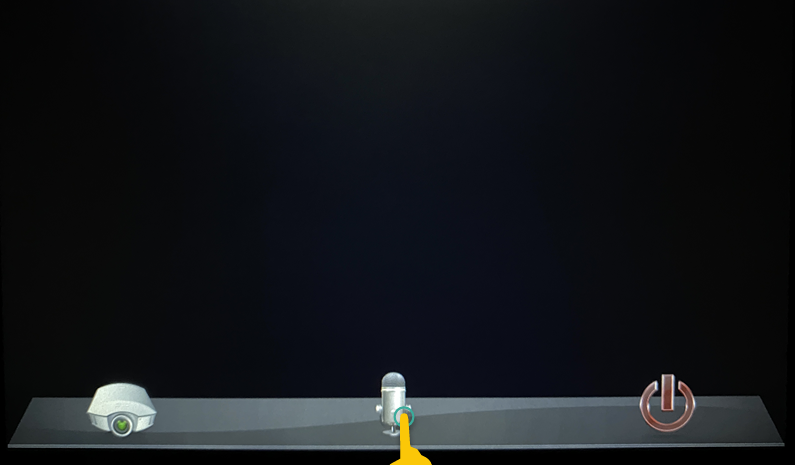
- RF Mic 1 & RF Mic 2 control the handheld microphones
- Mic 5 controls the microphone on the lectern.
- Program Audio controls the volume from your laptop
- Choose the △ button to make the volume louder
- Choose the ▽ button to make the volume softer
- Choose the Mute button to mute the sound
- Note that all other options are for full-service mode
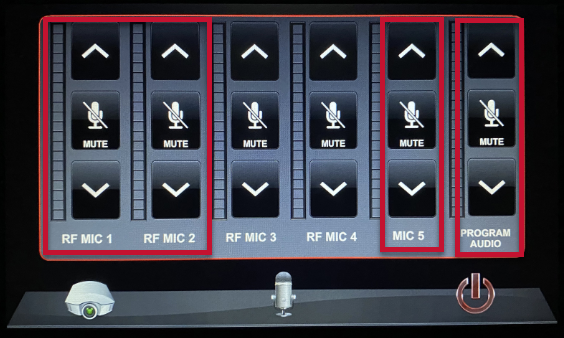
Audio Control Button
- Here is where you can adjust the individual volume of each input, this will include the HDMI input and Microphones
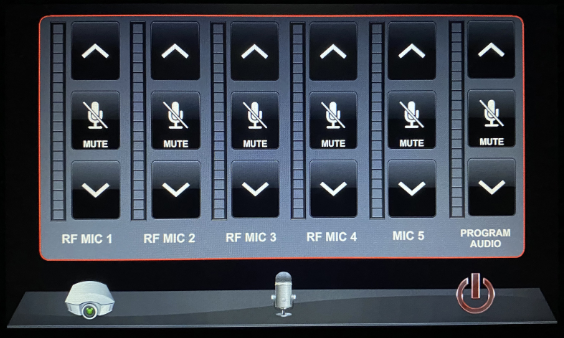
Equipment List
Equipment Information
Lectern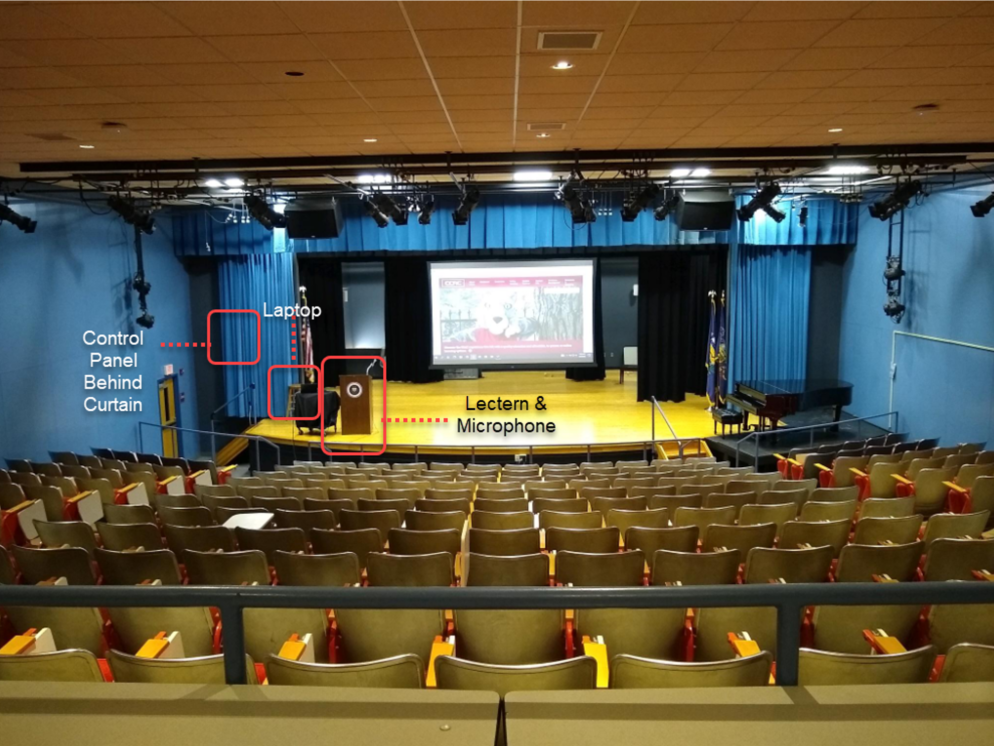
Location
- Both located on the stage
Features
- Lectern Microphone always plugged in
- HDMI Cable available on the side table, ready for use
- Ethernet (Internet/Network) Cable available on the side table, ready for use
Microphones
Location
- Wired Lectern Mic: Located on the lectern for Quick Set Mode only
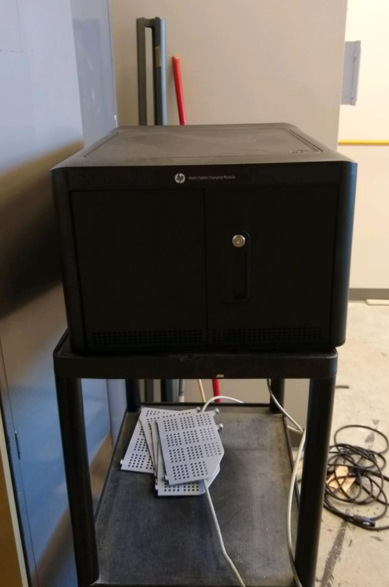
- Wireless handheld microphones are located backstage in an AV box
Features
- 1 Gooseneck Microphone
- 2 Handheld Microphones
Touch Panel
Location
- Left side of the auditorium wall, behind the stage curtain
Features
- Auto awakes
- Allows you to control the projector/video and microphones & input/audio
- Controls to power off the system
