Power and Setup
Turning On Equipment
- Locate the touch panel on the side wall.
- If the system doesn't awake, tap the screen.
- Tap the Start Button
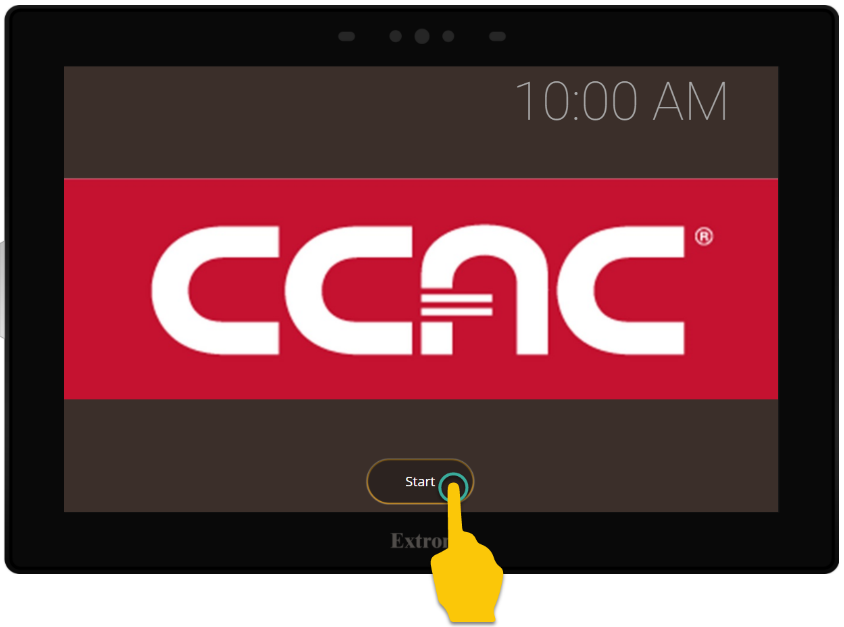
- The system will begin turning on

Turning Off Equipment
- Locate the touch panel.
- If the system doesn't awake, tap the screen.
- Tap the Off button in the bottom right of the screen

- Confirm you want to shut down by clicking the Power Down button

- The system will begin shutting down and will return to the start screen when complete.
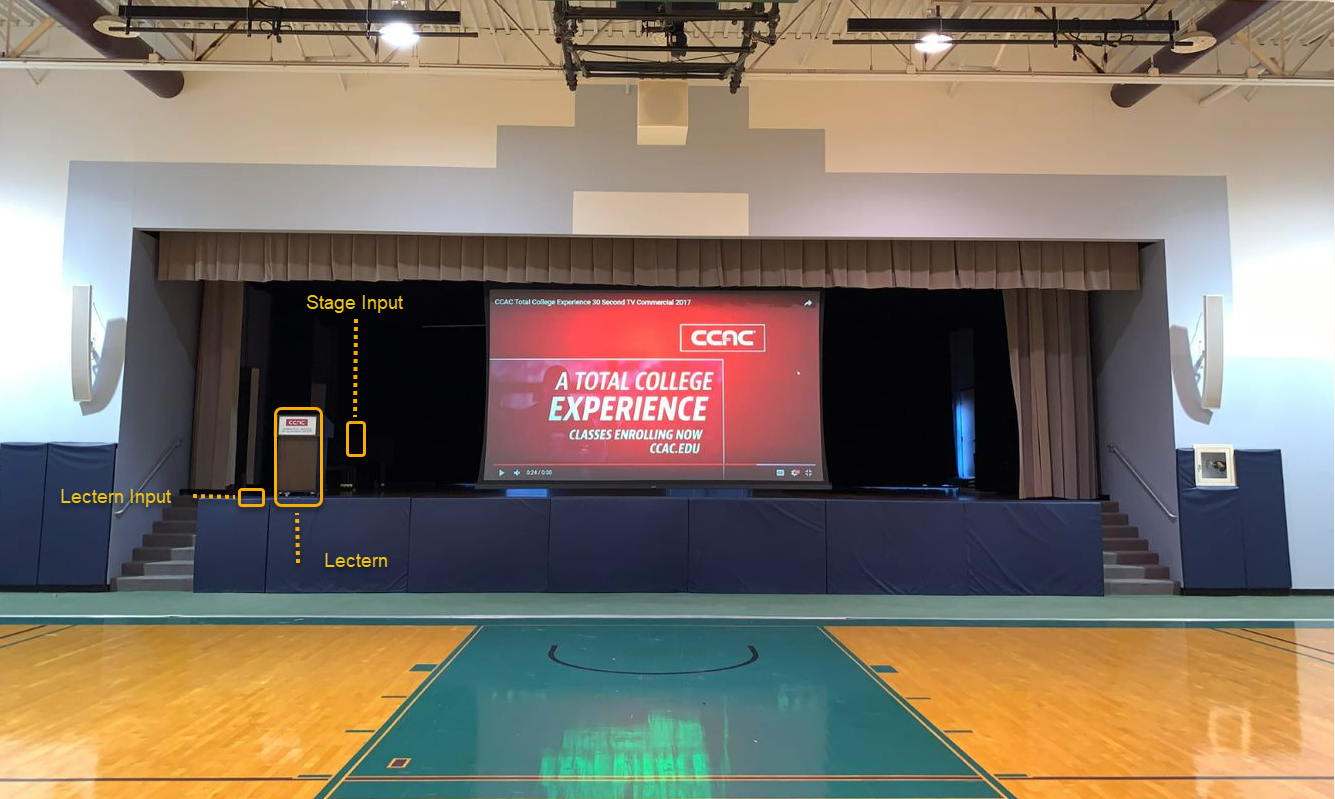
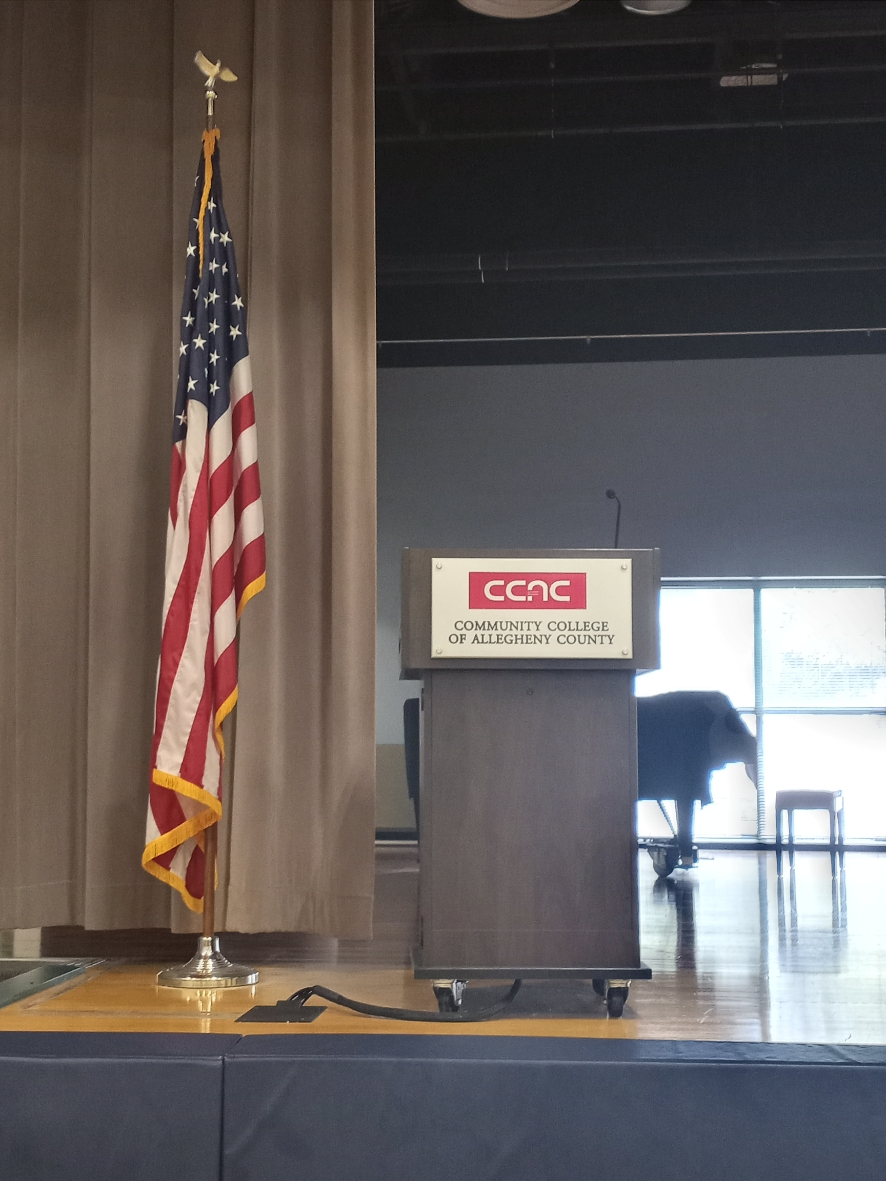
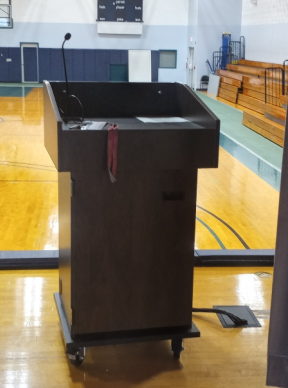
Connect to Lectern Input
- Typically the cables are connected and everything is already setup. However, this is a picture of how it should look
Lectern Floorbox
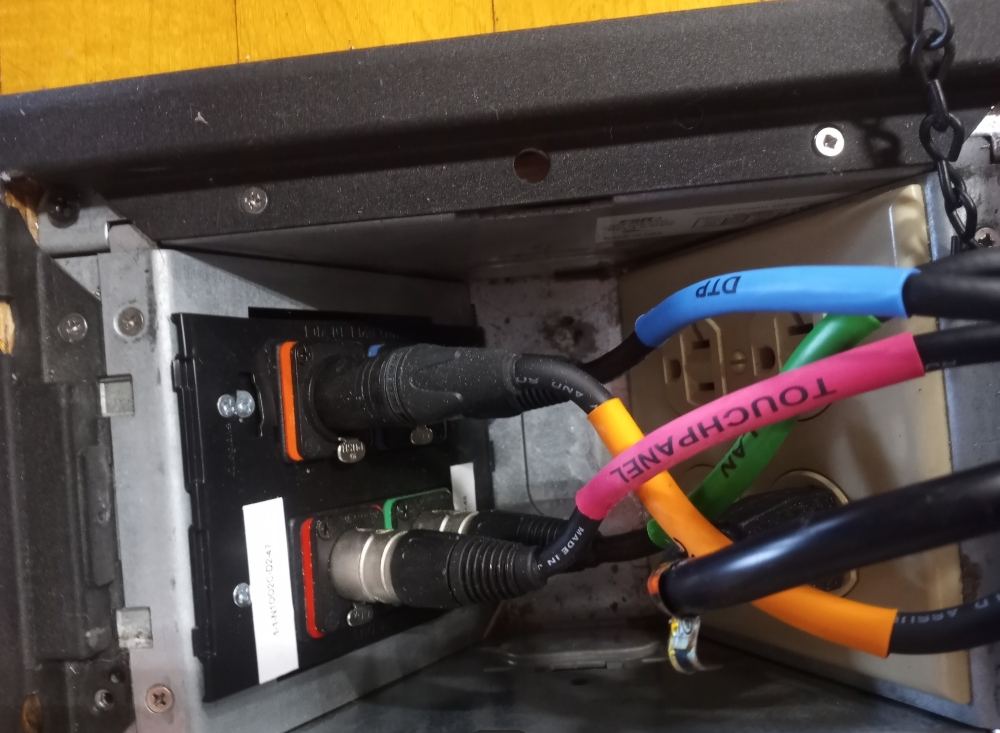
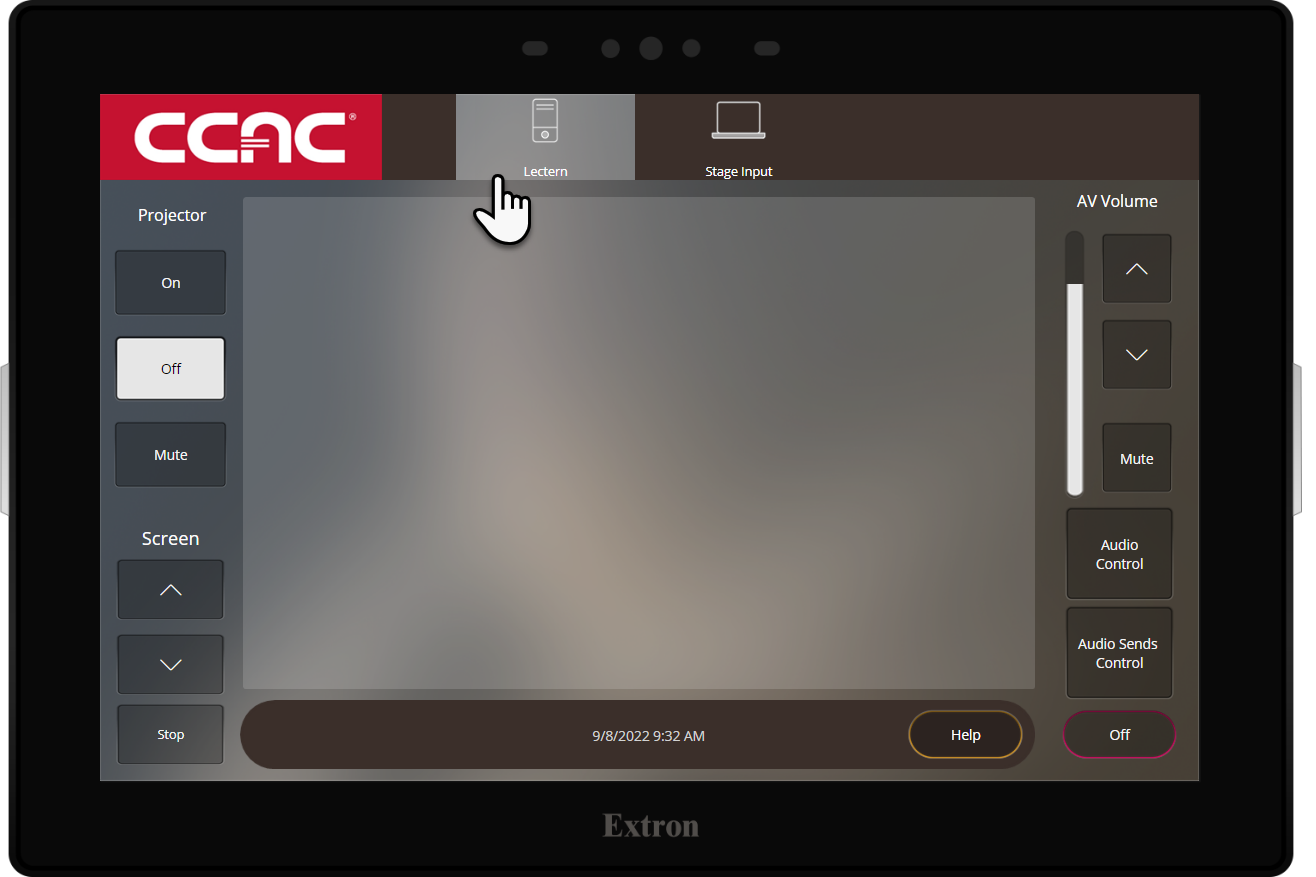
- Make sure the system is turned on.
- Choose Lectern from the top of the screen inputs
 Delete
Disconnect Lectern Input
- Only perform these steps if you must move the lectern from the stage.
- Make sure the system is turned off.
- On each input there is a silver tab.
- Press the tab
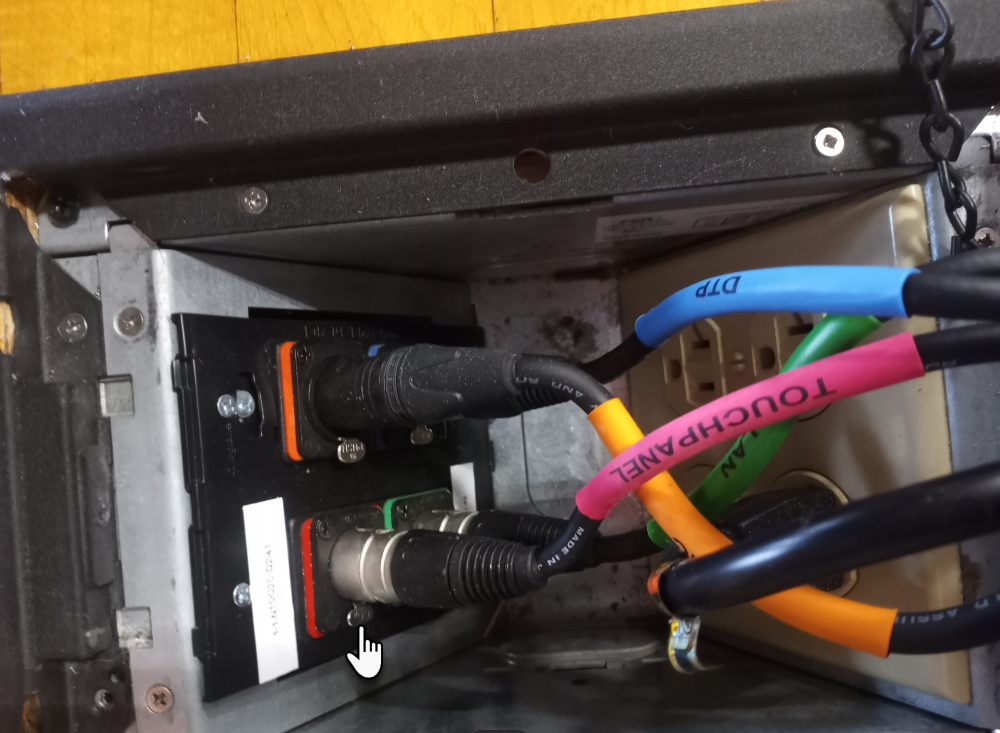
- While pressing the tab, pull the cable out from the input
Connect to Stage Input
- Make sure the cables are connected and everything is setup correctly

- Make sure the system is turned on.
- Choose Stage Input from the top of the screen inputs

Disconnect the Stage Input
- Make sure the system is turned off.
- On each input there is a silver tab.
- Press the tab

- While pressing the tab, pull the cable out from the input.
Video
Adjusting Projector and Screen
On the left side of the screen you will find all of the projector controls.
Please see below for other control options for the projector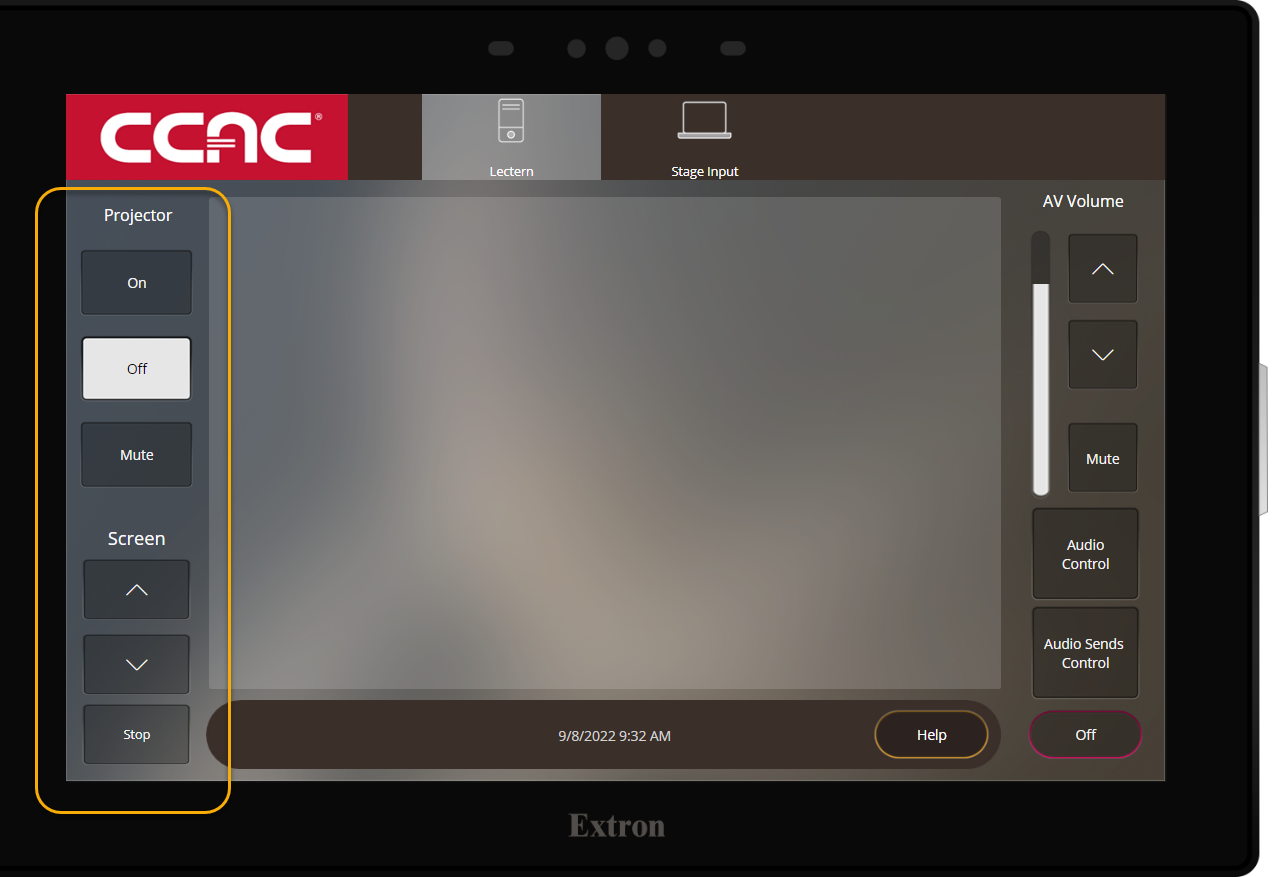
Audio
Adjusting Volume
Master Volume Controls
- Here is where you can adjust the volume as a whole, this will include the HDMIinput and Microphones. The bar on the left is the volume indicator
- Best Practice: Leave it about 75%
- Choose the △ button to make the volume louder
- Choose the ▽ button to make the volume softer
- Choose the Mute button to mute the sound
Audio Control Button
Here is where you can adjust the individual volume of each input, this will include the HDMI input and Microphones
Adjusting an Individual Volume of a Device
- By default, all devices are muted.
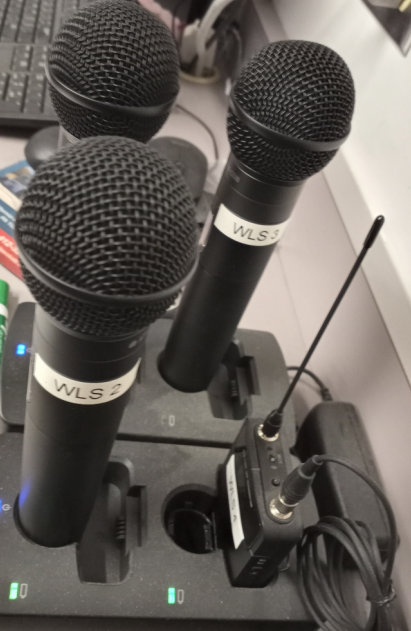
- Match the label of the microphone to the label on the touch panel. Note that the gooseneck microphone on the podium is "Mic 3".
- The bar on the left is the volume indicator for that input
- Best Practice: Leave it about 65%
- Choose the △ button to make the volume louder.
- Choose the ▽ button to make the volume softer.
- Choose the Mute button to mute the sound.
- Red mute button is Muted.
- Grey mute button is Unmuted.
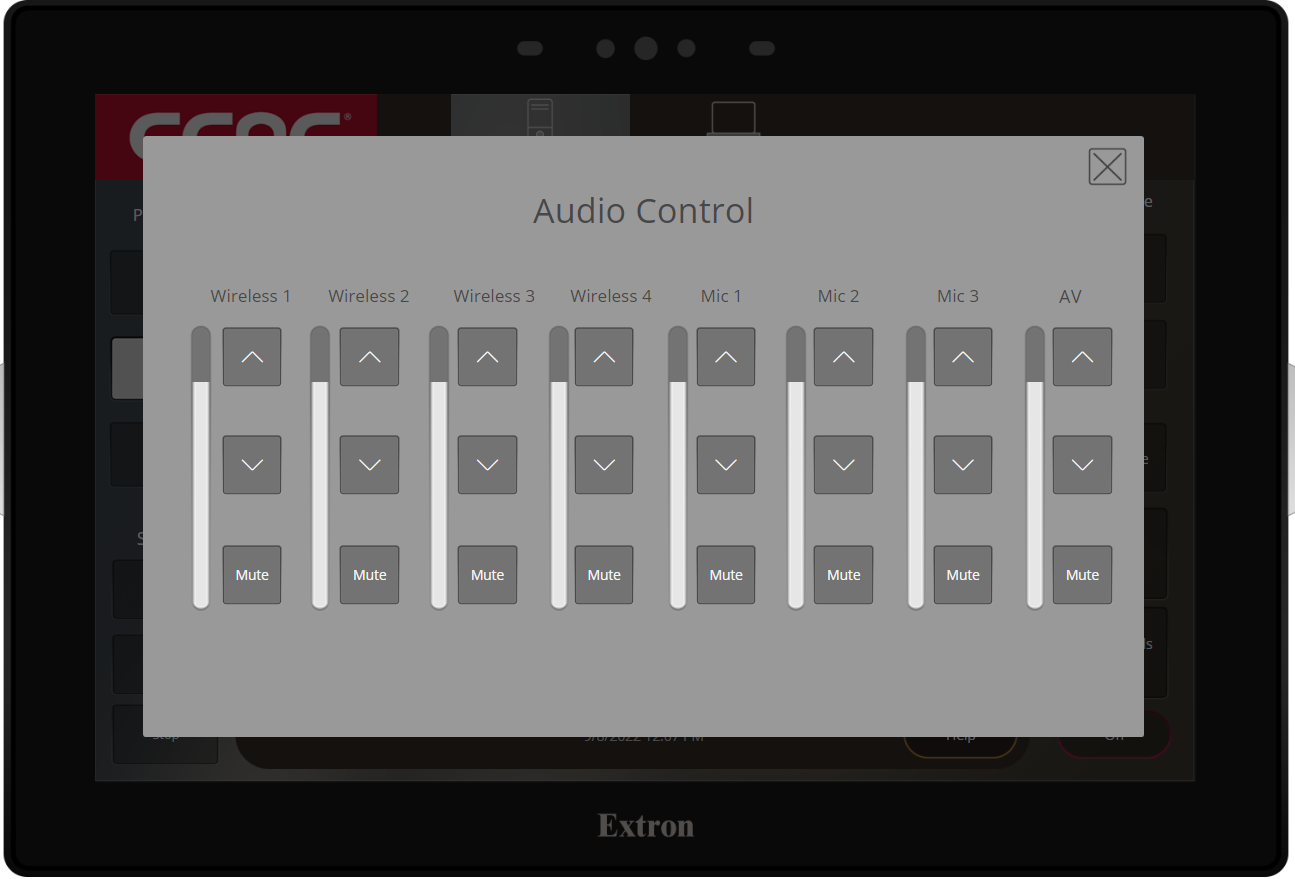
- To leave the volume control, tap the X in the top right of the screen.
Equipment List
Lectern
Location
- Located on the stage. Typically remains plugged in at all times.
Features
- Lectern Microphone
- Cable Cubby on to of lectern
- HDMI Cable
- Ethernet (Internet/Network) Cable
- Audio and Video Connection Cables connected to the floor box

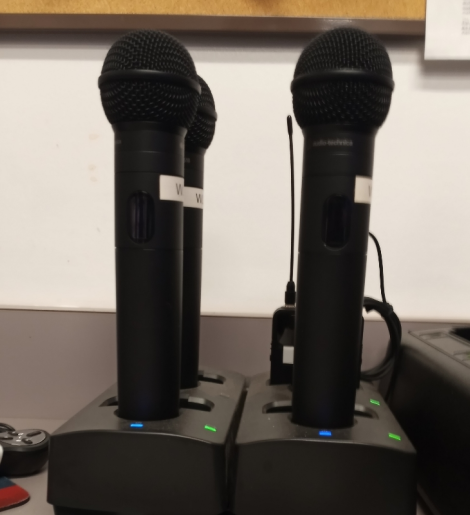
Microphones
Location
- Located at the Main Security Office
- You will need a Photo ID to rent out
Features
- 3 Wireless Handhelds
- 1 Lapel Mic
- 1 Gooseneck Microphone
Touch Panel
Location
- Right side wall when facing the open gym
Features
- Auto awakes
- Allows you to control the projector/video and microphones & input/audio
- Controls to power off the system
Wall and Floor Inputs
Wall Location
- Right side wall when facing the open gym
- Under the touch panel
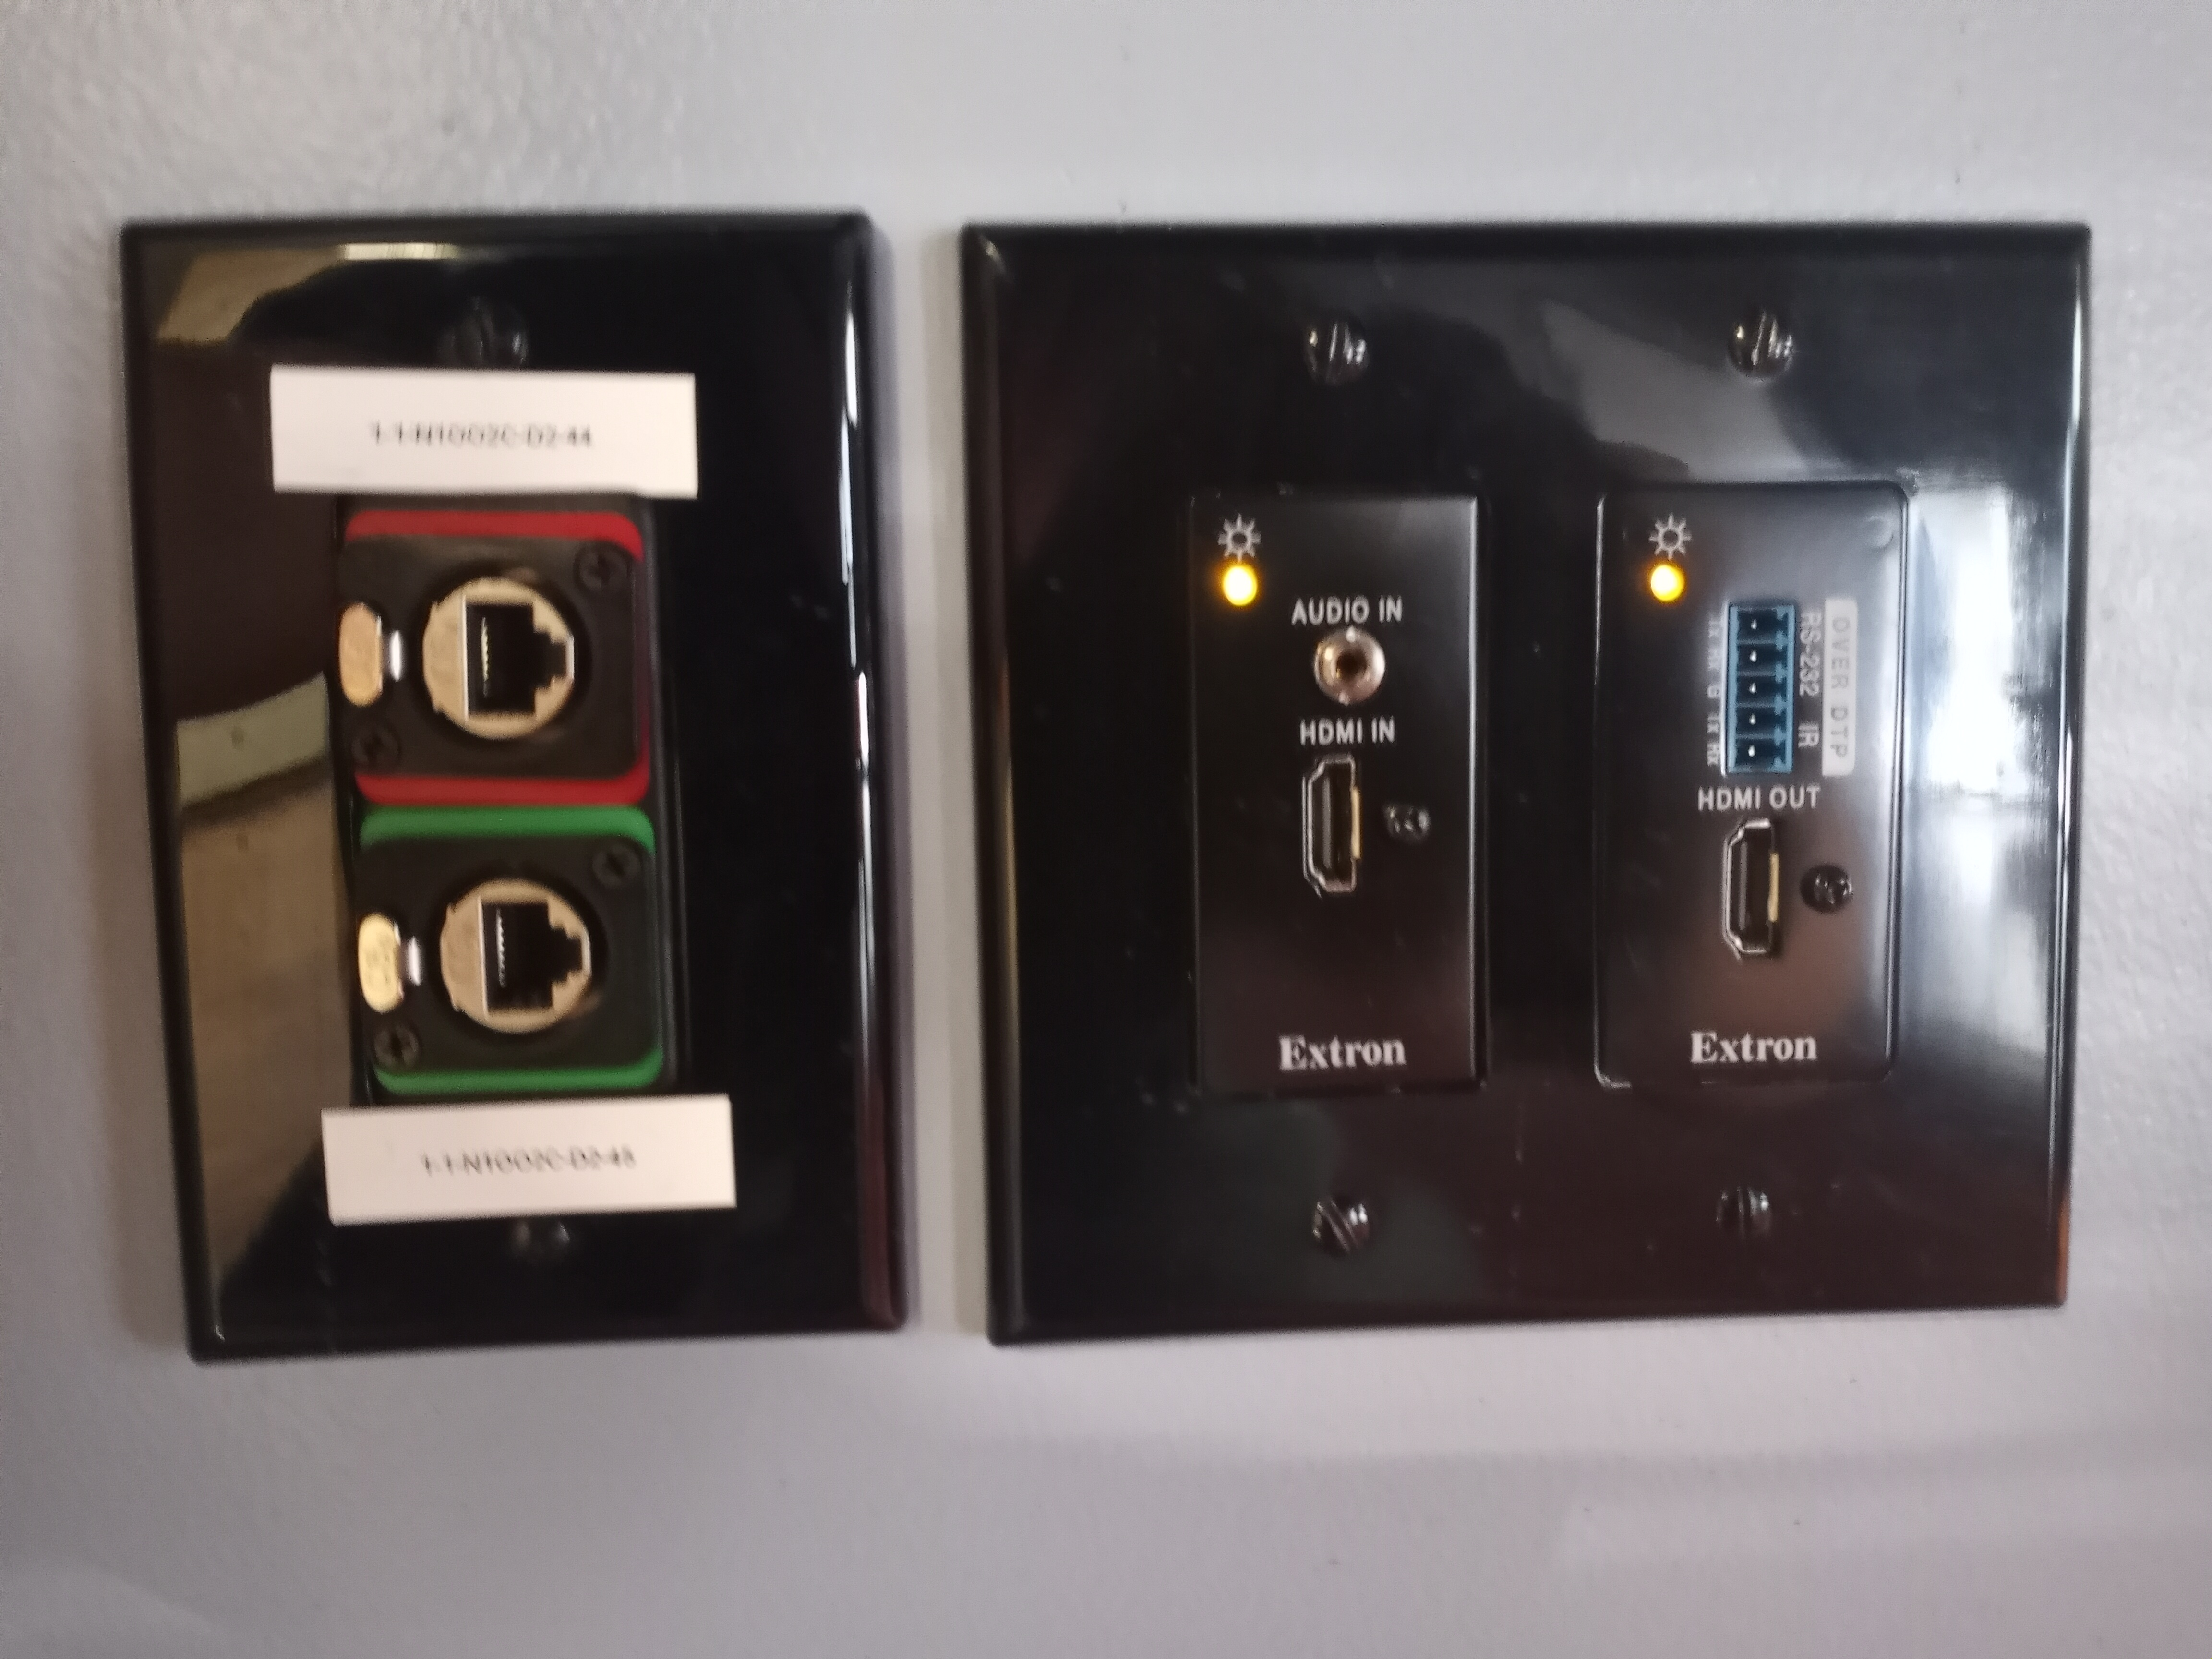
Floor Location
- By the lectern
- Typically remains plugged in
Features
- Allows you to connect audio and video to the projector/video and microphones & input/audio
- Cables and inputs are color coded and labeled