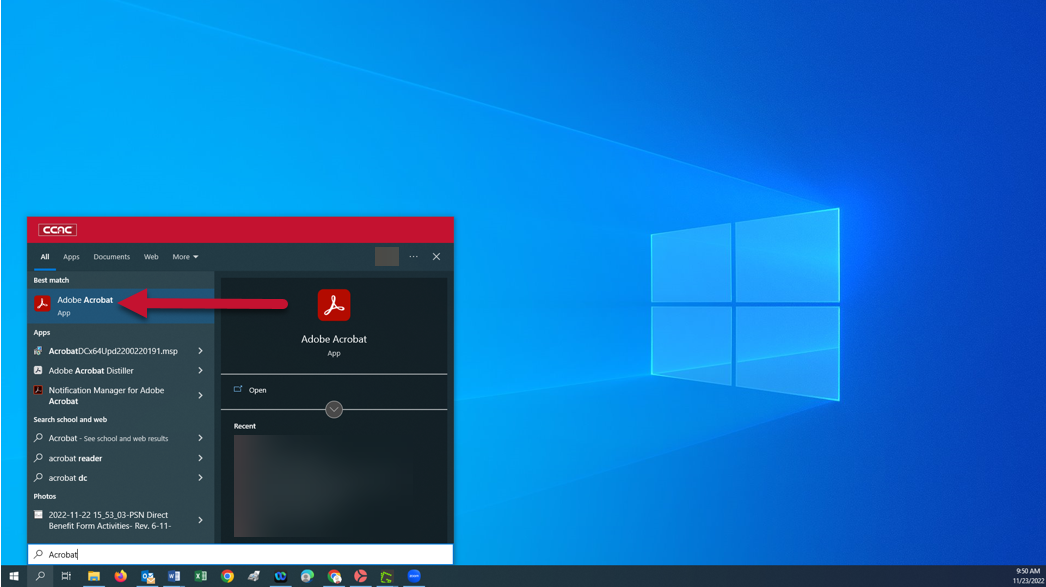
- Open Adobe Acrobat (Reader or Pro version)
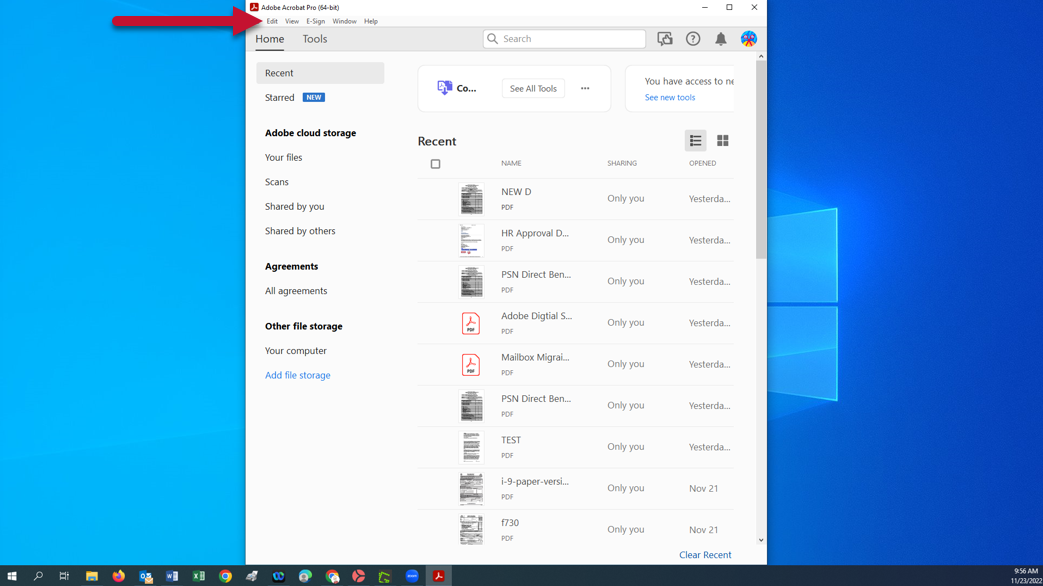
- Click Edit
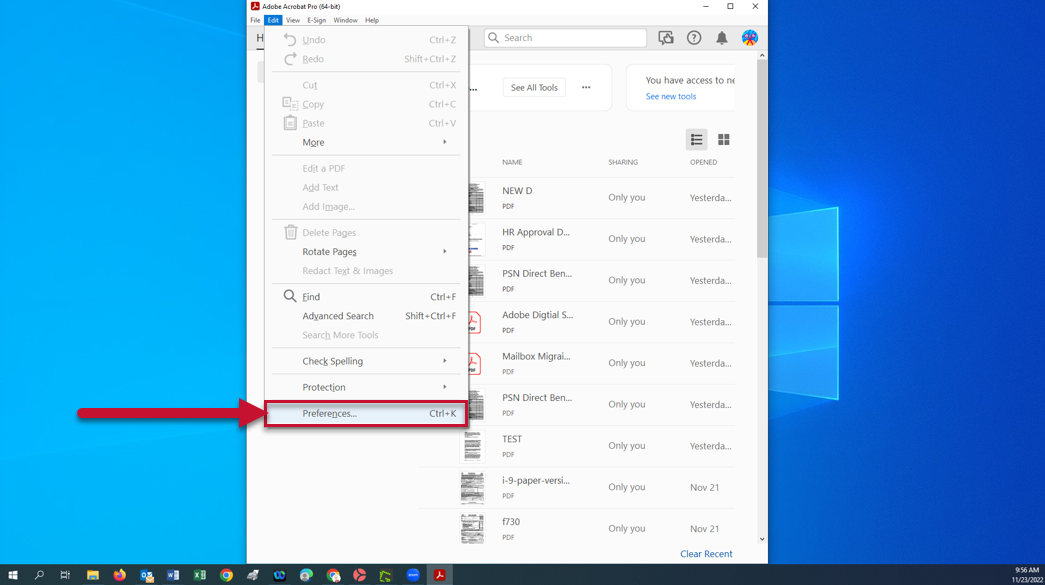
- Click Preferences
- Click Signatures
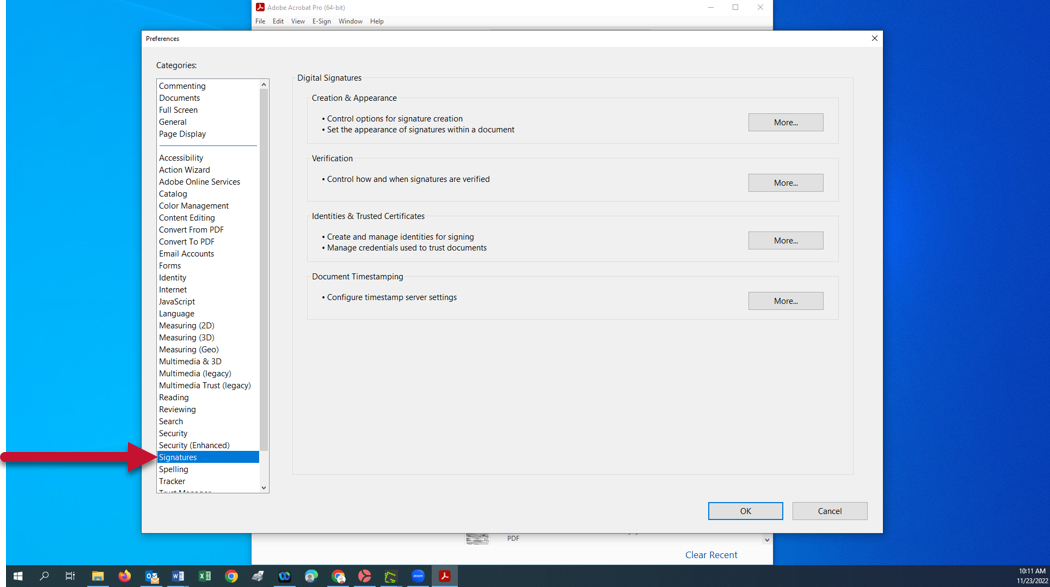
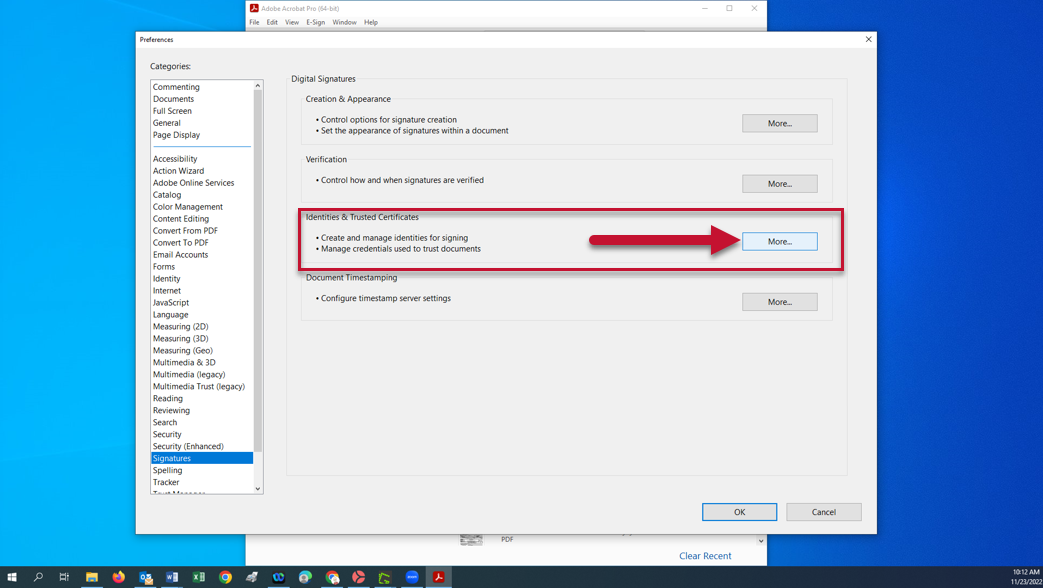
- Under Identities & Trusted Certificates, click the More button
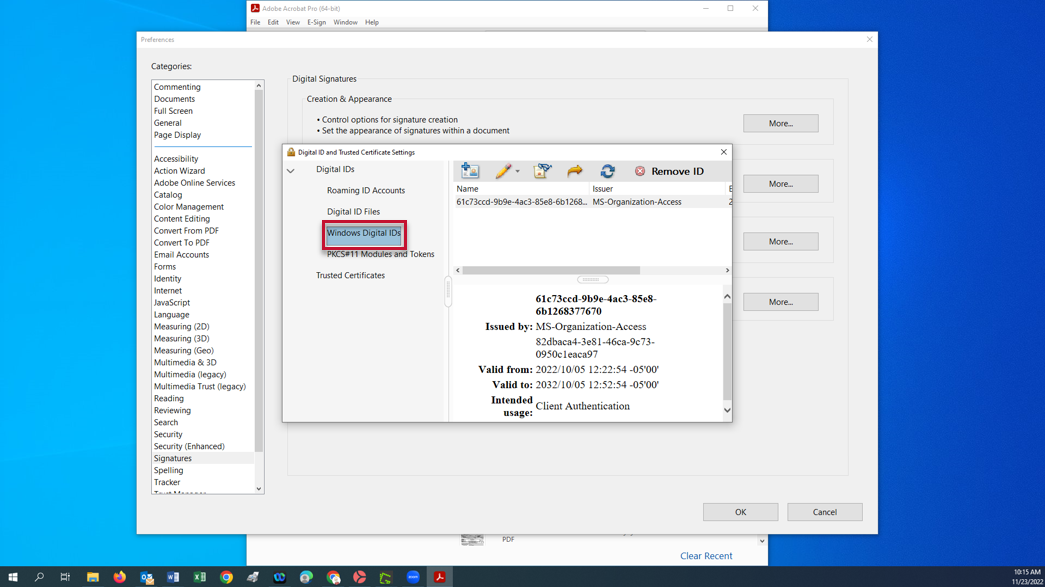
- Click Windows Digital IDs
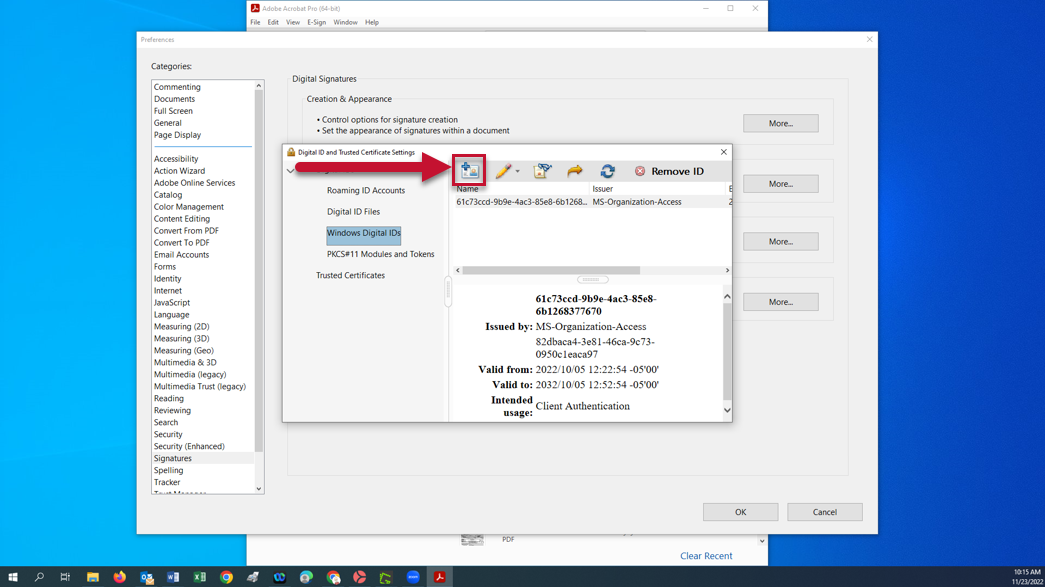
- Click the “+” icon
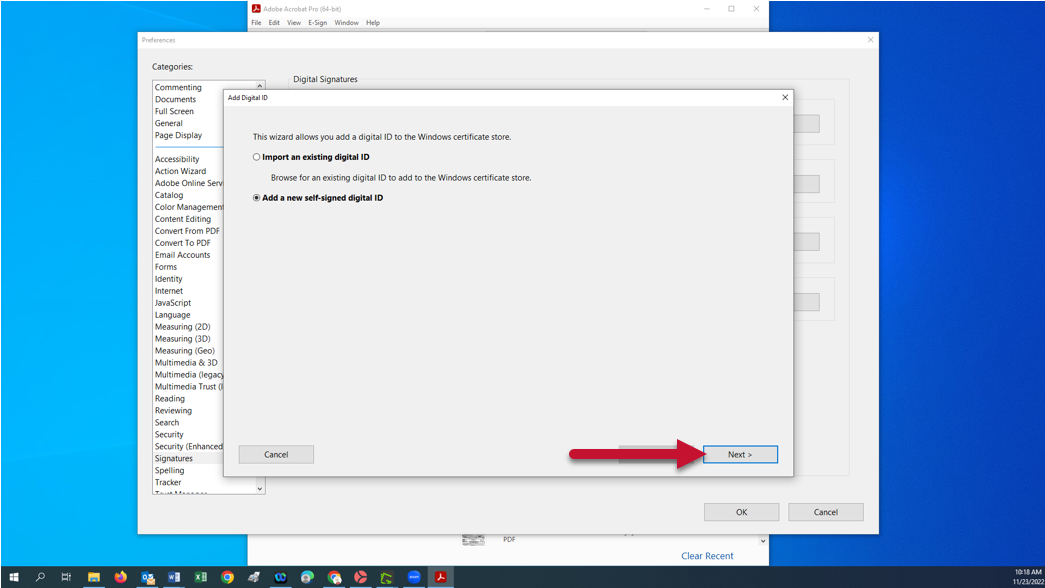
- Select Add a new self-signed digital ID
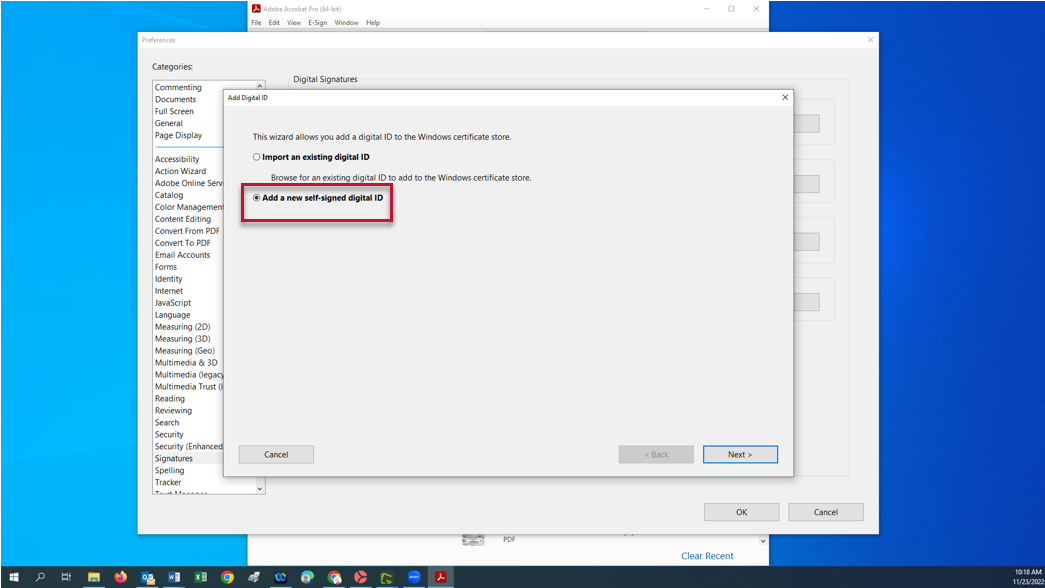
- Click Next
- Enter your Name, Organizational Unit, and Email Address
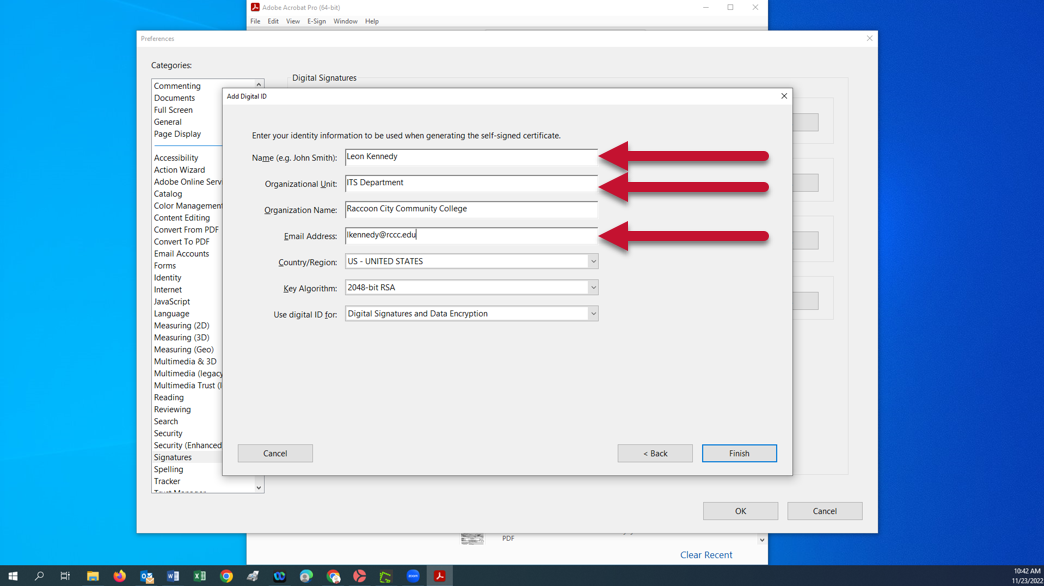
- Click Finish

- Close the Digital ID and Trusted Certificate Settings window
- Click OK
- To digitally sign a PDF using Adobe Acrobat (Pro or Reader), open the PDF document
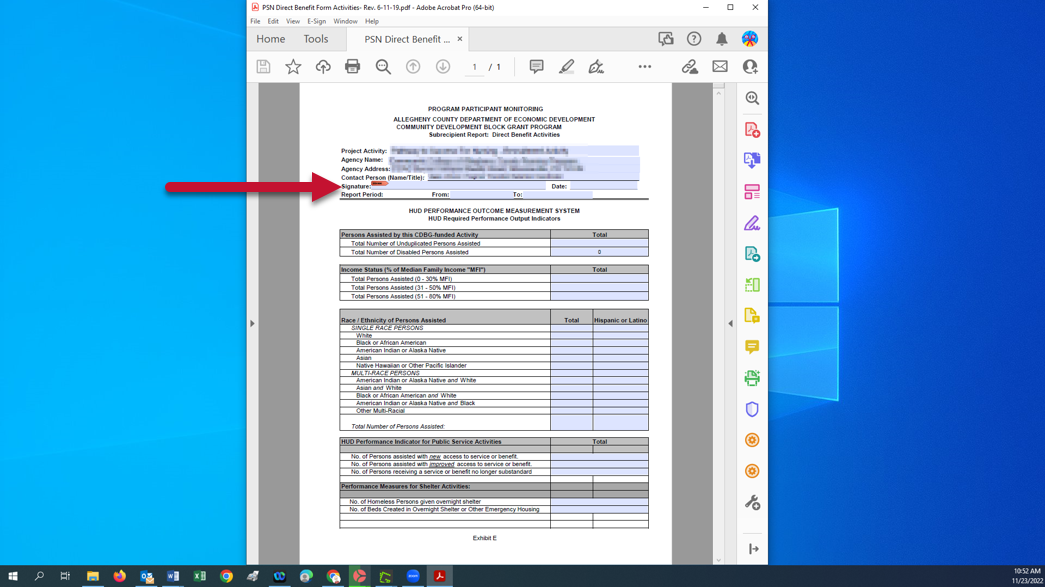
- After reading the document, scroll down to the signature line
- Click into the signature field
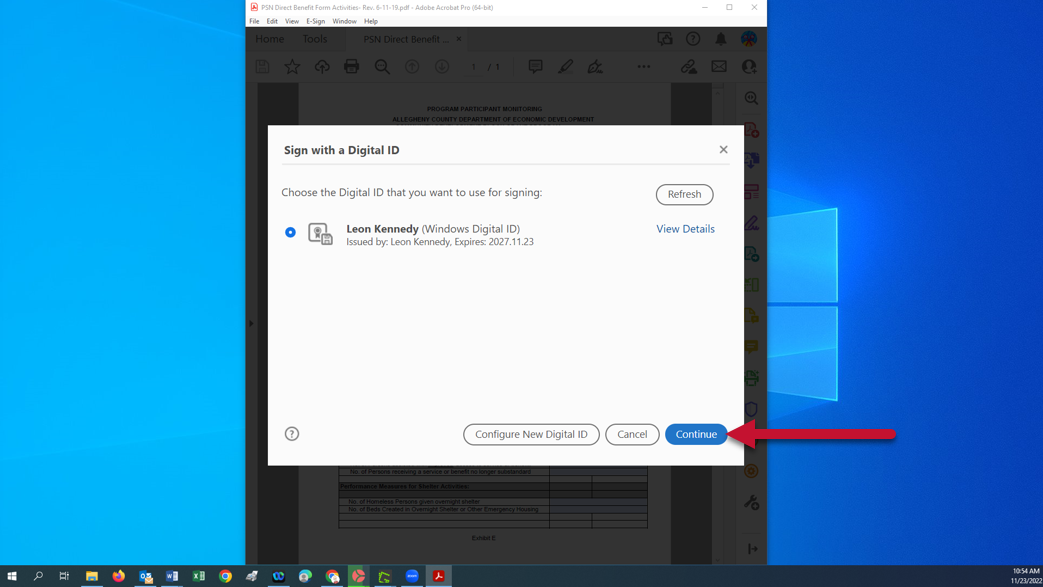
- The Sign with a Digital ID window should open
- The Sign with a Digital ID window should open
- Make sure that the correct digital ID is selected (If you have multiple IDs created)
- Click Continue
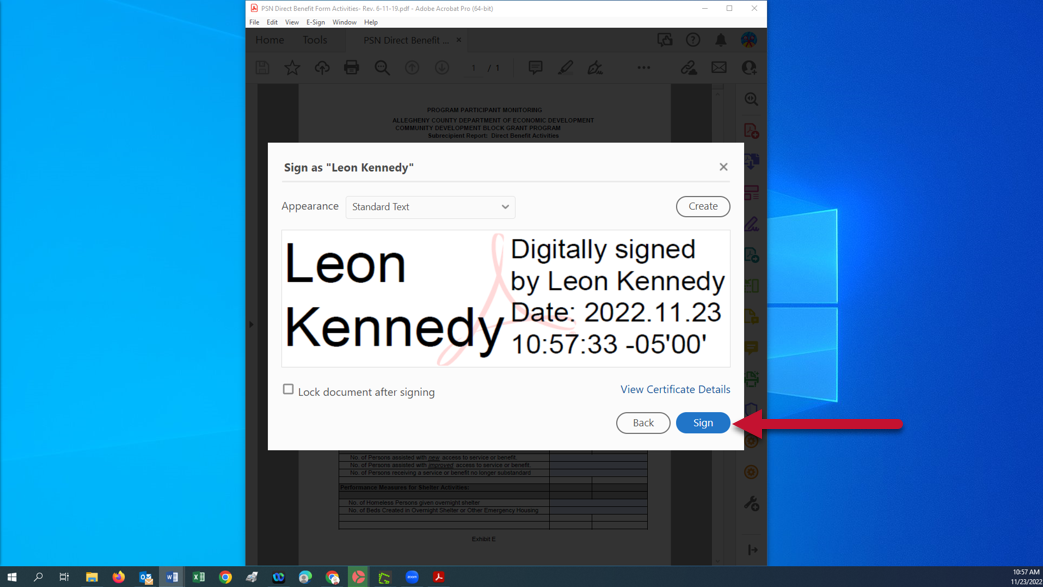
- Click Sign
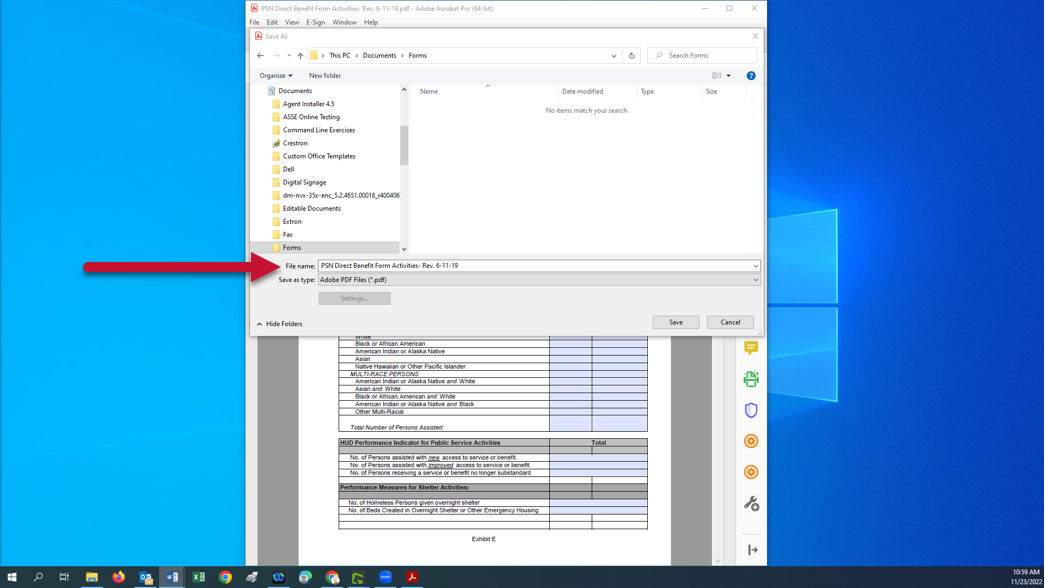
- Either
- Delete the original File name and type in a new one to create a new document (without overwriting the original)
- Or keep the File name to overwrite the original document with the version digitally signed by you
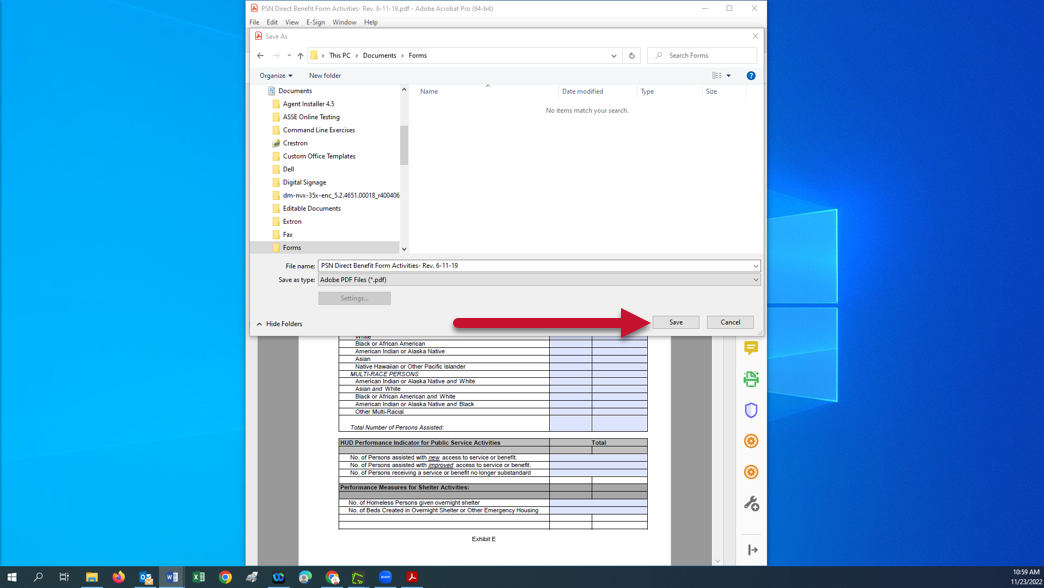
- Click Save
- If you kept the original file name, you will receive a prompt to overwrite the original document
- Either click Yes to overwrite
- Or click No to change the file name