- From a web browser, go to https://selfservice.ccac.edu/Student/UserProfile
- Log in using your CCAC username and password - Logging into MyCCAC
- Locate what you want to add, change or remove
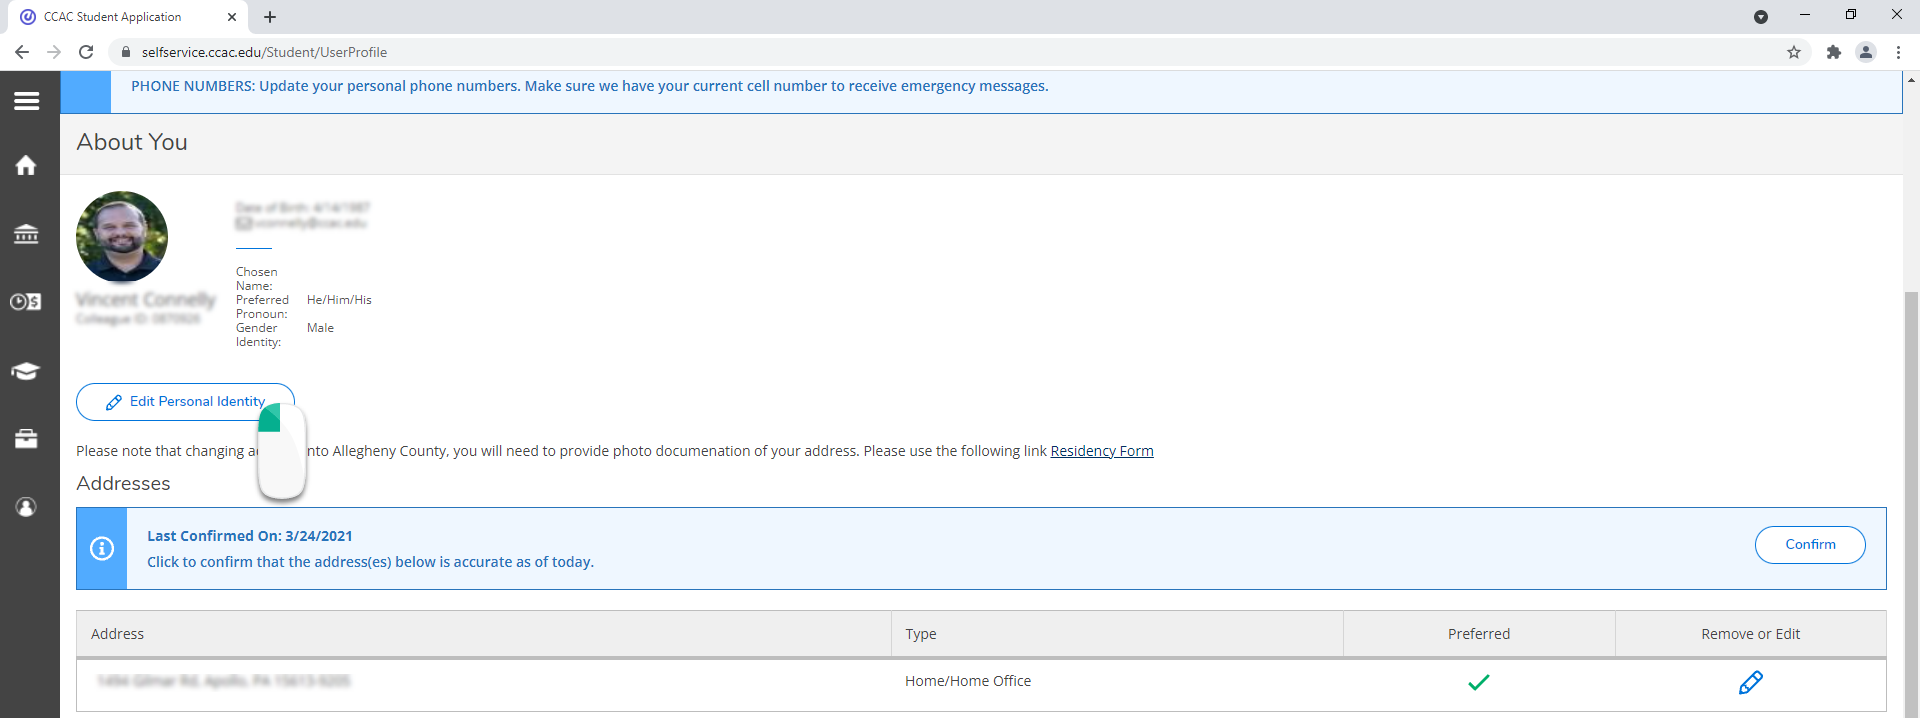
Personal Identity
Click on the Personal Identity Button
Enter Chosen Name
- Enter your chosen name in the chosen first name field

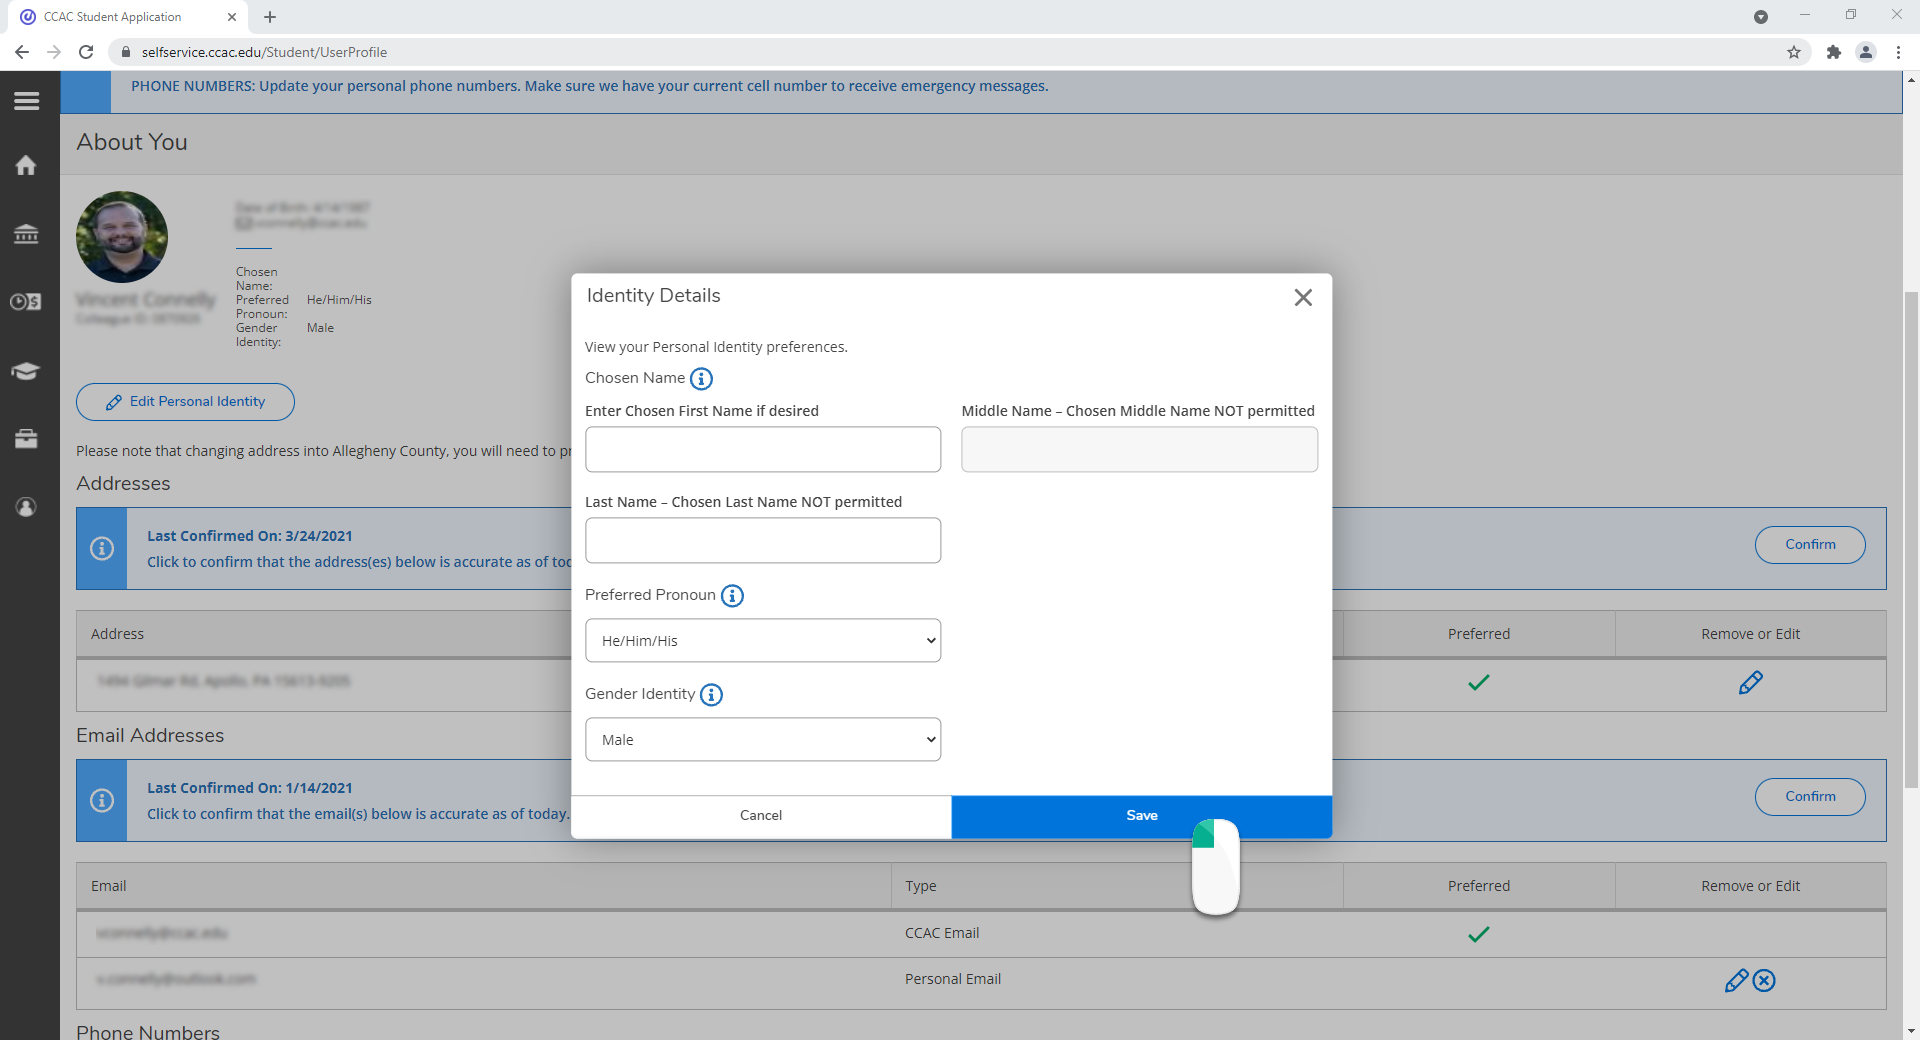
- Click the Save button

Choose your Pronoun
- Enter your preferred pronoun from the Preferred Pronoun drop-down menu
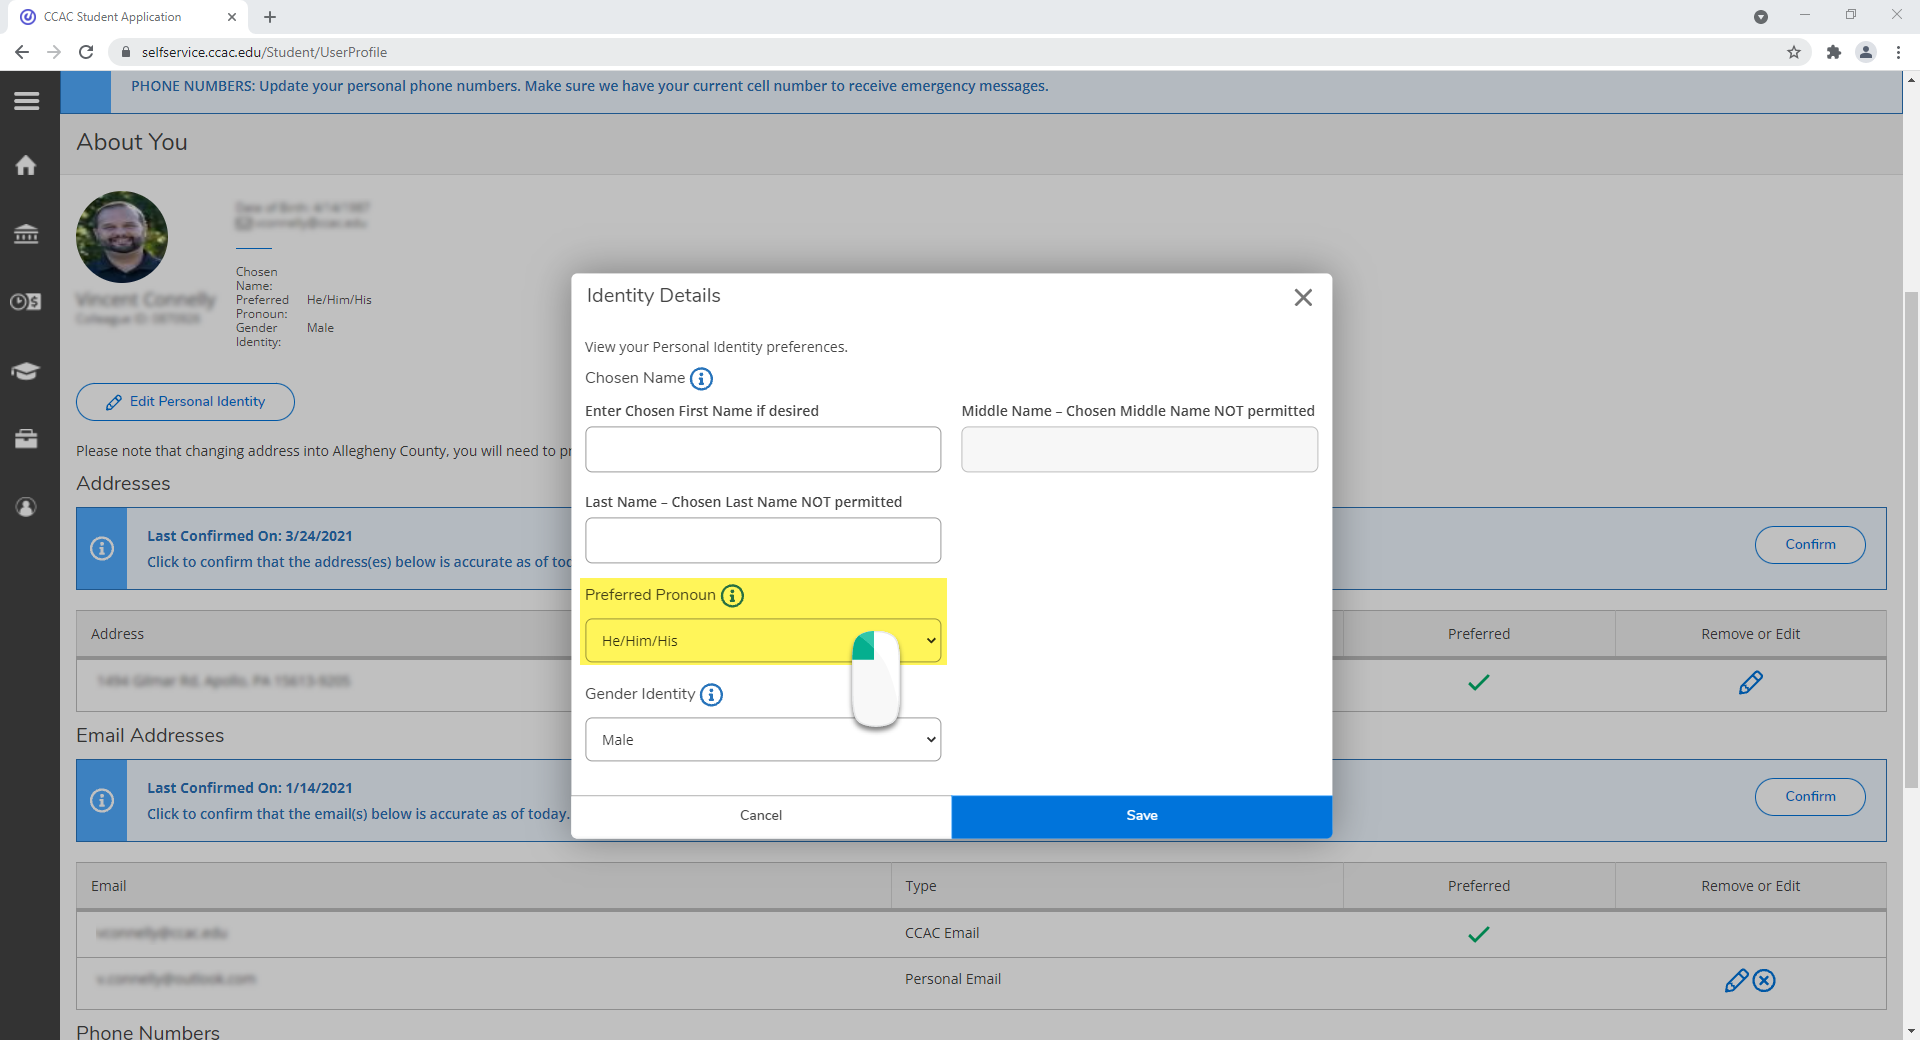
- Click the Save button

Choose your Gender
- Enter your gender from the Gender Identity drop-down menu
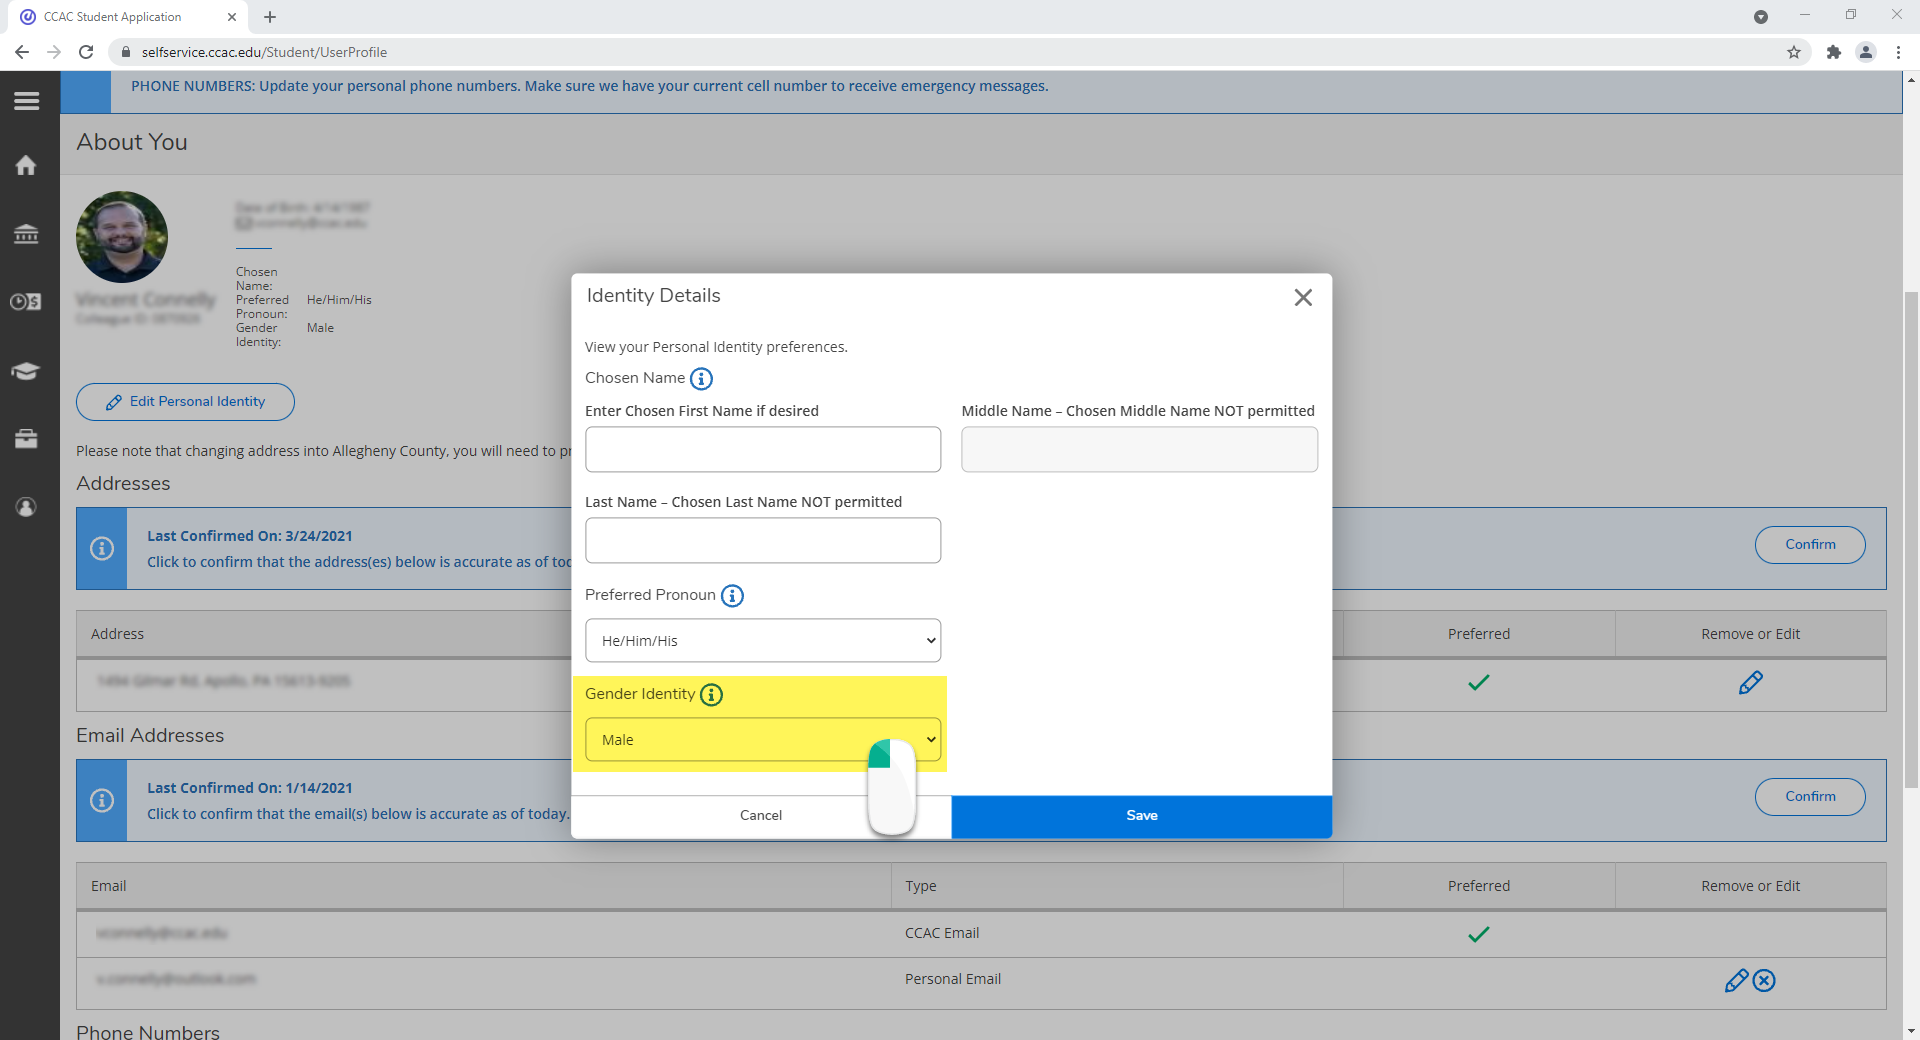
- Click the Save button
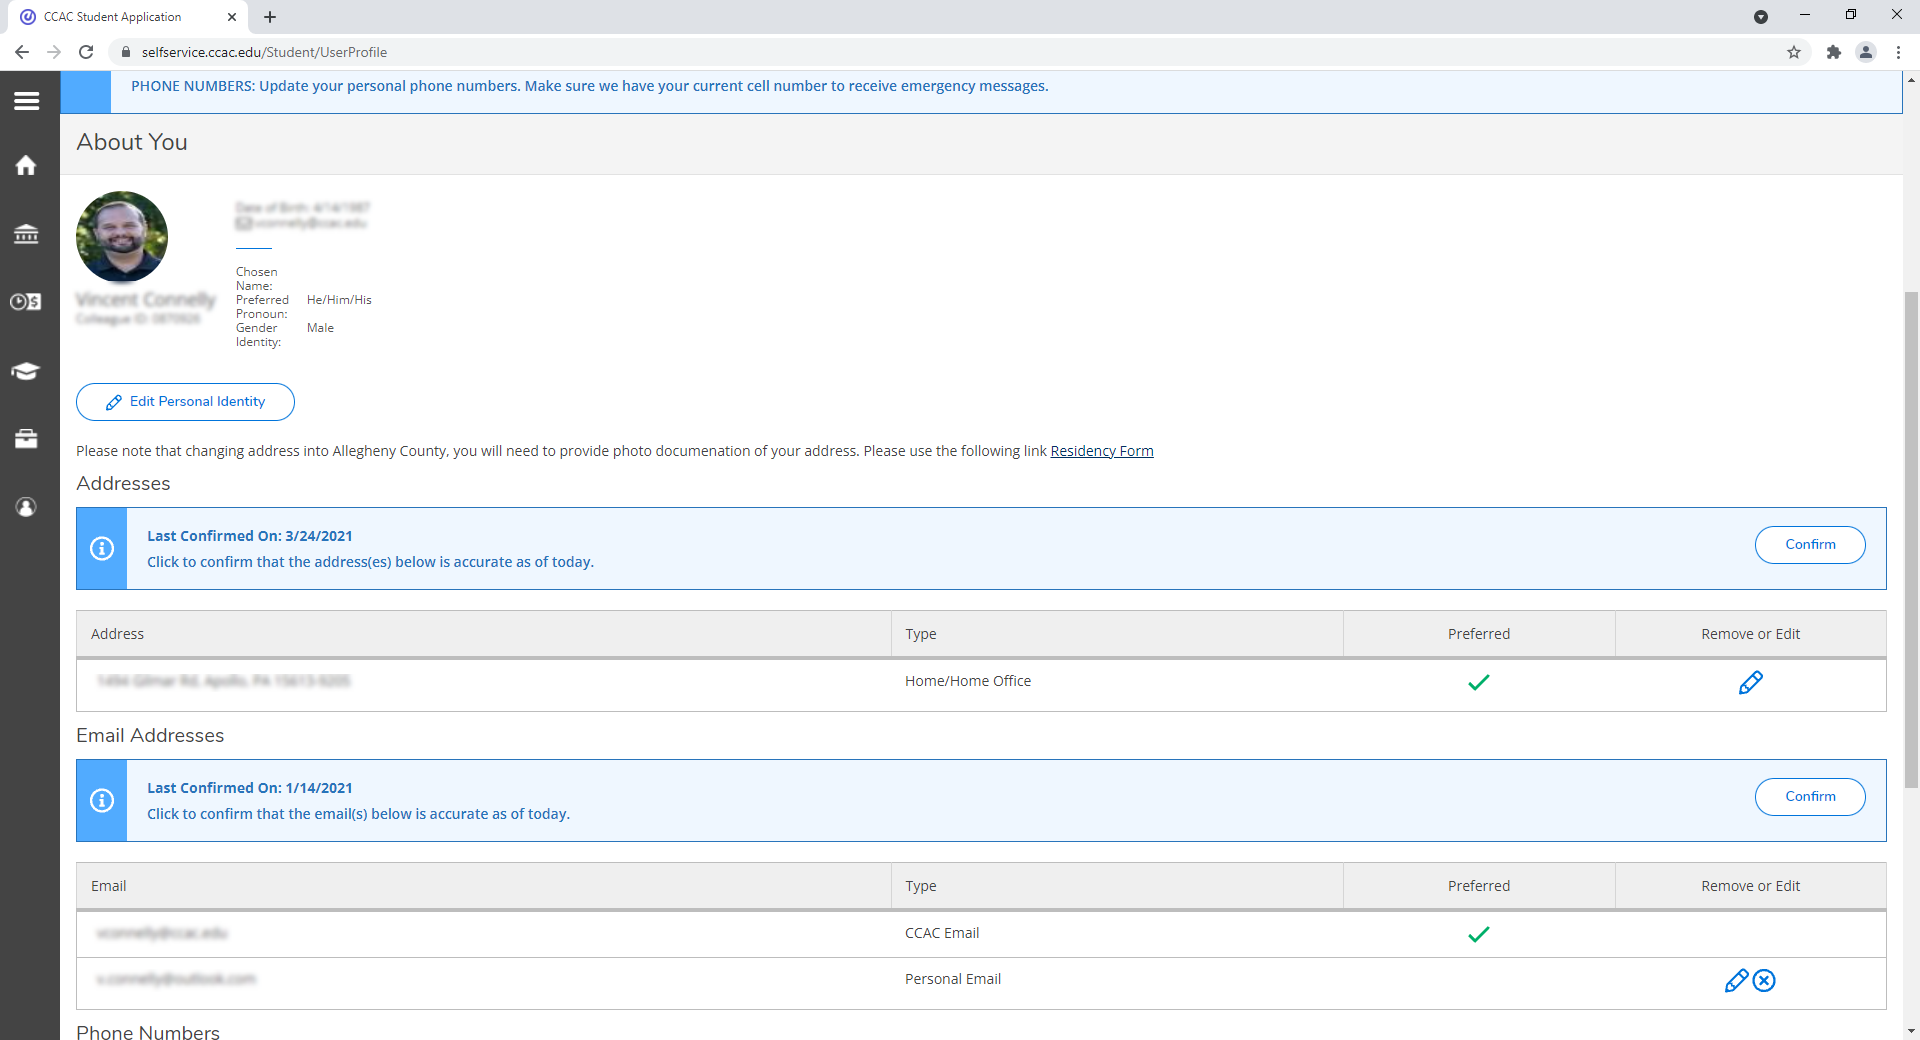
Address
Scroll down to the Address section
Confirming your Address
- Ensure all the information is up to date
- If it is not, follow the directions below to update your information
- Click the Confirm button
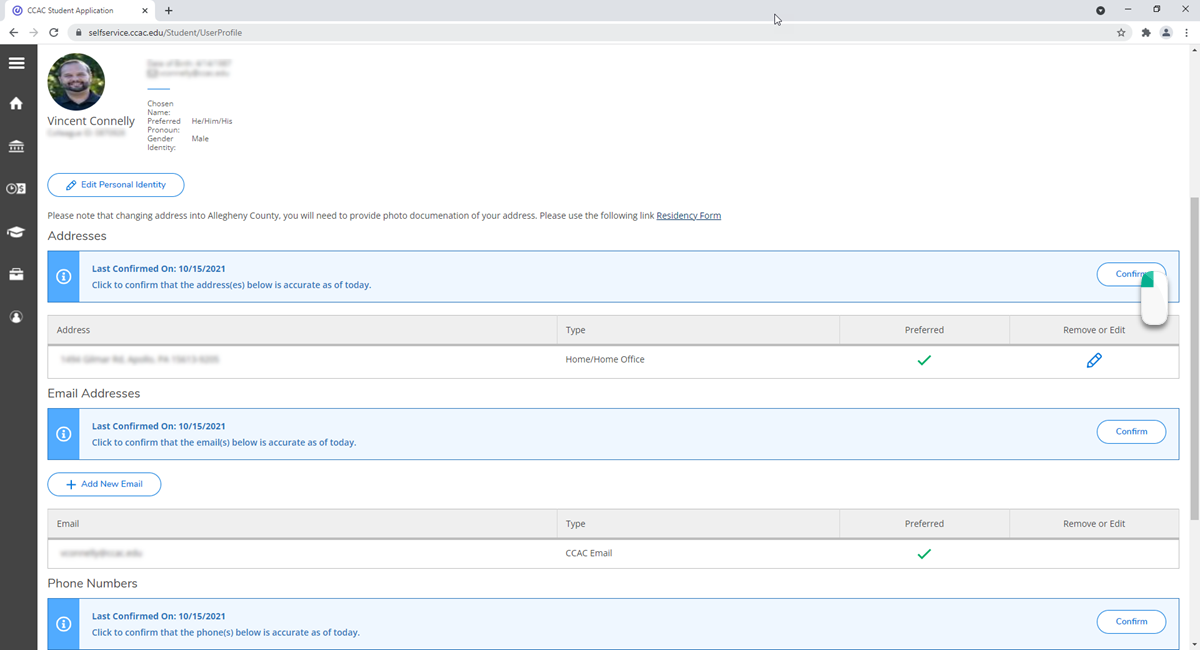
- A notification will appear, and the confirmation date will be updates as well

Edit an Address
- Click on the pencil icon
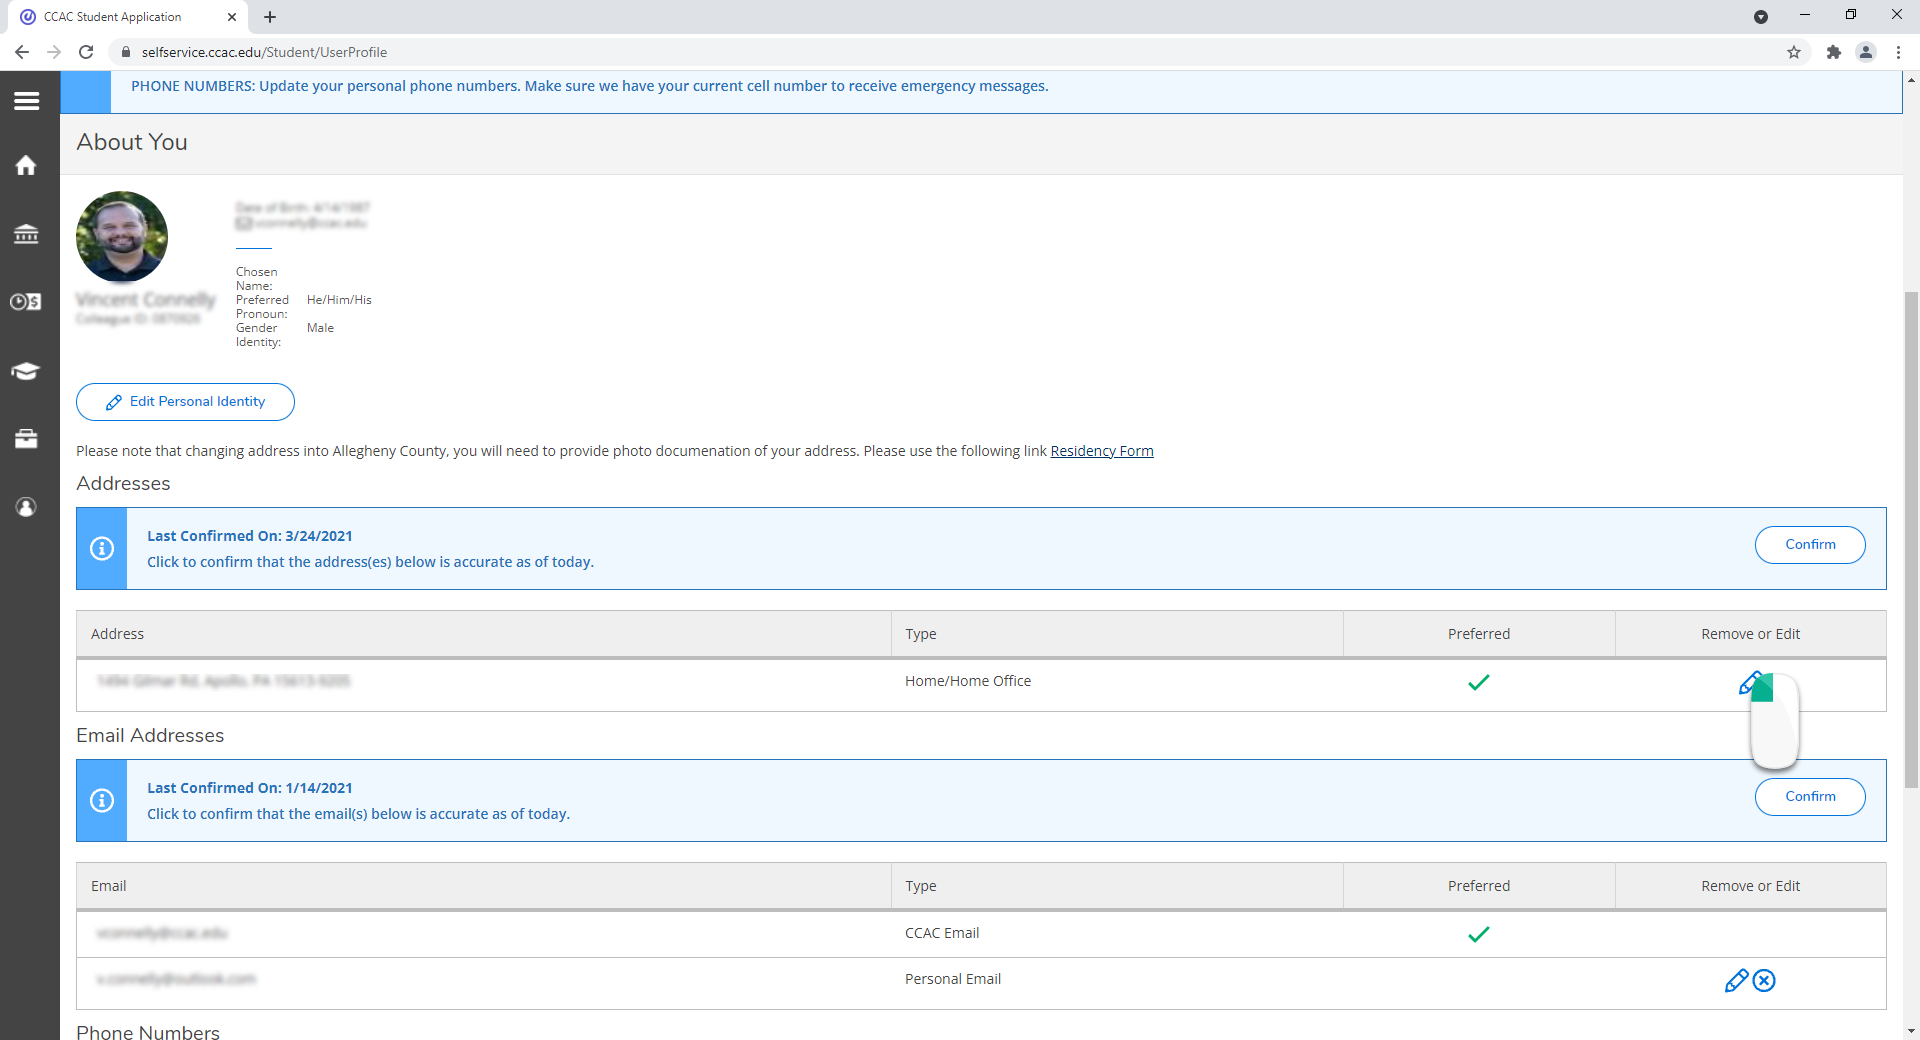
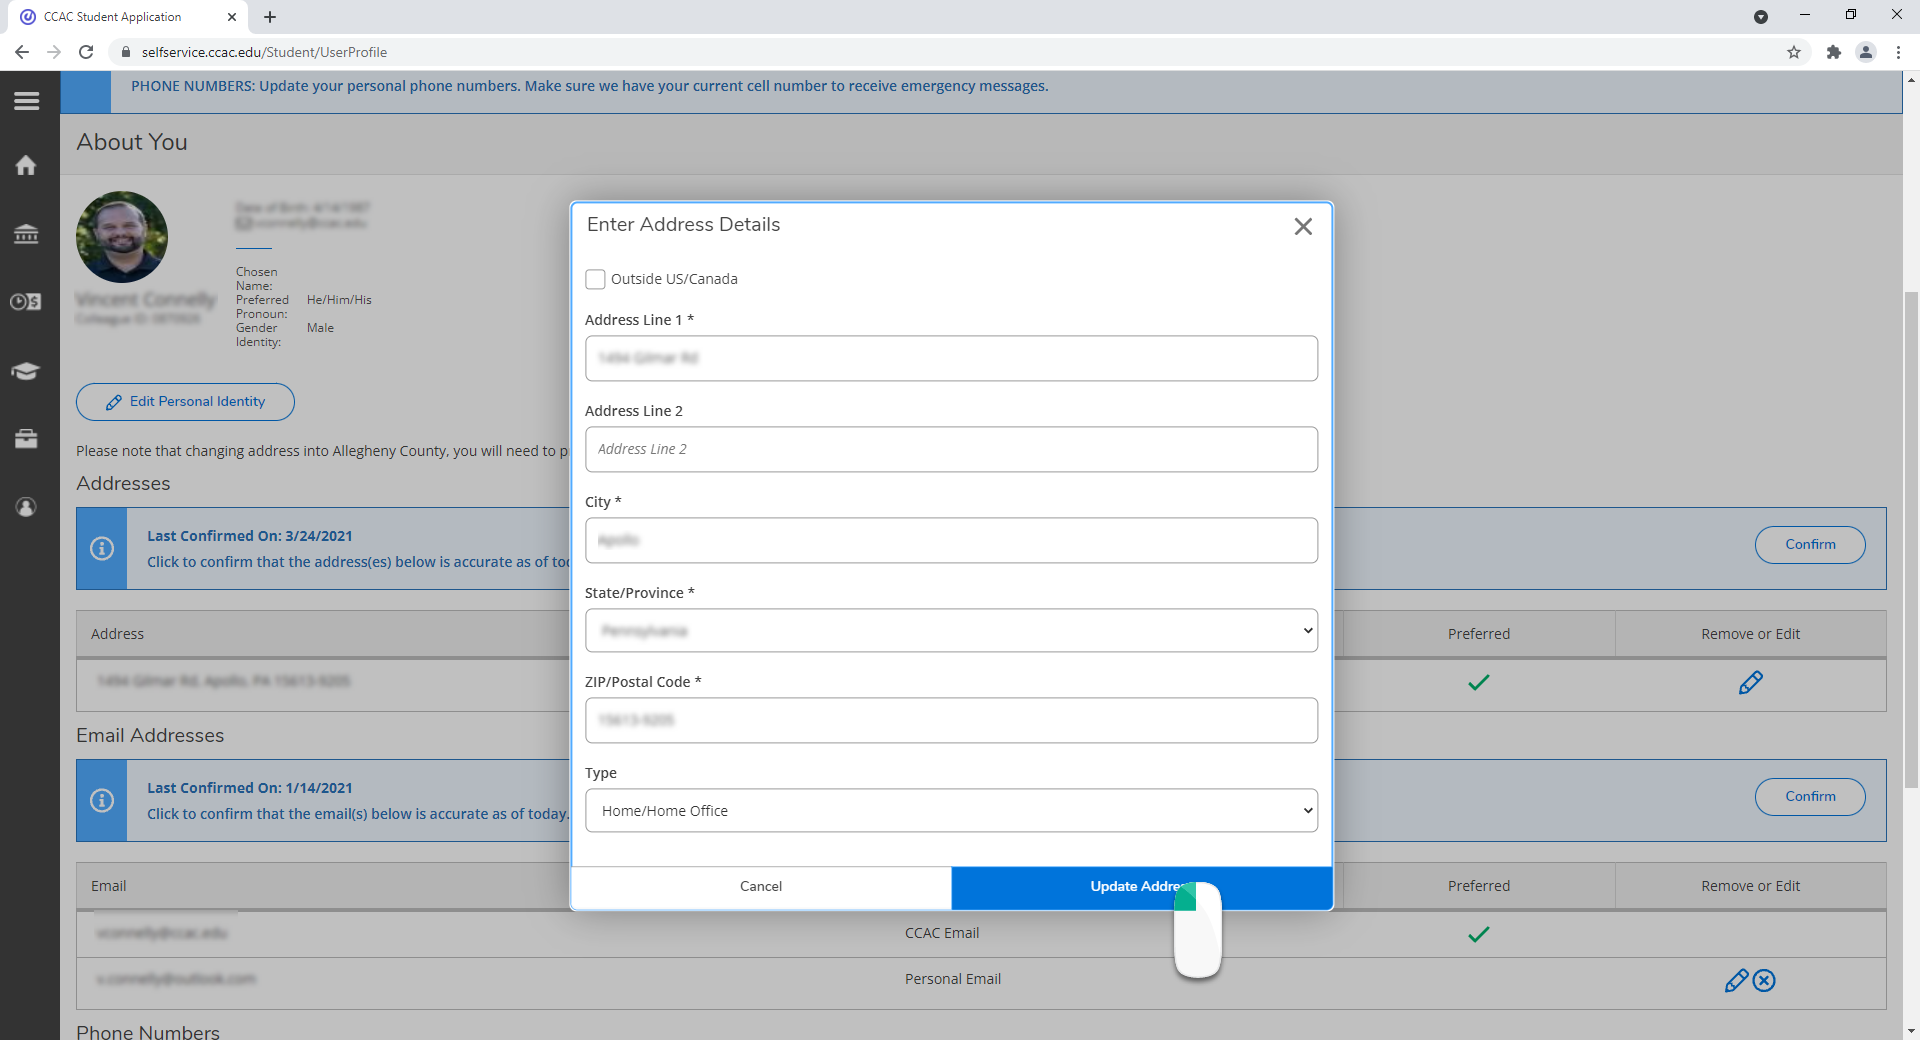
- Make the changes to your address
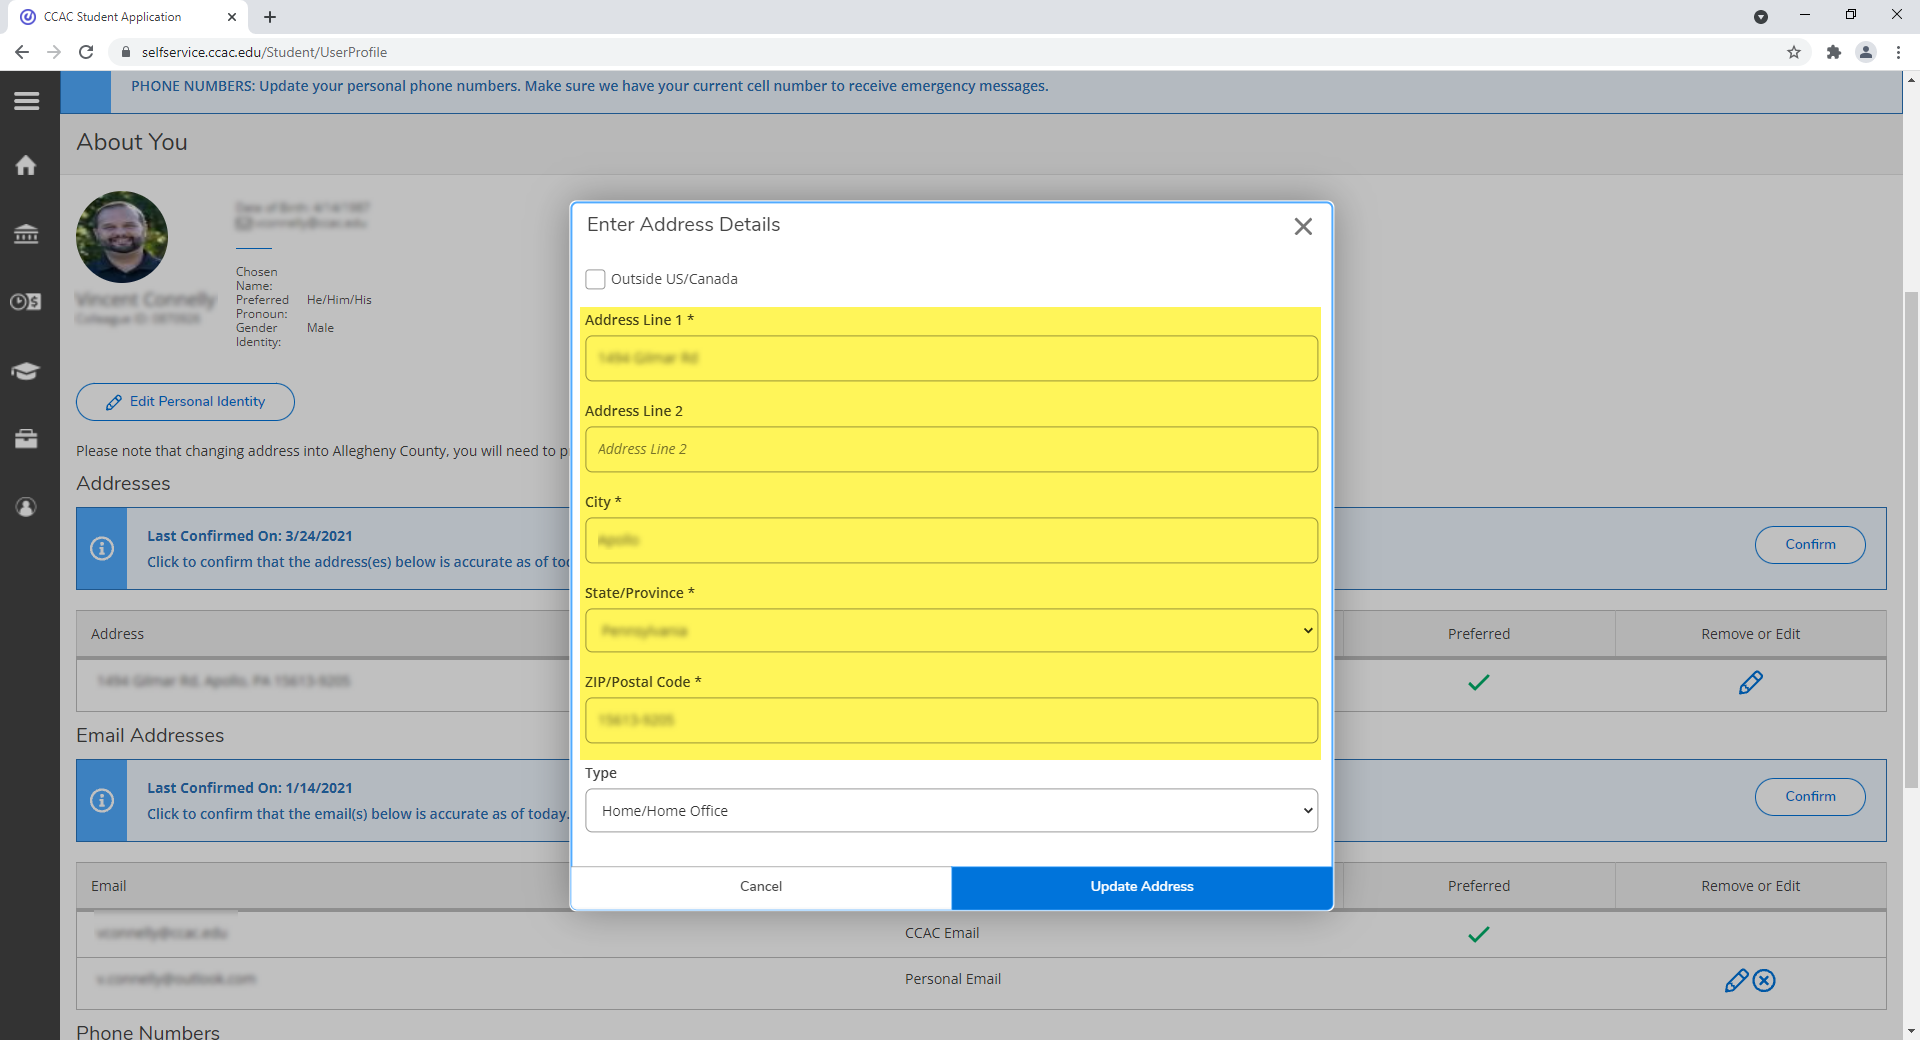
- Click the Update Address button
Email Address
Scroll down to the Email Address section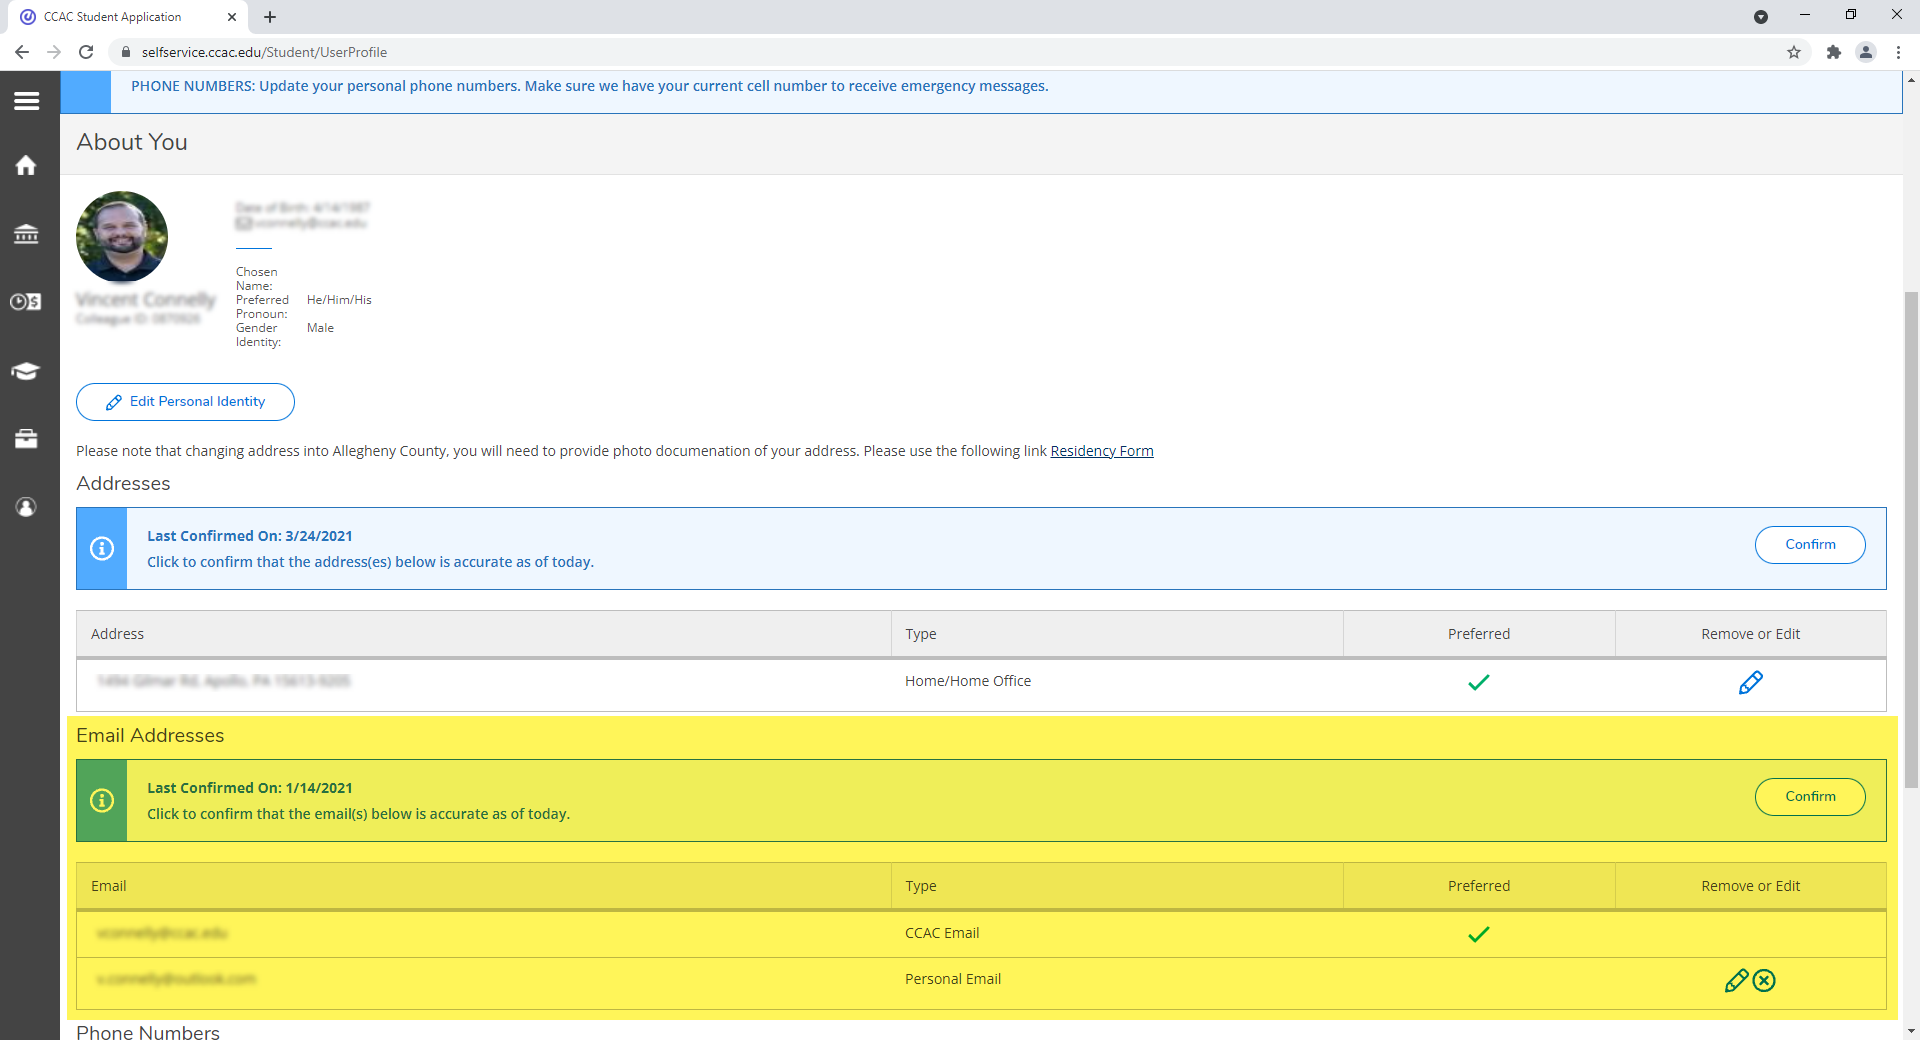
Confirming your Email Address
- Ensure all the information is up to date
- If it is not, follow the directions below to update your information
- Click the Confirm button
- A notification will appear, and the confirmation date will be updates as well
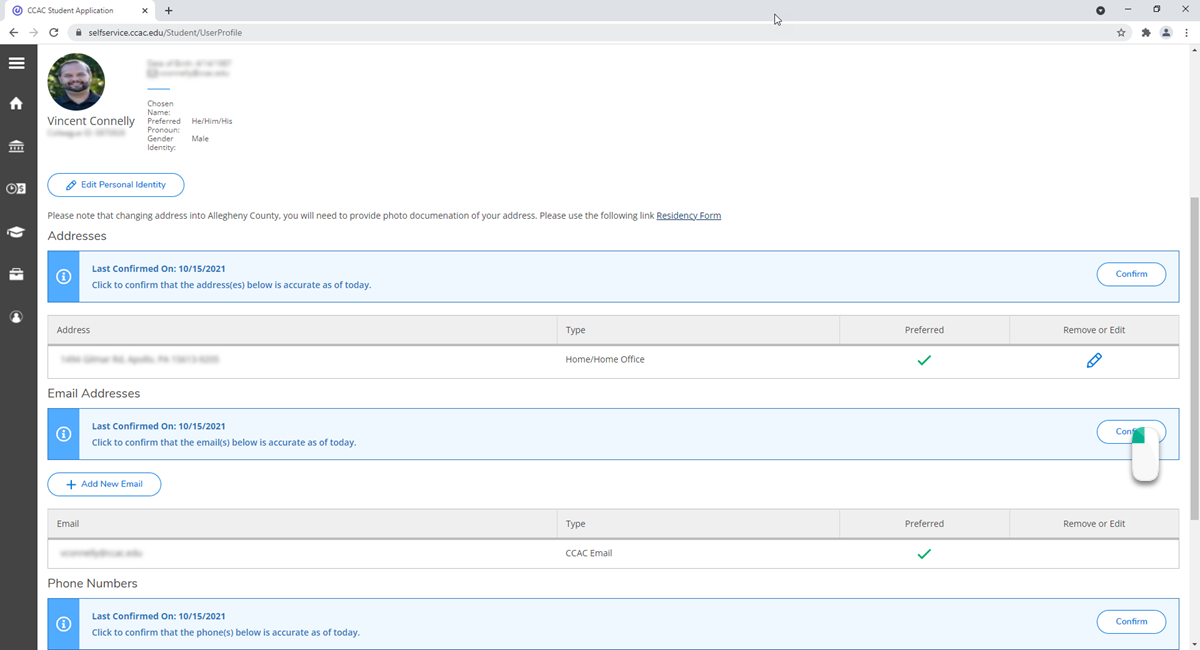
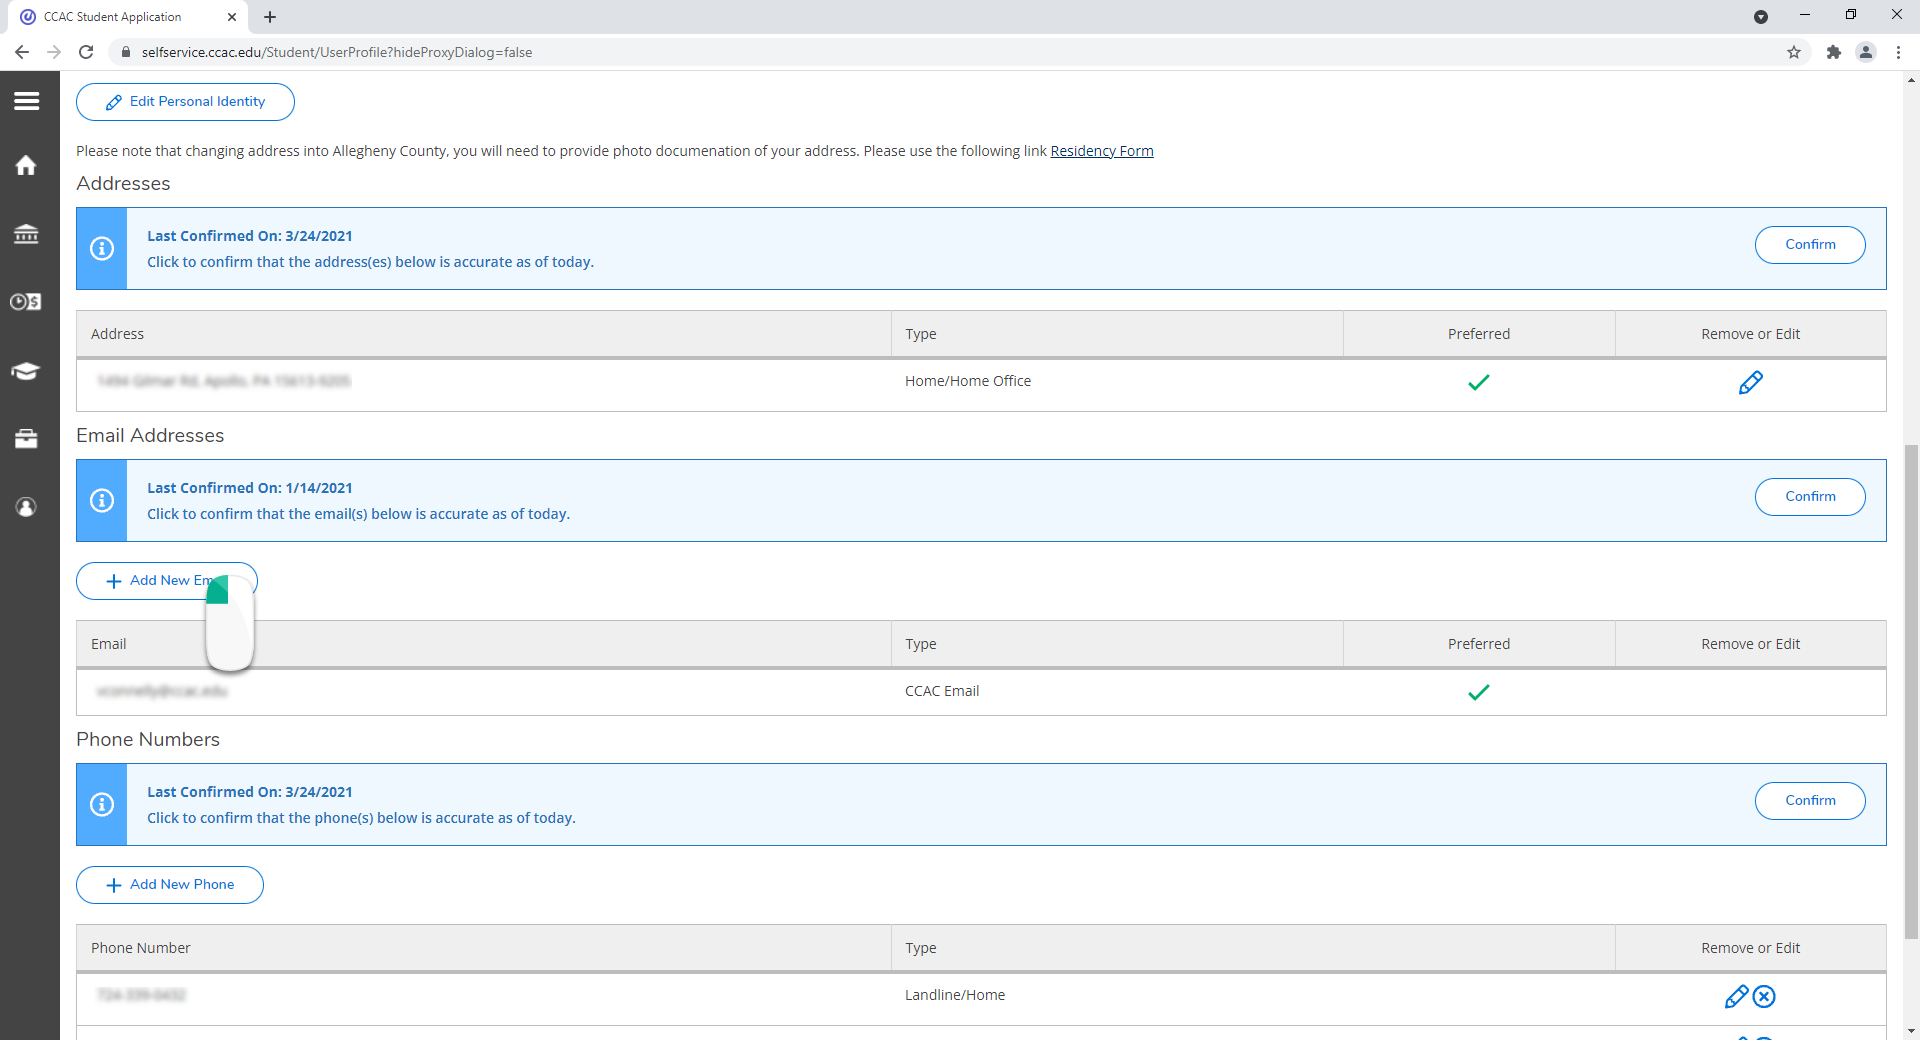
Add an Email Address
- Click the Add New Email button
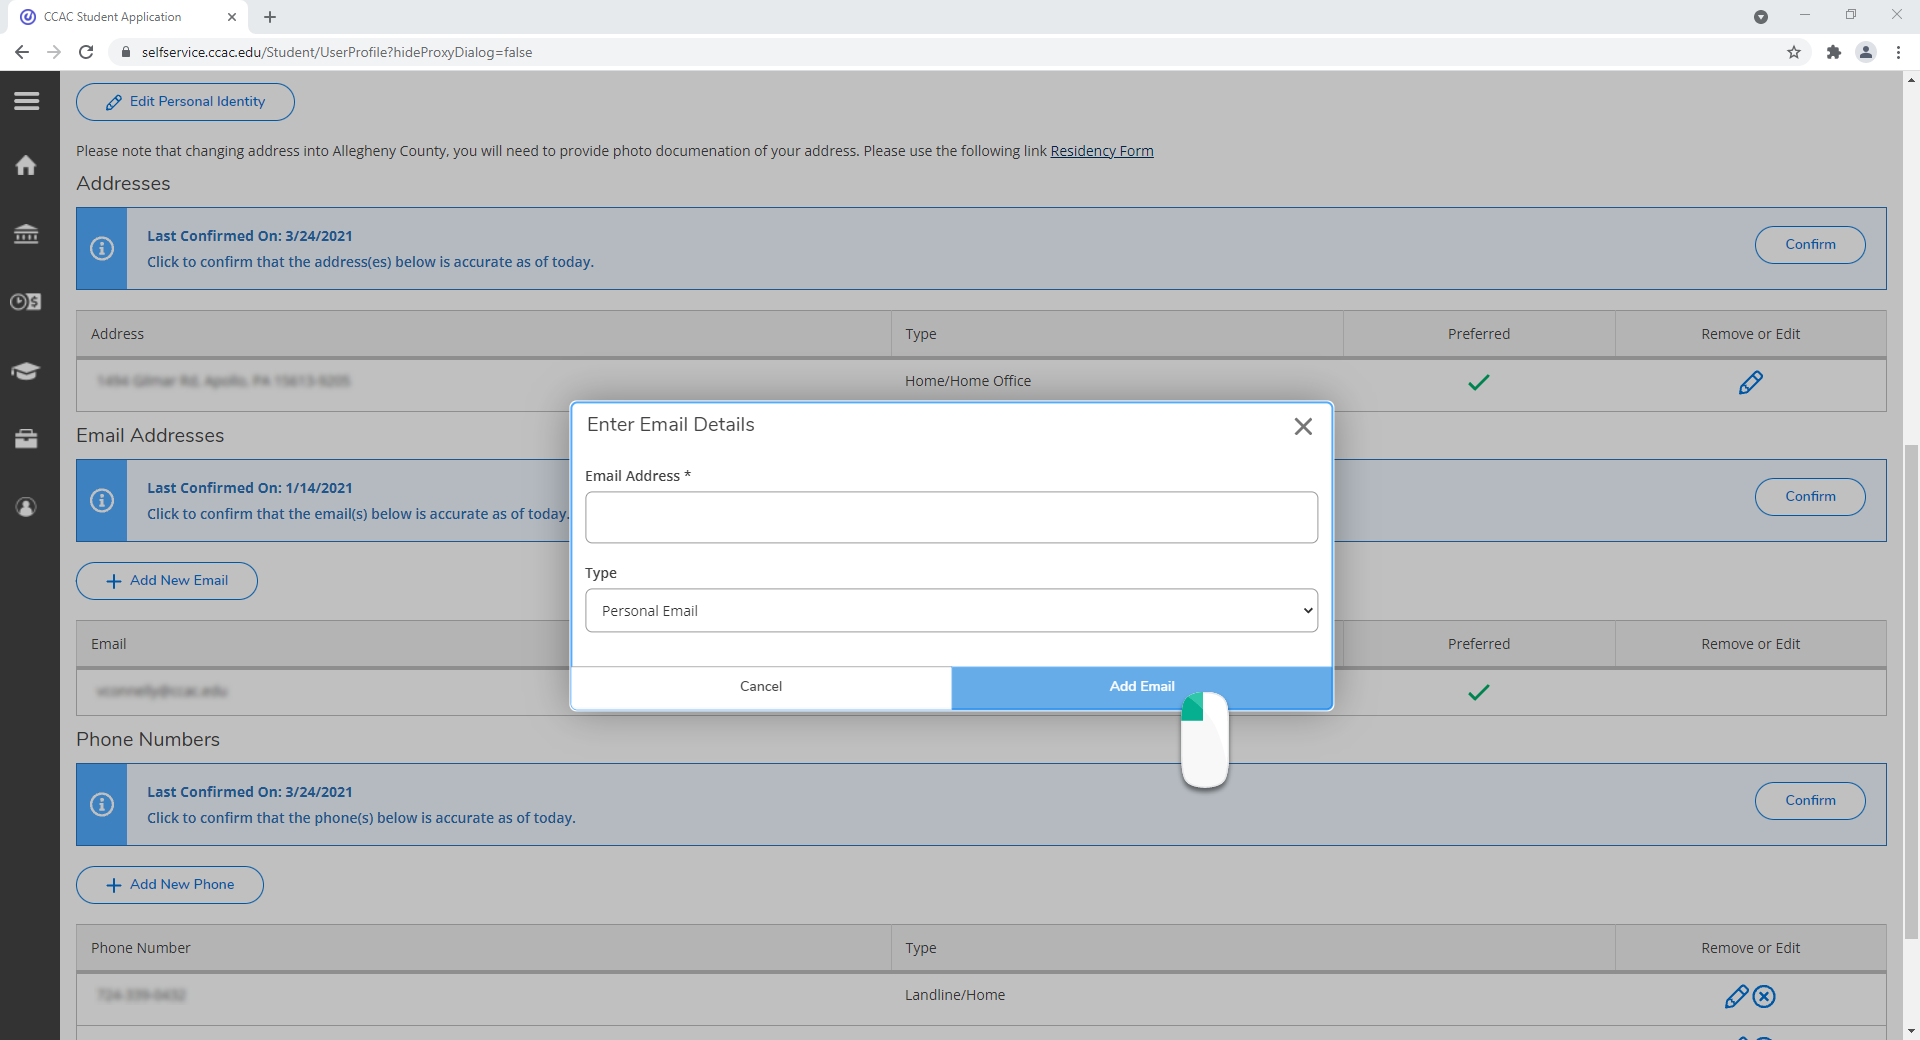
- Enter the email address
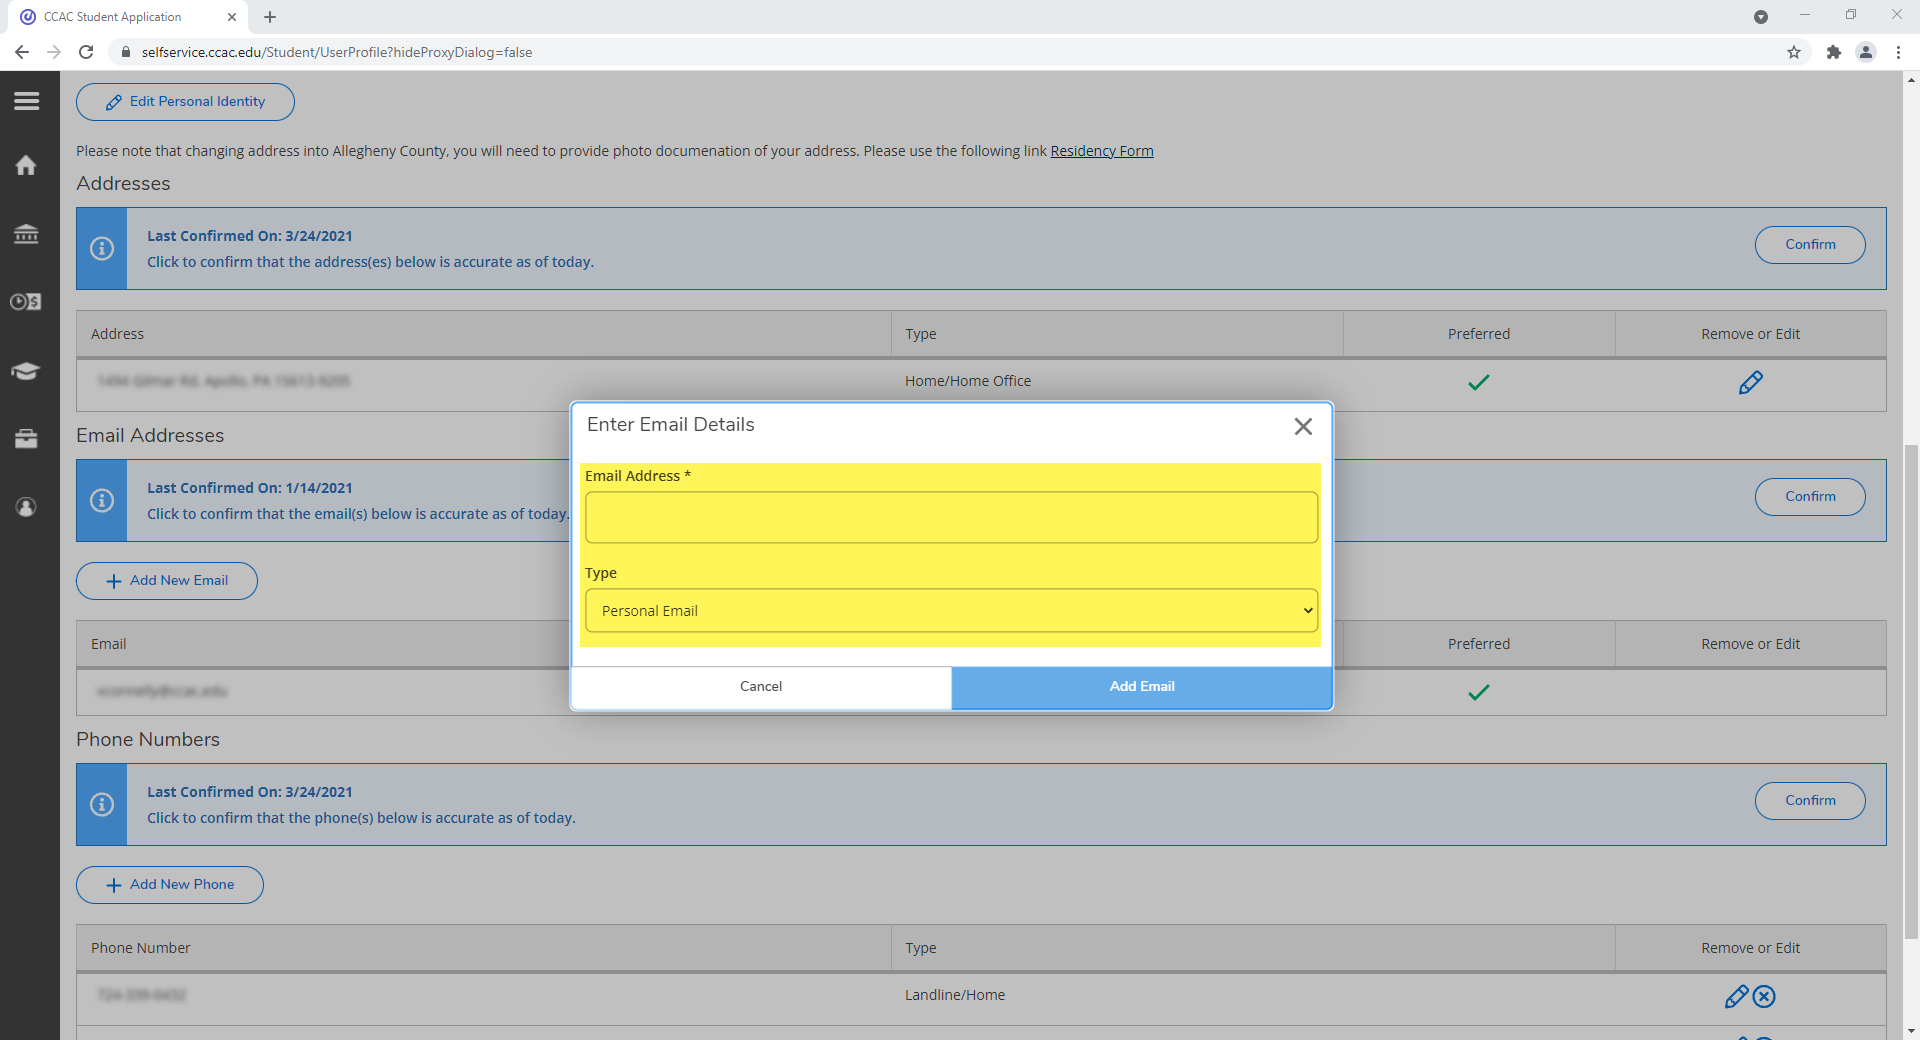
- Click the Add Email button
Edit Email Address
- Click the pencil icon to the email address you want to edit
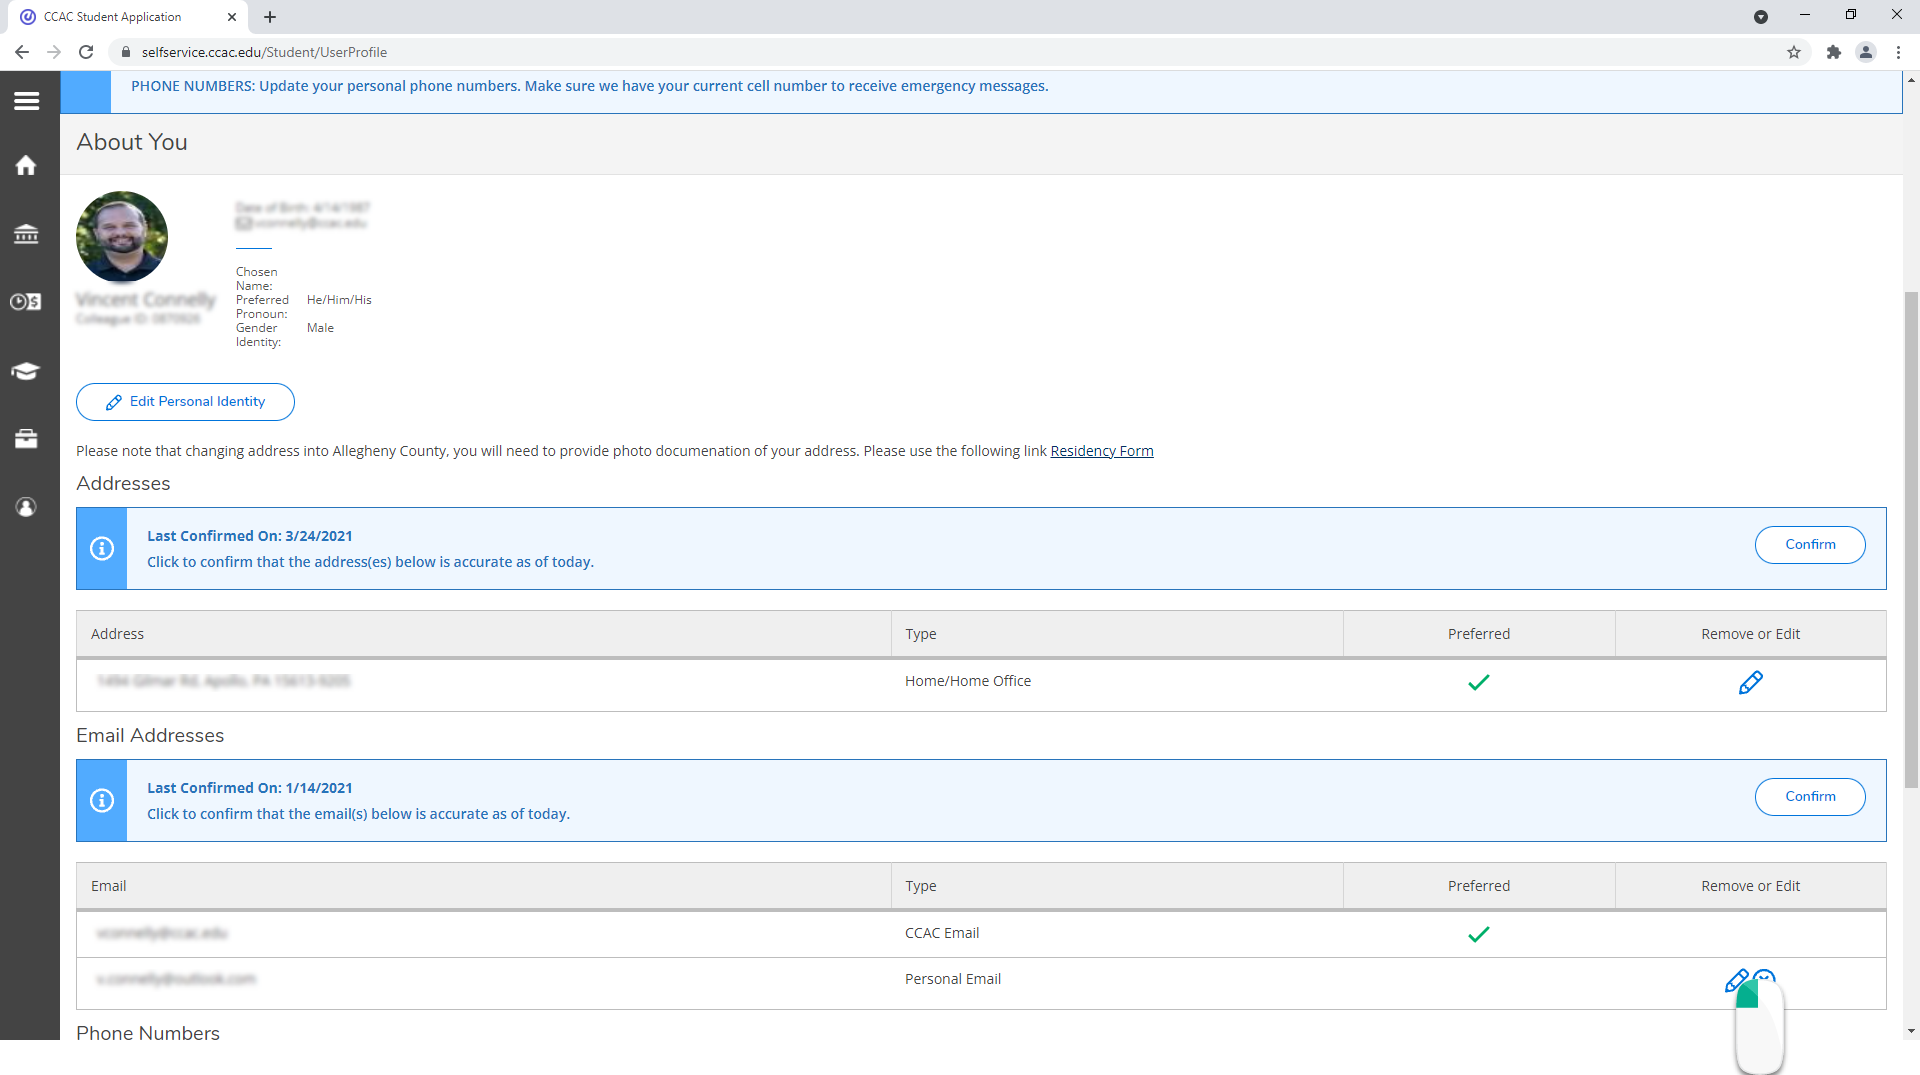
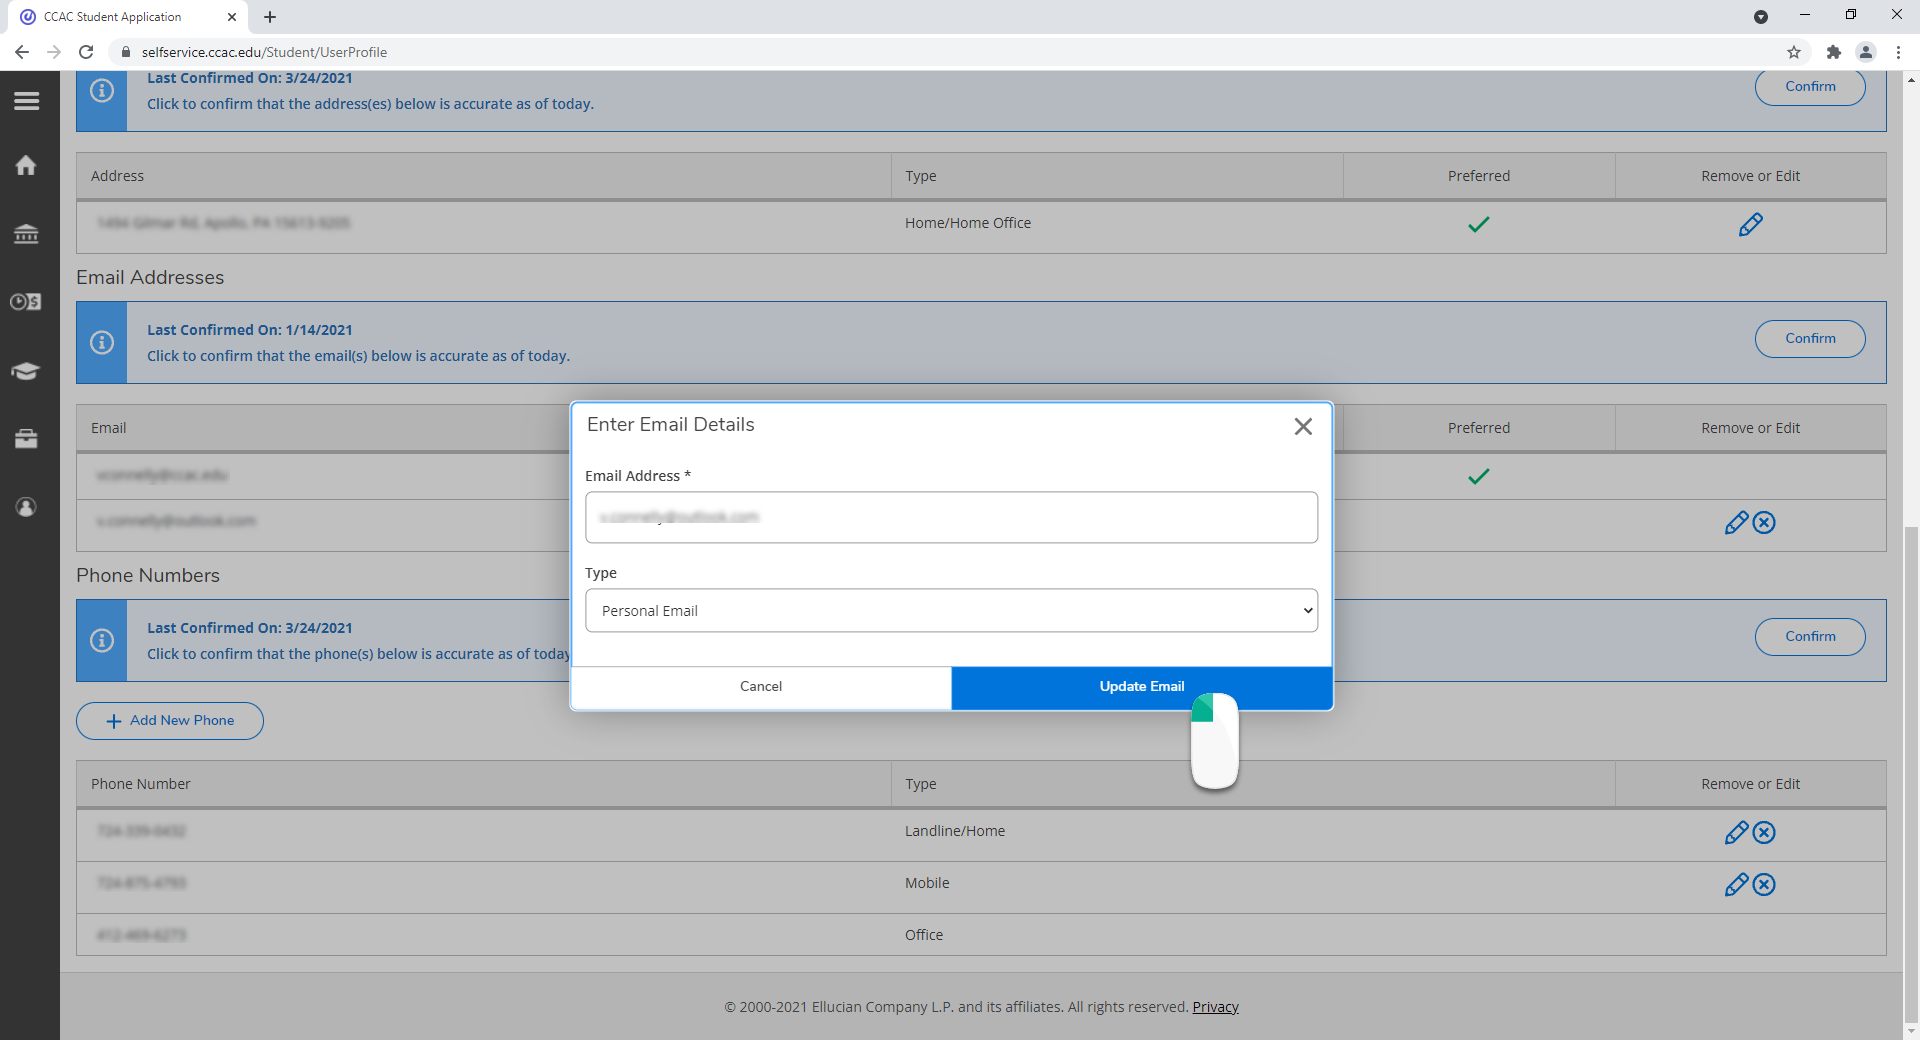
- Update the email address information
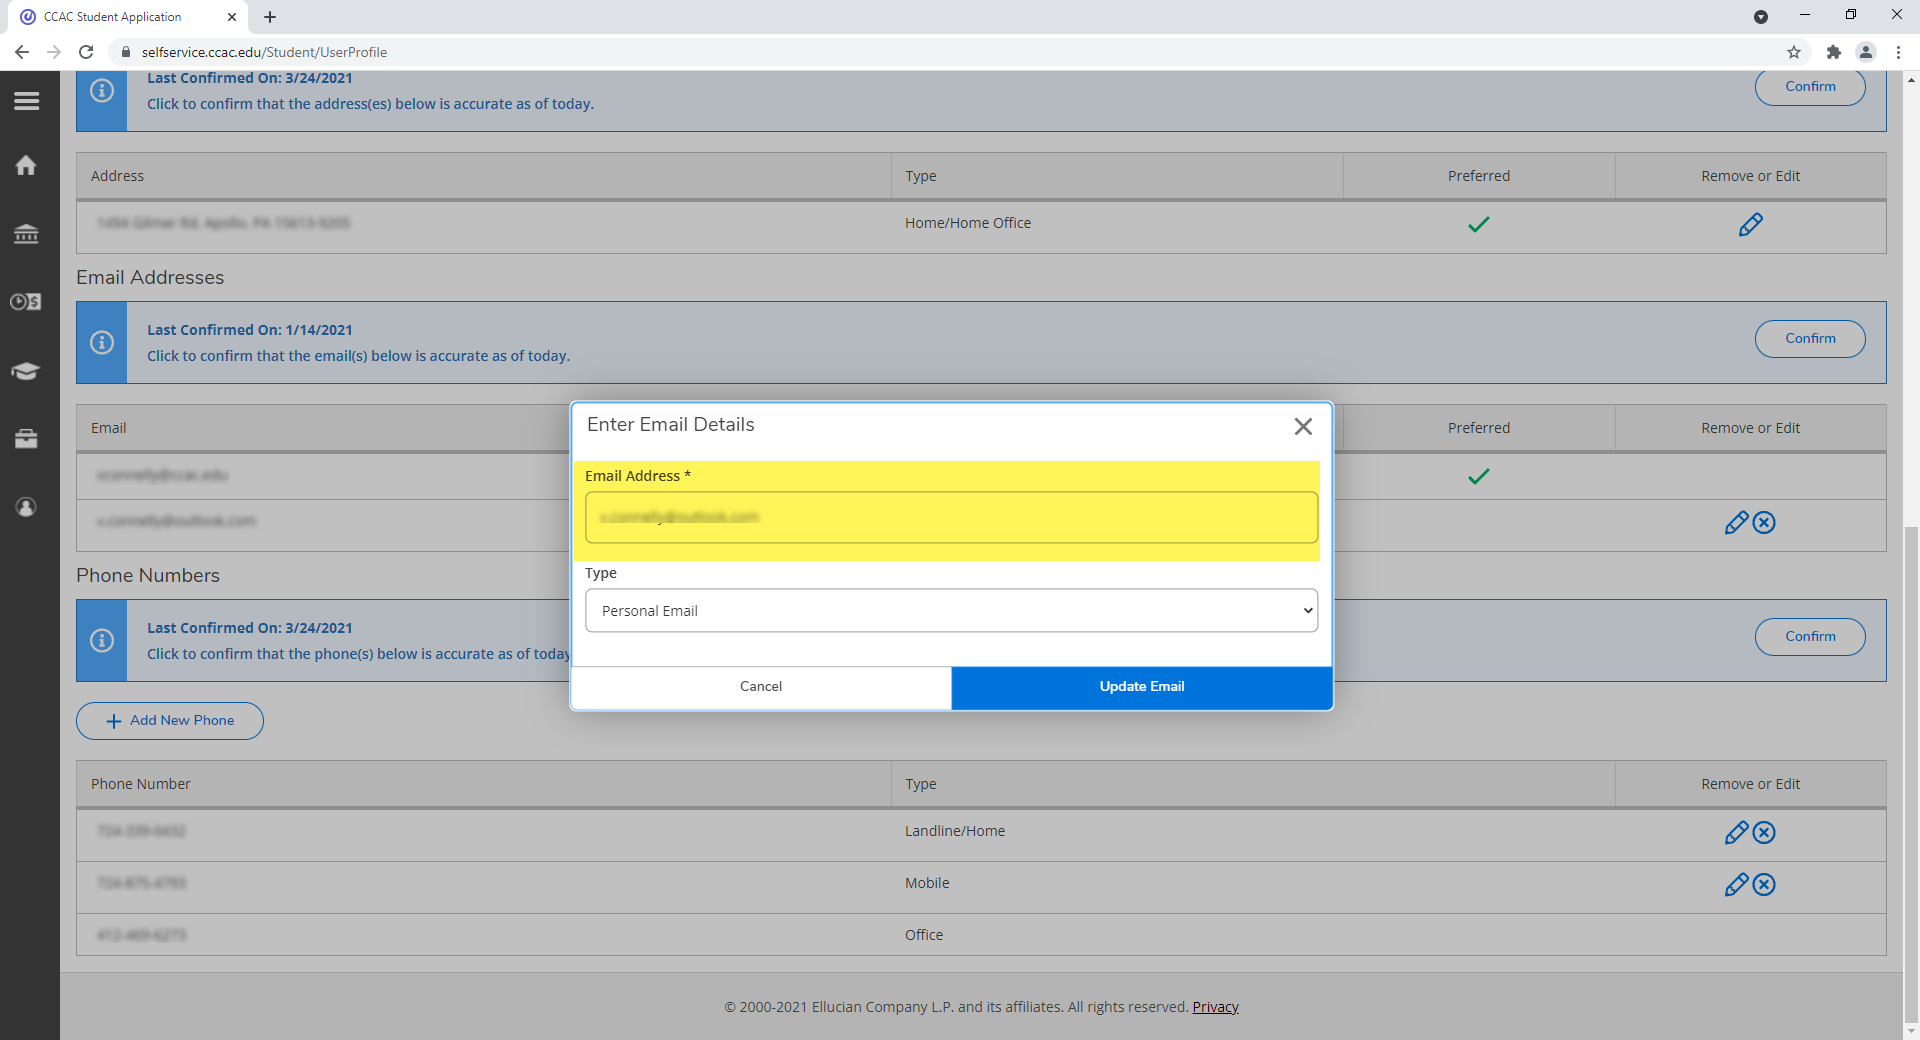
- Click the Update Email button
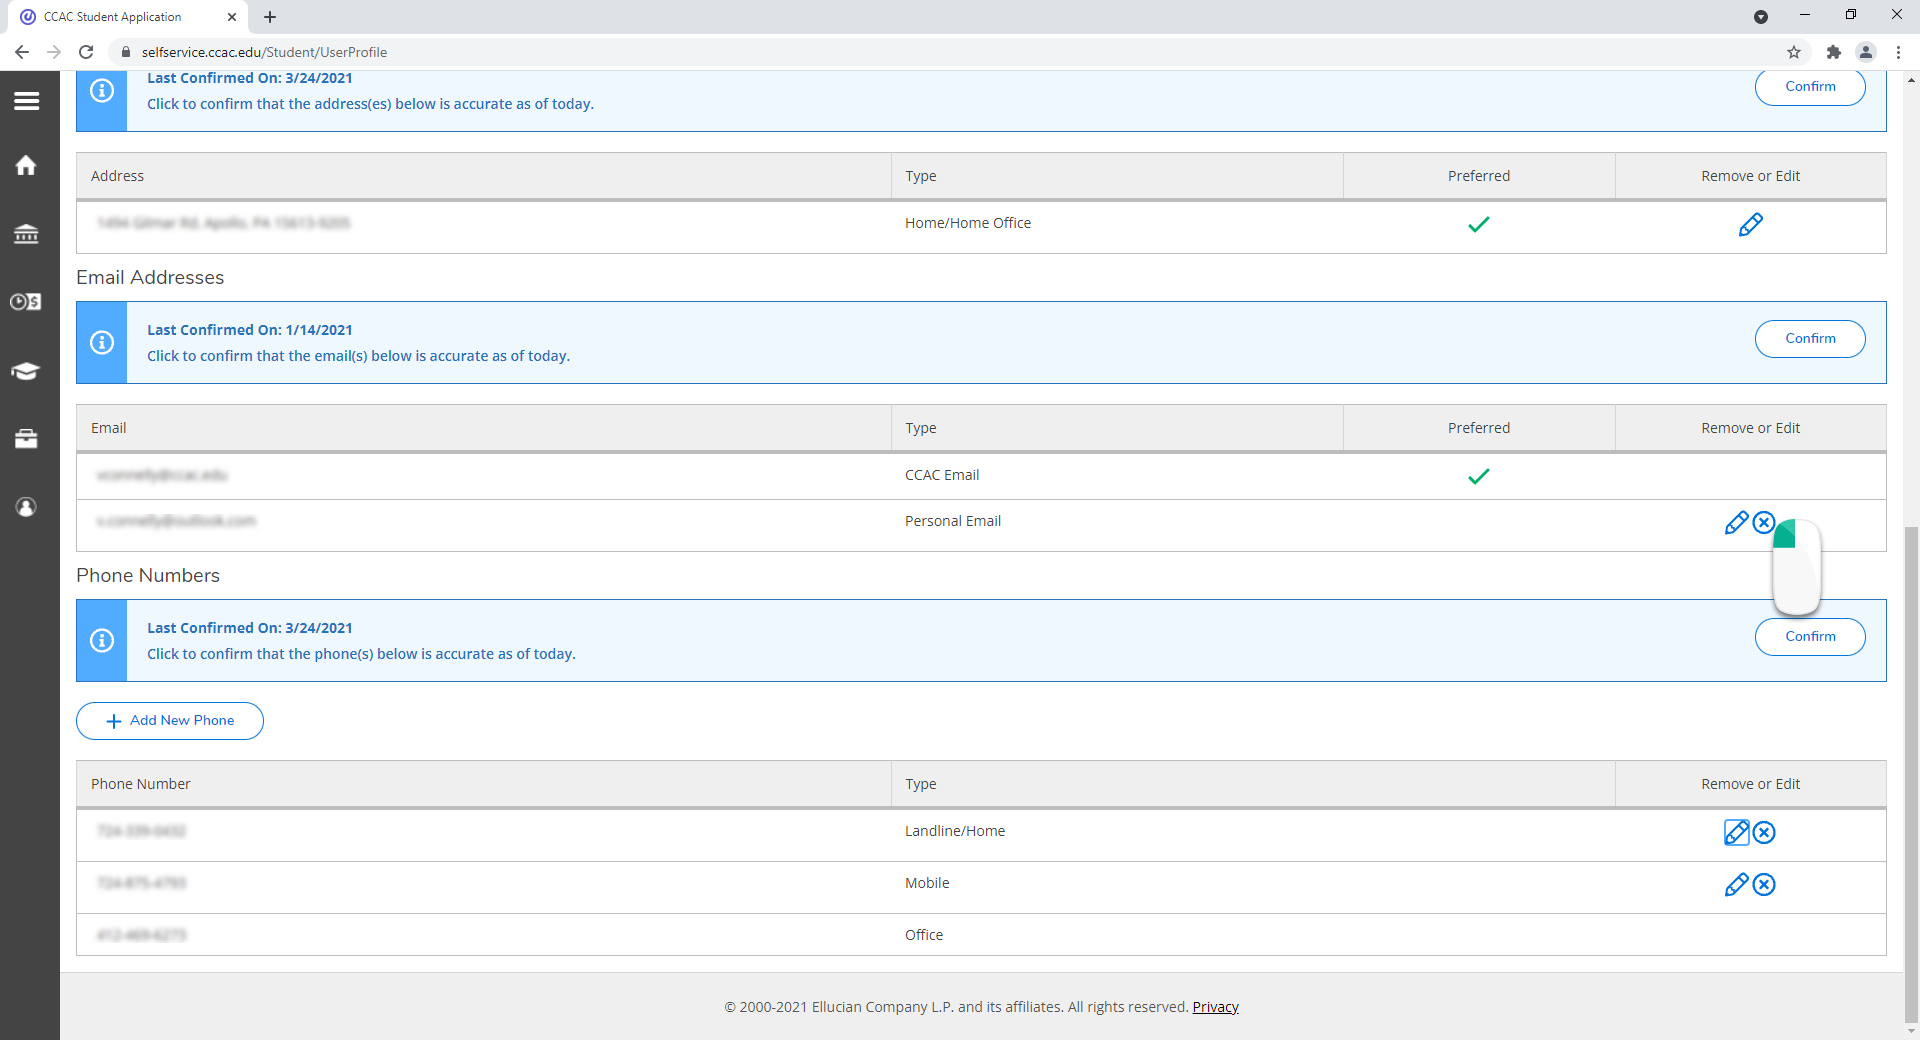
Remove Email Address
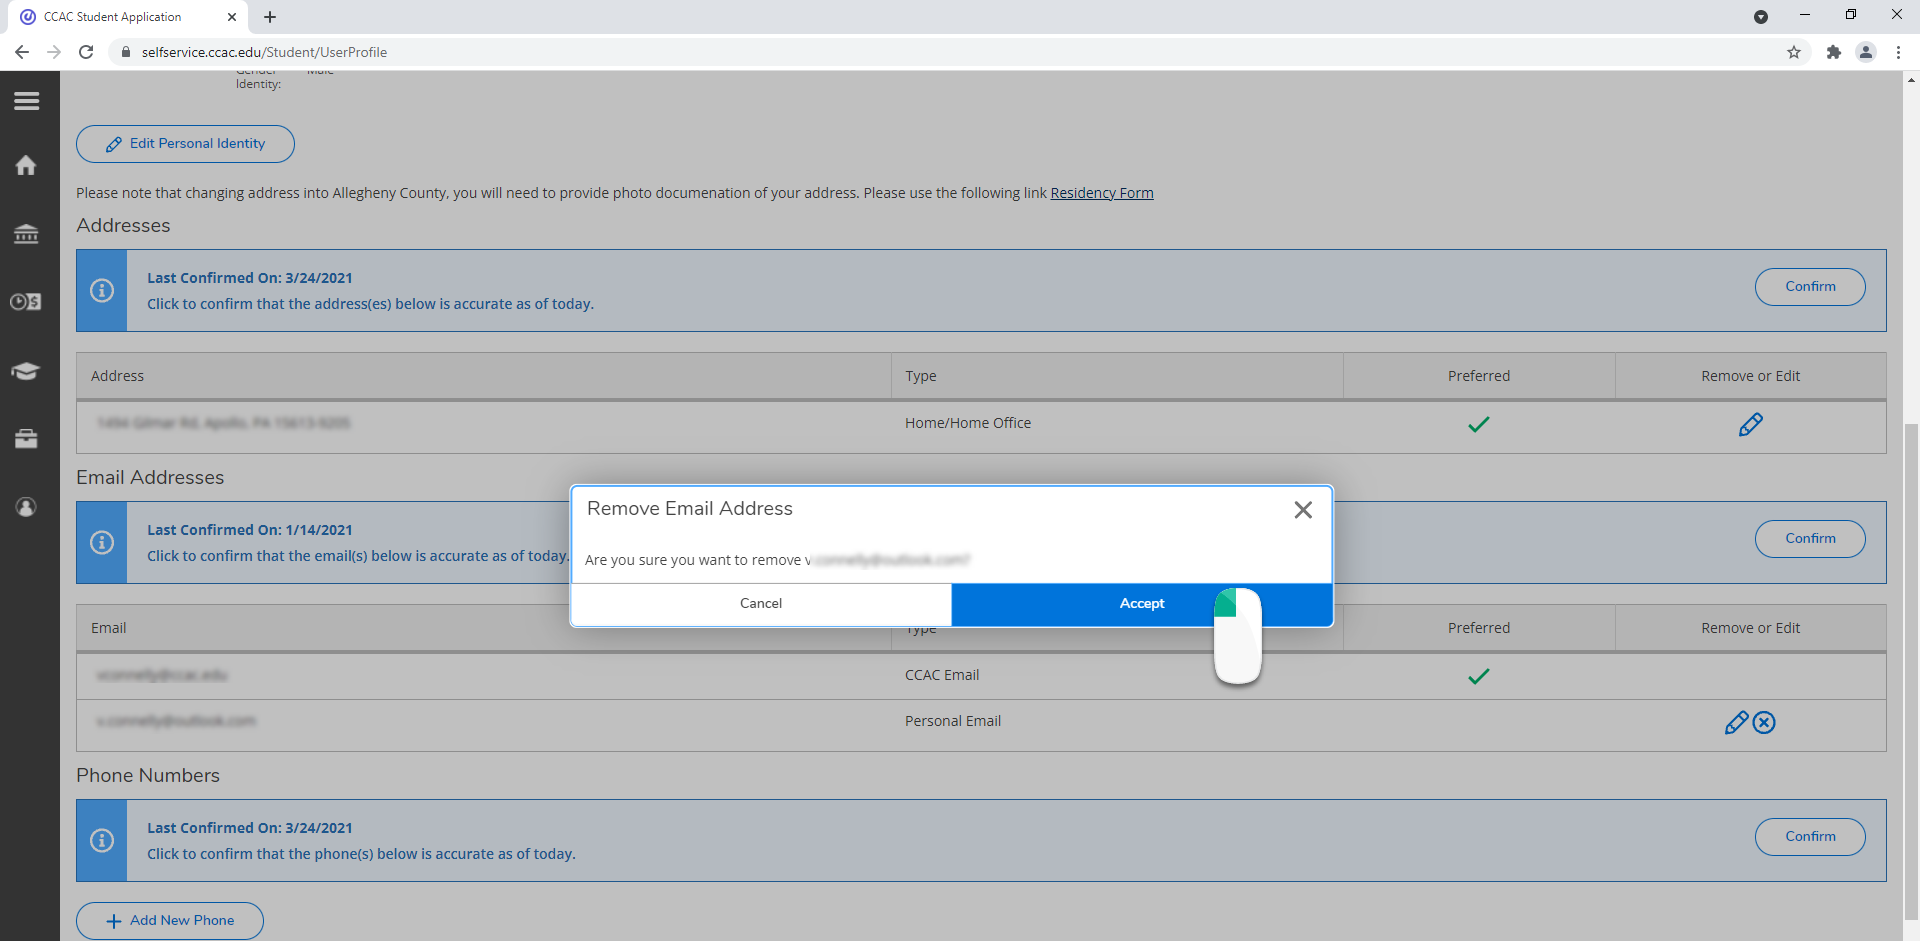
- Click the X icon for the email address you want to remove
- Click the Accept button
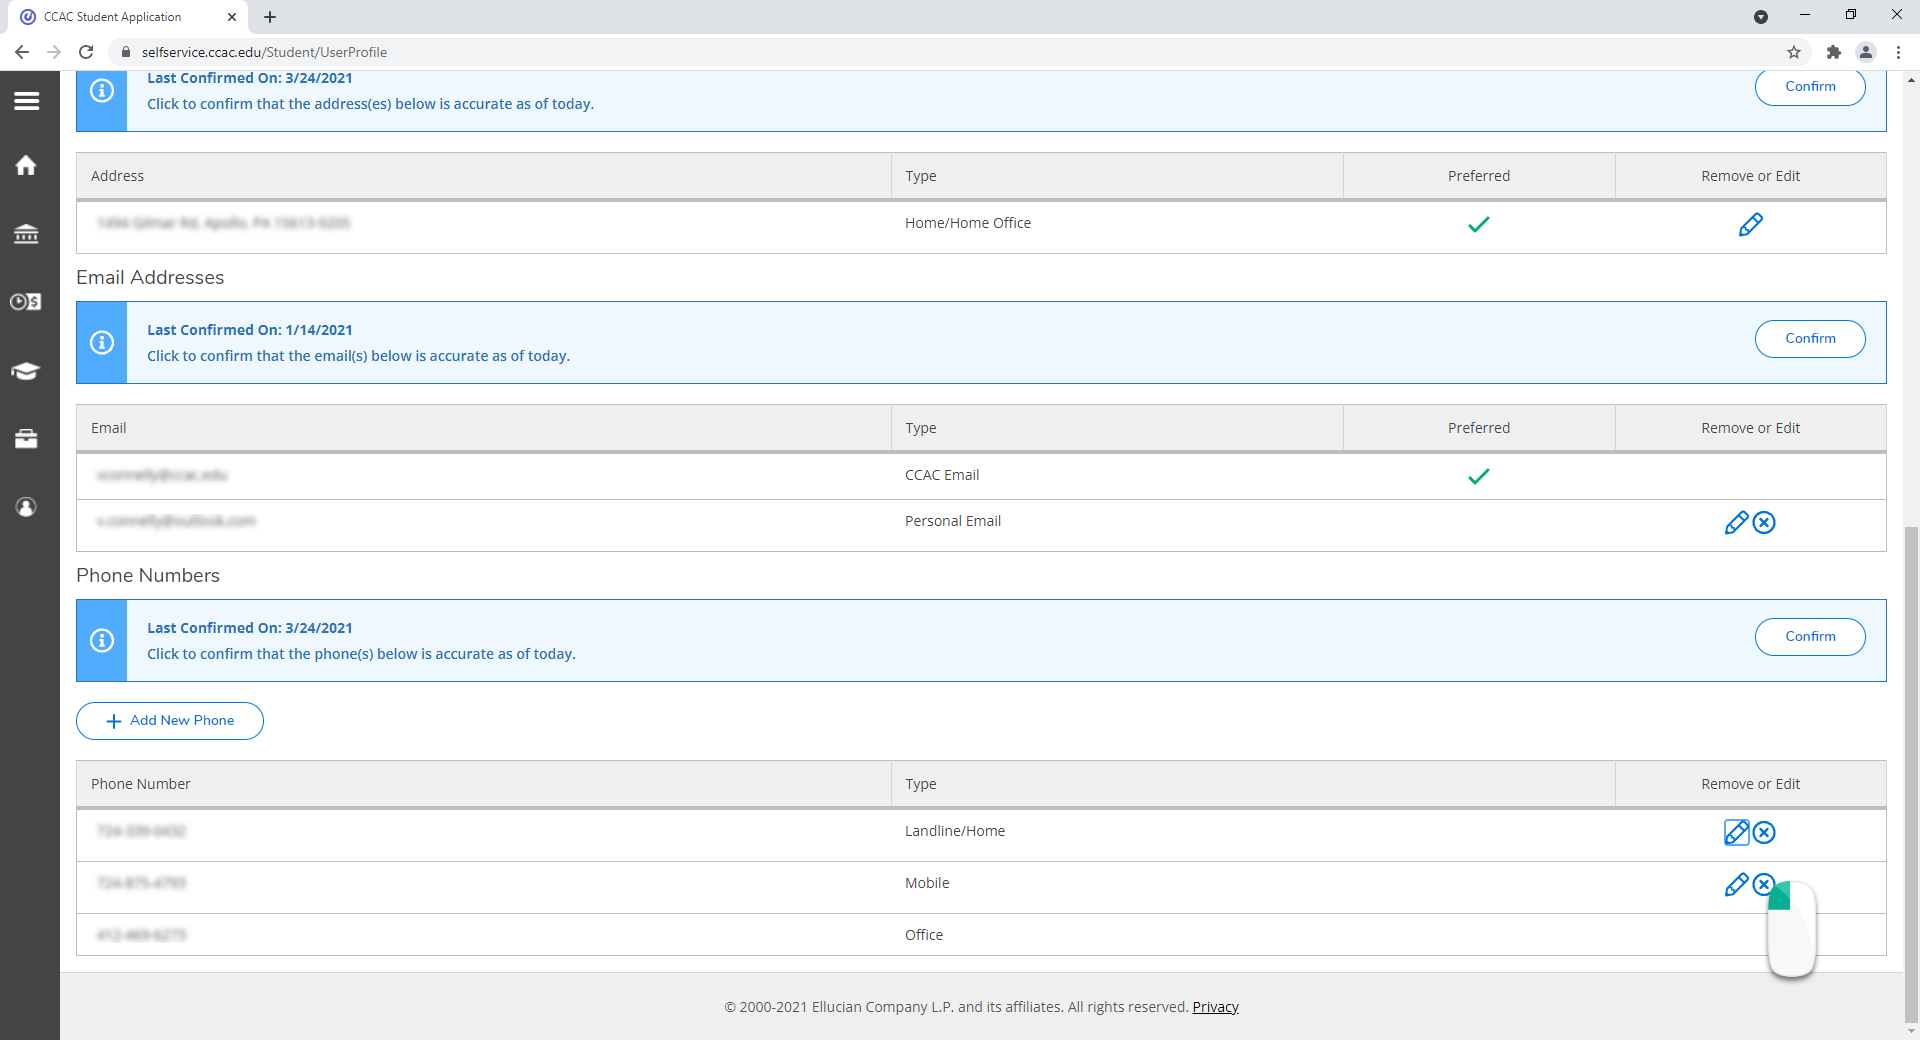
Phone Number
- Scroll down to the Phone Number section
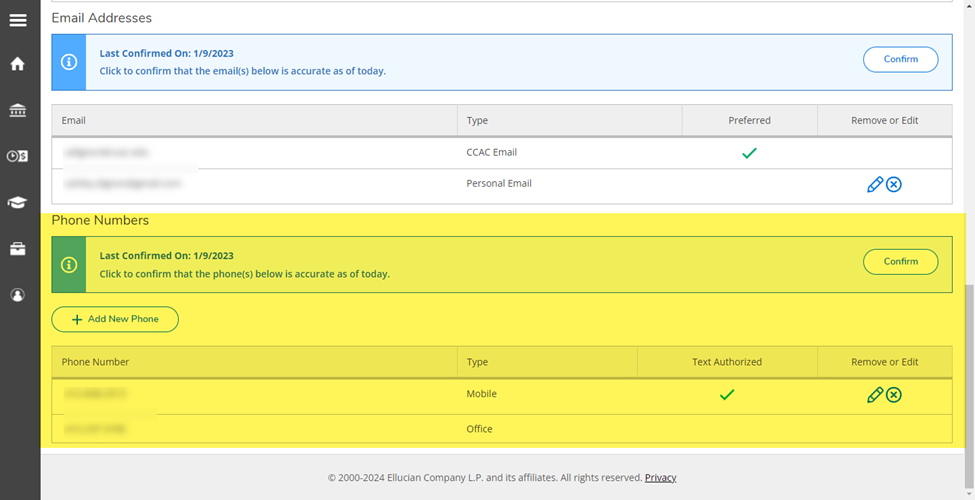
Confirming your Phone Number
- Ensure all the information is up to date
- If it is not, follow the directions below to update your information
- Click the Confirm button
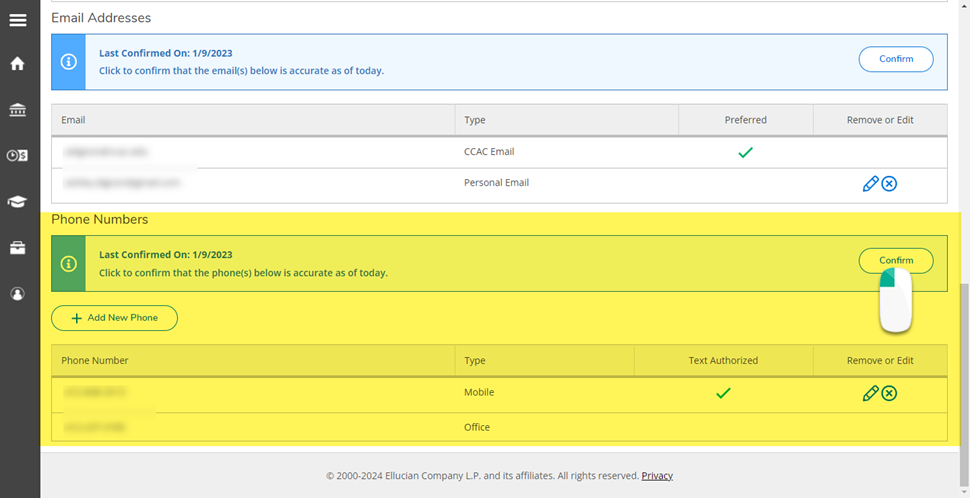
- A notification will appear, and the confirmation date will be updates as well

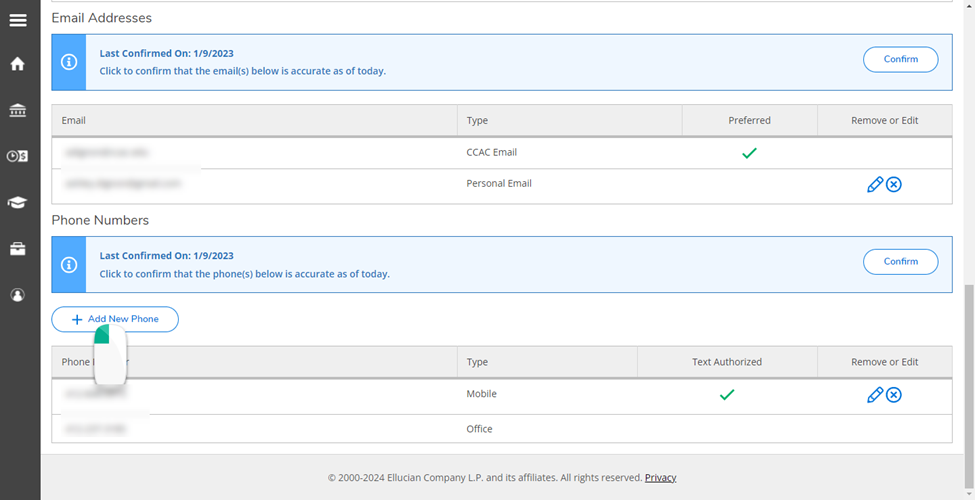
Add a Phone Number
- Click the Add New Phone button
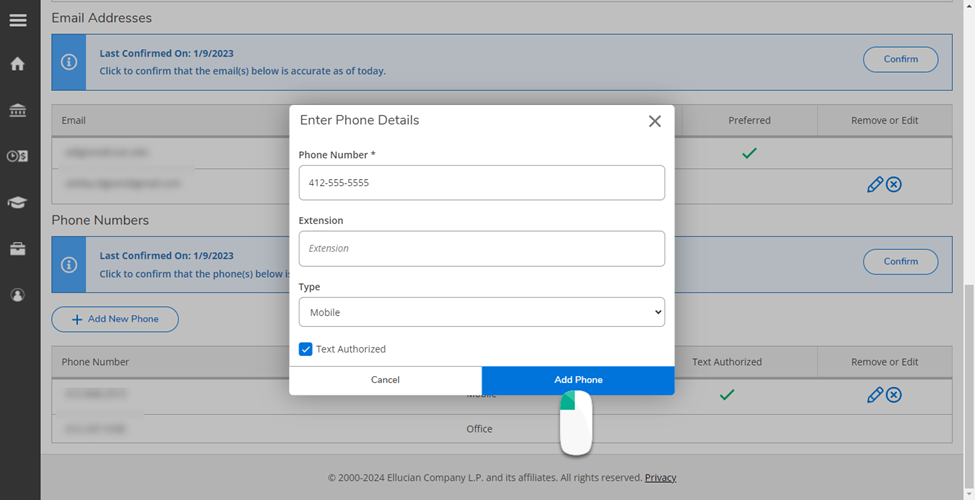
- Enter the phone information, being sure to select the appropriate Type and indicate if you wish to receive text messages:

- Click the Add Phone button
Edit a Phone Number
- Click the pencil icon to the phone number you want to edit

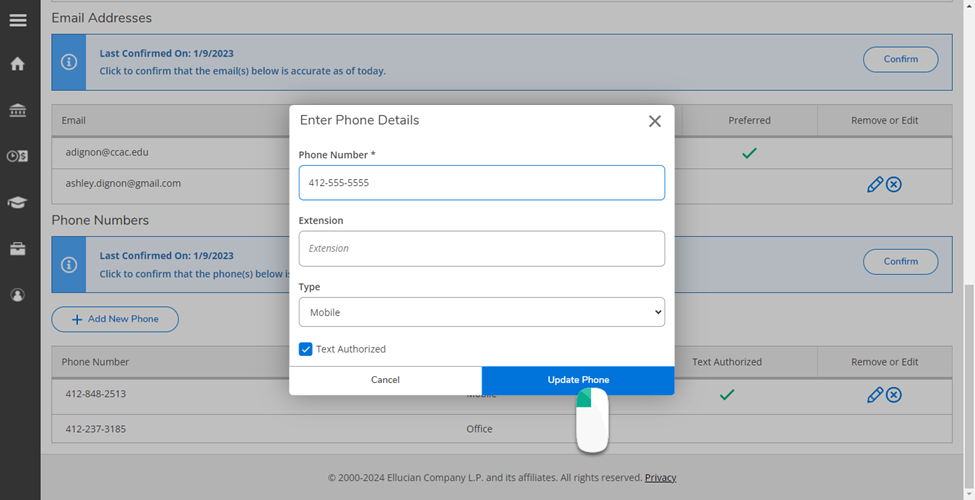
- Update the phone information being sure to select the appropriate Type and indicate if you wish to receive text messages:
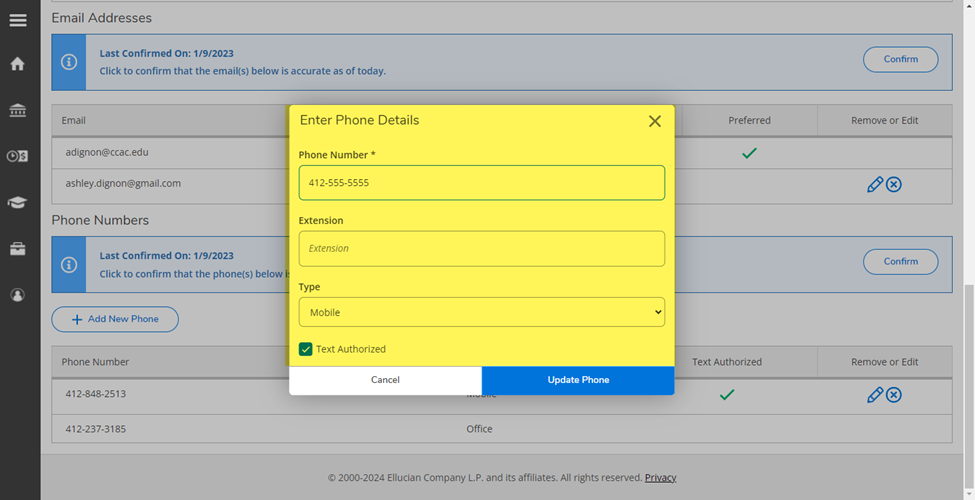
- Click the Update Phone button
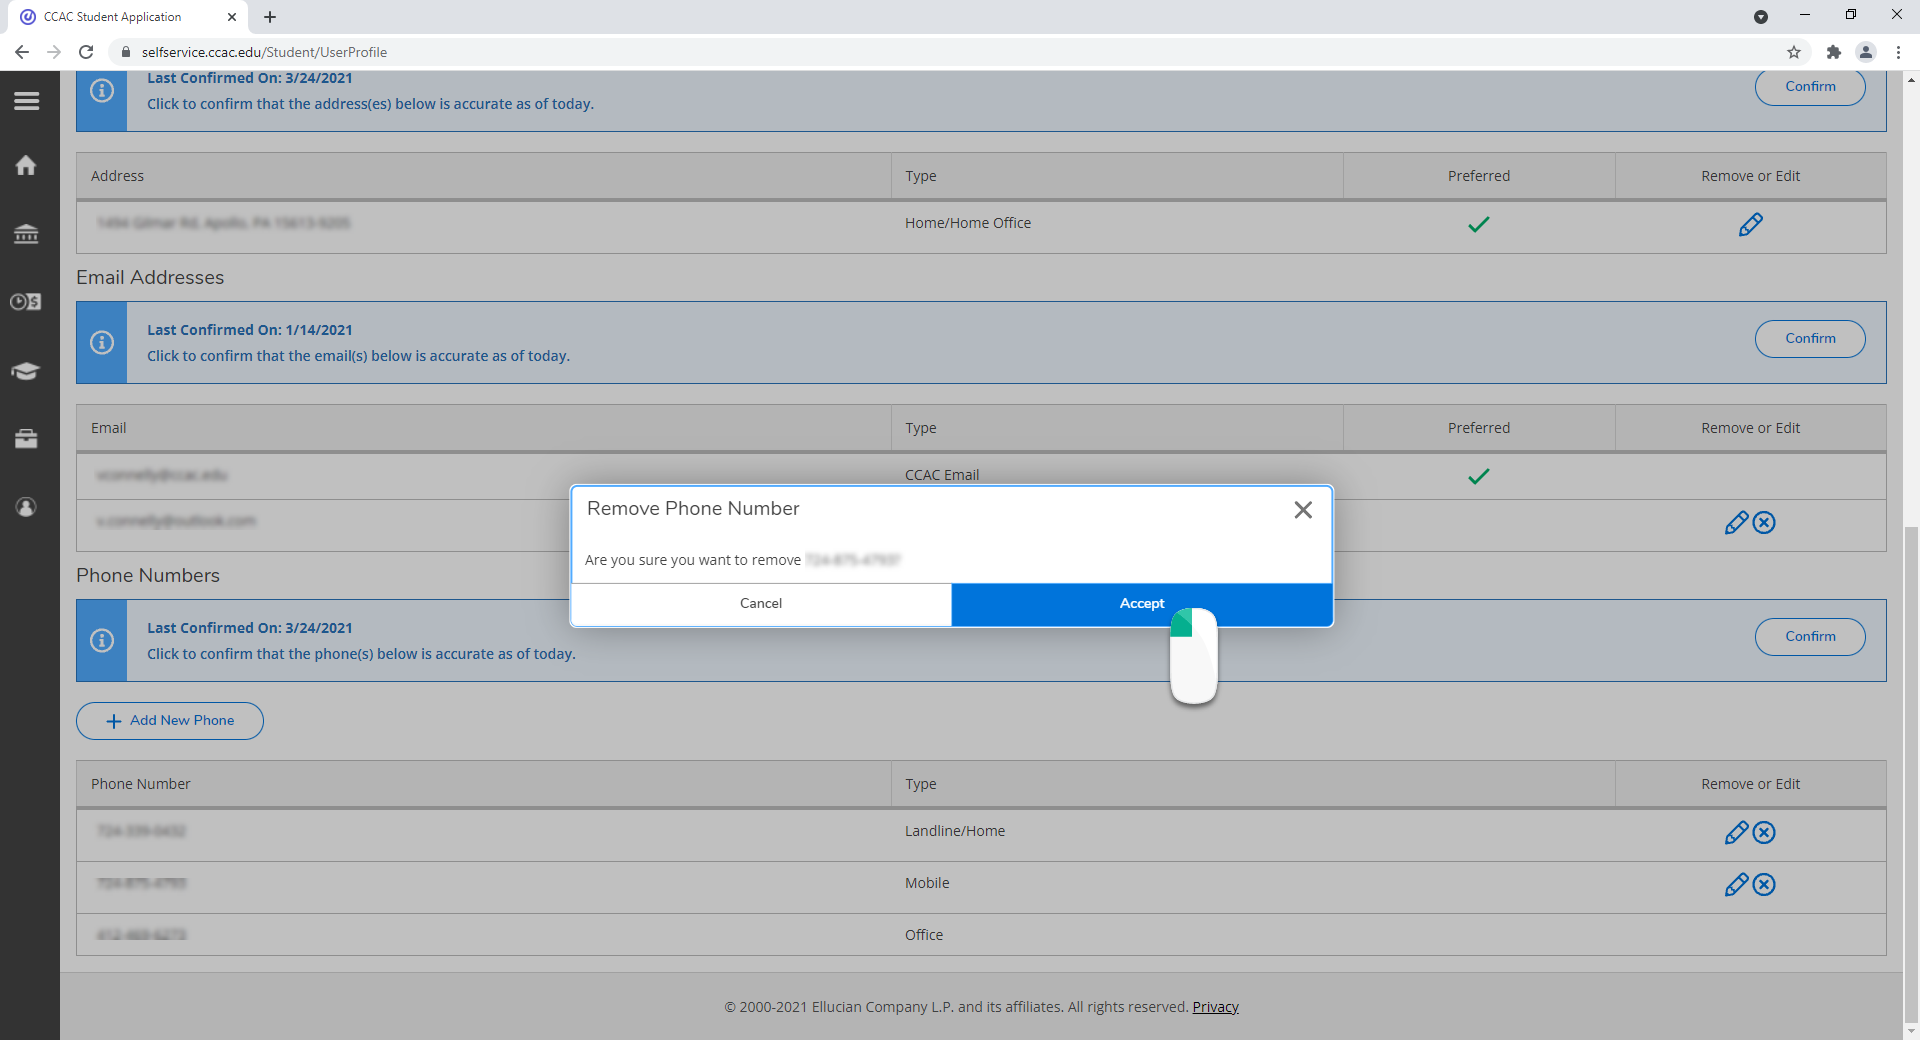
Remove a Phone Number
- Click the X icon to the phone number you want to remove
- Click the Accept button