Power & Setup
Turning On Equipment in Quick Set Mode
- Locate the touch panel backstage / stage left
- If the system doesn't awake, tap the screen
- Tap the CCAC Logo

- Tap the blue Quick Set Mode button
Do not choose Full System Mode, this mode requires IT or someone to operate the sound board.
- The system will begin turning on
- Once on, choose the projector or microphone to adjust the settings

Turning Off Equipment in Quick Set Mode
- Locate the touch panel backstage / stage left

- Tap the power icon

- Tap the YES button

- The system will begin to power down
- Once powered down, the CCAC logo will appear

Video
Setting up Video
- Connect the HDMI Cable to the HDMI In on the Stage Left Input

- From the main screen, tap the projector icon

- Tap the Screen ▽ button

- Tap the Projector ON button

- Tap the Stage Left HDMI button

Projector Image Mute
At some point during the show/presentation the image on the projector may need to be blacked out, but you don't want to turn the projector off. Use the Projector Image Blank button.
- From the main screen, tap the projector icon
- Tap the Projector Image Blank button

Other Projector Video Inputs
Throughout the theater there are other video inputs that you can plug into to show an image to the projector.
- Stage Left HDMI - the HDMI input located stage left by the digital snake
- Stage Right HDMI - the HDMI input located stage right by the digital snake
- Lower Level HDMI - Under the projector
- Resident PC - the computer in the sound booth
- Laptop HDMI - loose HDMI cable in the sound booth
- Blu-ray - the Blu-ray player located in the sound booth
- PTZ Camera - The adjustable camera on beside the projector
TVs for the dressing room and left and right stage
During plays or presentation, it may be important for the people behind the scenes to see the stage. These TVs show the PTZ camera.
To Turn On
- From the main screen, tap the projector icon
- Tap the TV ON button for the TV you want on

To Turn Off
- From the main screen, tap the projector icon
- Tap the TV OFF button for the TV you want off

Audio
Setting up Audio
- From the main screen, tap the microphone icon

- Tap the Mute button for WIRELESS to unmute the microphone
Tap the mute button again to mute the microphone
- Use the △ button to make the volume louder or ▽ button to make the volume softer

Projector/ Program Audio
- From the main screen, tap the microphone icon
- Tap the Mute button for PROGRAM AUDIO
Tap the mute button again to mute the PROGRAM AUDIO
- Use the △ button to make the volume louder or ▽ button to make the volume softer

- If using a computer, make sure your computer's audio is selected as Crestron

Wired Microphone
- Plug a wired microphone into QUICKSET MIC 1, 2, 3 or 4 in the digital snake
The digital snake labels correspond with the touch panel's mic labels.
Example: QUICKSET MIC 1 is MIC 1 on the touch panel
- From the main screen, tap the microphone icon
- Tap the Mute button, for the microphone number you have the microphone plugged into, to unmute the microphone
Tap the mute button again to mute the microphone
- Use the △ button to make the volume louder or ▽ button to make the volume softer

Turning on Wireless Microphone
- Locate wireless microphone RF Mic 1
This microphone can be found in the black storage box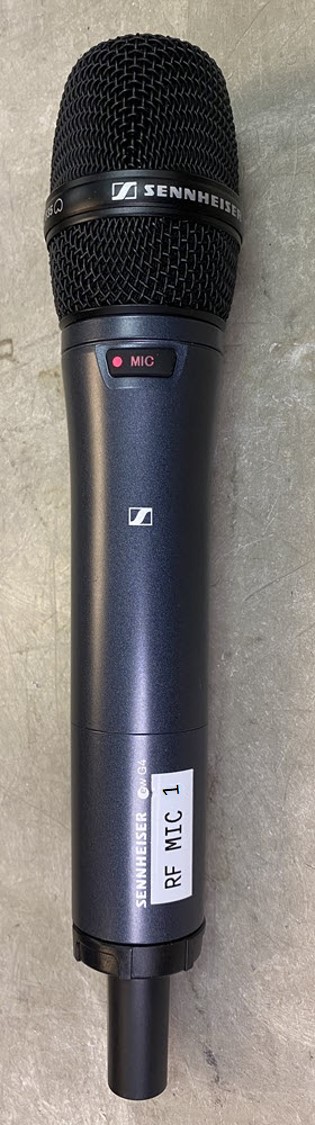
- Turn the microphone over
- Locate the red button
- Press and hold

- When the microphone is on, the LED screen on the microphone will be illuminated

Equipment List
Equipment Information
Table of Contents
Touch PanelBlack Storage BoxWireless MicrophoneDigital Snake and HDMI ConnectionTheater Curtains

Light Switch
Location
- Behind Stage
- Stage Left
- Right of Touch Panel
Features
- Allows you to adjust the brightness in the theater
- 4 Light Level Settings

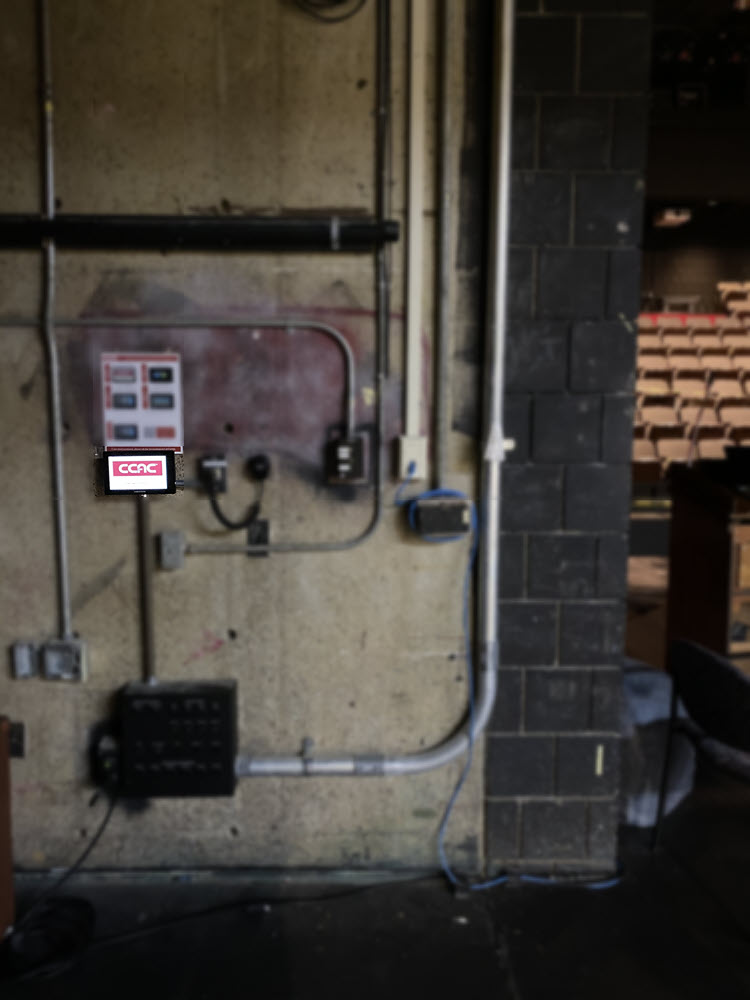
Touch Panel
Location
- Behind Stage
- Stage Left
Features
- Allow users to run the A/V equipment self-service
- Allow IT to run the A/V equipment Full System
- Controls the projector, screen and video inputs
- Controls the Microphones
- Wired
- Wireless

Black Storage Box
Location
- Behind Stage
- Stage Left
Features
- Microphones
- Both Wired and Wireless
- AA Batteries (for wireless microphone only)
- HDMI Cable
- Theater Laptop
- Portable DVD player
- Microphone Cables

Wireless Microphone
Location
- Inside the Black Storage Box
Features
- Labeled RF MIC #
- Mute Button
- Batter Level Indicator on screen
- Power Button (red button) on the bottom
- Requires AA Batteries
- Extra inside Black Storage Box

Digital Snake and HDMI Connection
Location
- Behind Stage
- Stage Left
- Under the Touch Panel
Features
- Allows you to physically connet microphones
- For Quick Set and Full System
- Allows you to connect the HDMI cable to the projector