Please Note
Before beginning the process, please download the Microsoft Authenticator app to your phone from an official app store such as Google Play or the Apple App Store. You will need the app for step 7 of the process below.
A video walkthrough is available on the Microsoft website.
- Go to https://mysignins.microsoft.com/security-info
- Sign in using your CCAC Email Address and click Next

- Enter your password and click Sign in

- You should be on the Security Info page, if not click on Security Info

- Click Add sign-in method

- Select your method (it is recommended that you select Microsoft Authenticator and one other method from the list). Do Not Select Hardware Token unless you have a personal hardware token available

- Follow the prompts of your selected method. If you choose one of your selections as Microsoft Authenticator, please continue if you need assistance with the process. This process should be completed on a computer
- Open the app and click Add account or the + icon on the top-right of the app

- Choose Work or school account

- Choose Next

- You will see a QR code. Scan the QR code. Click Next
- You may need to allow the app to have access to your phone’s camera

- On your phone, select Scan QR Code
- Your account should now appear on Microsoft’s Authenticator app’s home screen

- On your computer screen, you will be asked to “try it out." Choose Next

- The app will generate a number on your computer screen, and it will ask you to enter the number on your phone

- Select Yes
- On your computer, you may have to click the Next button after the Yes turns blue.
Otherwise, you will get a message showing the notification was approved. Then choose Next
- On your computer, you may have to click the Next button after the Yes turns blue.
- When you complete the steps correctly, the following screen will appear – click Done

If you would like to setup an additional authentication method
Starting from step 6 above, you can follow these alternate instructions. Having an alternate authentication method can help prevent you from being locked out of your account if something happens to your primary login method.
Phone
- In the pop-up on the computer, enter in the phone number that you would want to get a text message to and click Next.

- You will then be prompted to enter in the code sent to you by text message. Enter the code you recieved in a text and click Next.

- You will get a message saying Verification complete, and have succesfully added your phone number as a method to recieve MFA prompts. Click Done.

YubiKey Passkey
What is a Passkey?
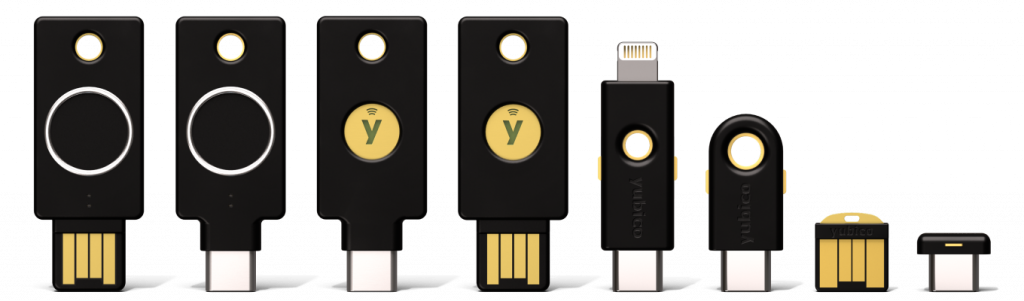
Passkeys allow you to sign in to Microsoft services using a hardware security key such as a YubiKey. This enhances security and simplifies login. To learn more about Yubikeys specifically, you can go to Yubico's website.
Prerequisites before you begin
- You must have a supported YubiKey.
- You must be allowed to register security keys by your organization’s admin.
- You must be using a supported browser:
- Microsoft Edge
- Google Chrome
1. Go to Your Microsoft Account Page
- Open a browser and go to:
https://myaccount.microsoft.com/ - Sign in with your Microsoft/Work account.
- Click on the Security Info tab.
2. Add a New Authentication Method
- Click + Add sign-in method.
- In the dropdown menu, select Security key.

- Choose USB device (for a physical YubiKey you plug in)

- Click Add.
3. Begin Security Key Setup
You’ll be prompted with a Microsoft setup wizard:
- Select USB (for YubiKey).
- When asked, insert your YubiKey into your computer’s USB port.
- If prompted by Windows Security or your browser, tap the YubiKey’s circle contact to verify presence.
4. Create a PIN for Your YubiKey
If this is the first time using passkey/FIDO2 features on your YubiKey:
- You'll be asked to create a PIN.
- Enter a secure PIN and confirm.
This PIN is required for future authentication events.
5. Name Your YubiKey
- After verification, you will return to Microsoft’s setup.
- Give your YubiKey a friendly name like:
- “YubiKey 5 – Work Laptop”
- “USB Passkey”
- Click Done.
6. Confirm the Passkey is Registered
On the Security info page:
- You should now see Security key listed as a sign-in method.
- Optional: Click Security key to test or remove it.
How to Sign-in with Your YubiKey Passkey
When signing into Microsoft apps:
- Choose Sign in with a security key.
- Insert your YubiKey.
- Enter the PIN (if required).
- Tap the gold contact on the YubiKey.
You’re in.
Changing the default sign-in method
Set your default method to what works best for you
If you have set multiple sign-in methods you may want to change which option it defaults to in order to keep your day flowing quickly. The Microsoft website has more information on the different types of authentication methods and how they function, so you can set the default that works best for yourself.
- From the Microsoft security info page (Step 4 above), click the Change option

- In the pop-up use the dropdown menu to select your desired default method

- Click confirm

- You will get a green pop-up that says “Your default sign-in method was updated” and the default sign-in method shows will change to your selected method.
