Who is a New Visiting Student?
- You do not want a degree from CCAC
- You go to another college and want to take a course(s) at CCAC
- You have never attended CCAC or taken a CCAC course
Steps to Applying and Getting Started
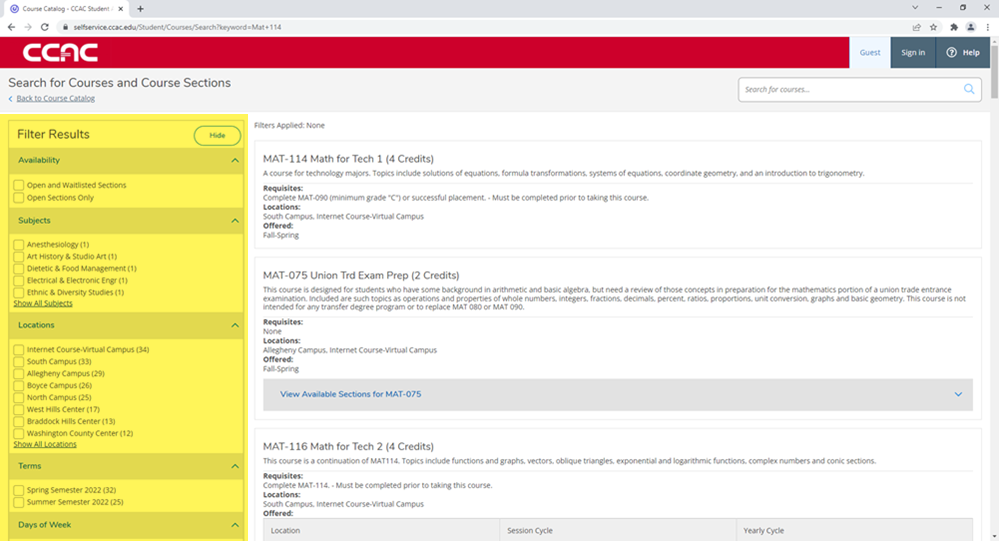
Find the Course(s) you are Looking for
- From a web browser, go to https://selfservice.ccac.edu/Student/Courses
- Type the course name or course name and number into the search

- Click the magnify glass to search

- Your search results will appear
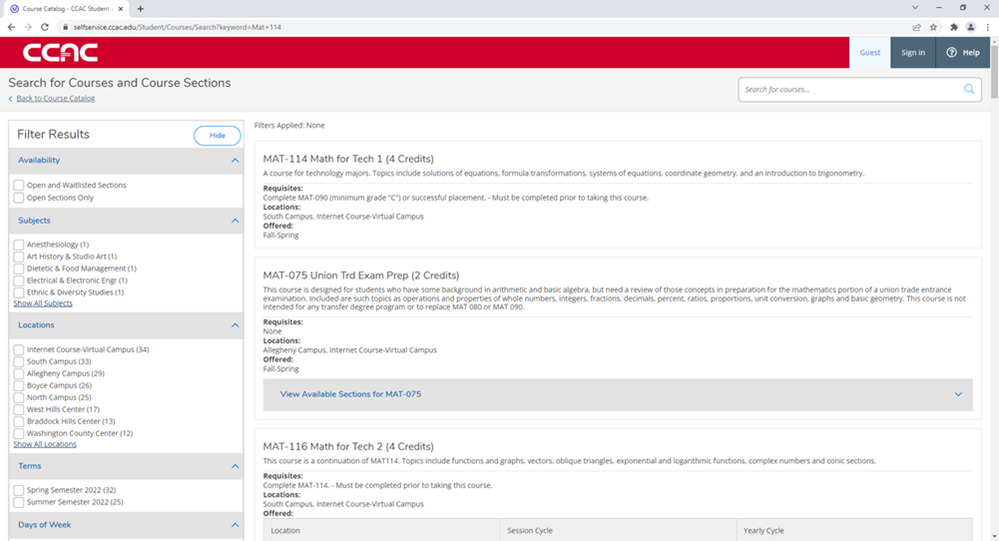
- Use the filters on the left to narrow your results
- Use the filters on the left to narrow your results
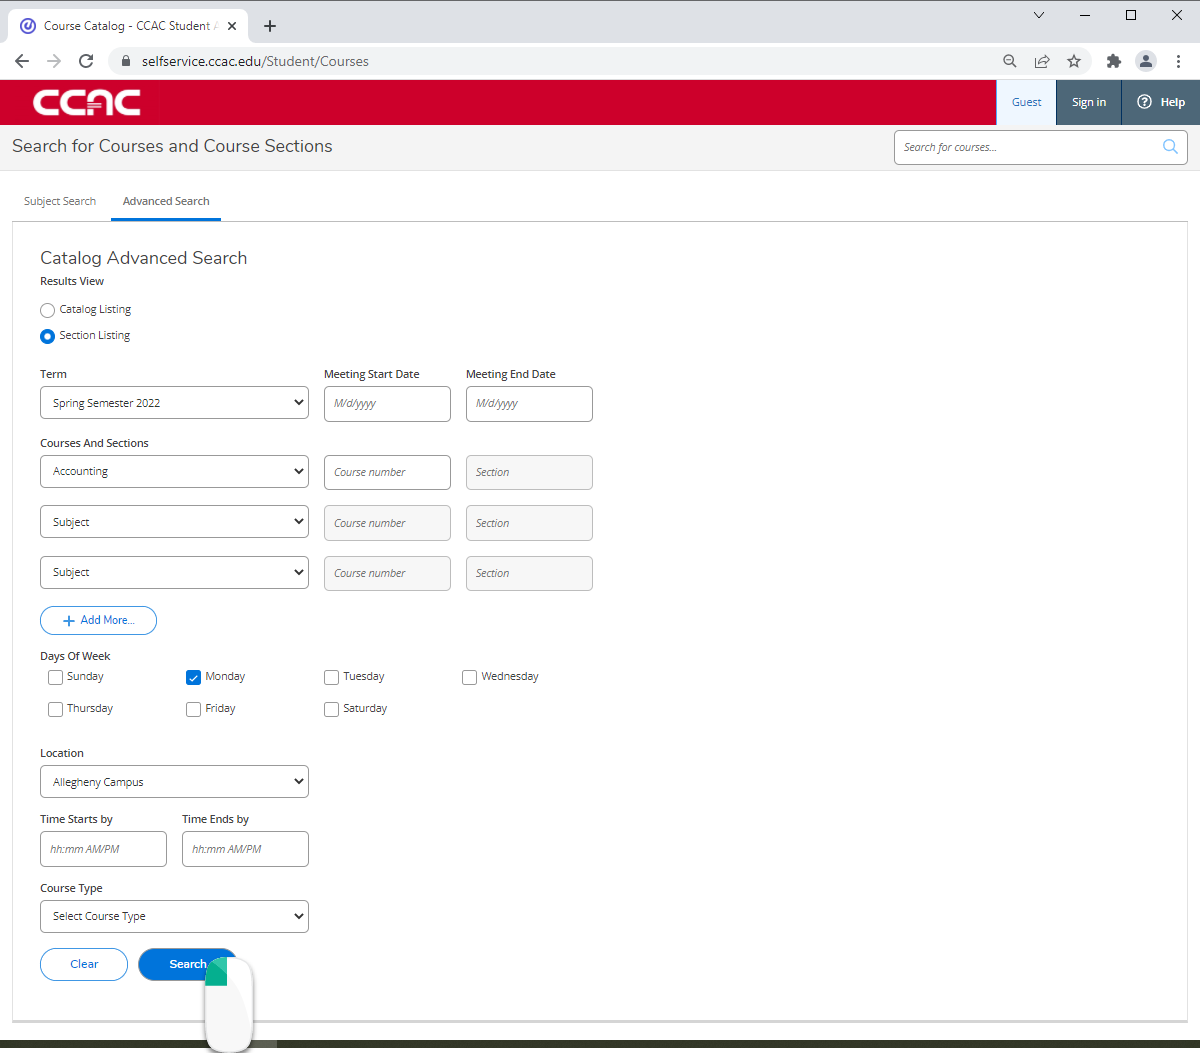
Alternate Solution - Using Advanced Search Tab
- From a web browser, go to https://selfservice.ccac.edu/Student/Courses
- Choose the Advanced Seach tab
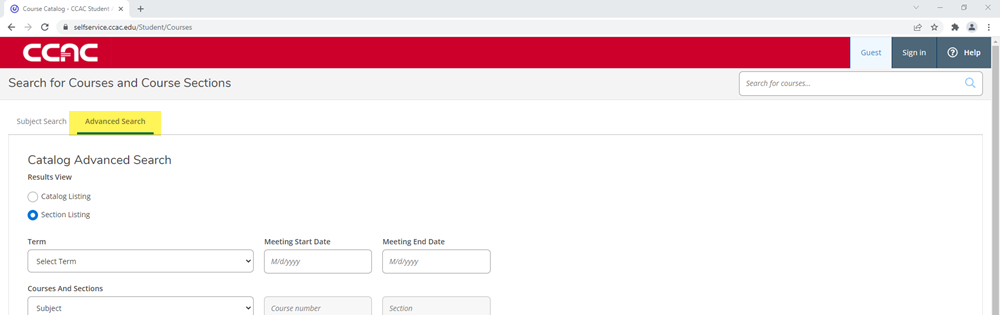
- Choose your Results View
- Catalog View (Card View)

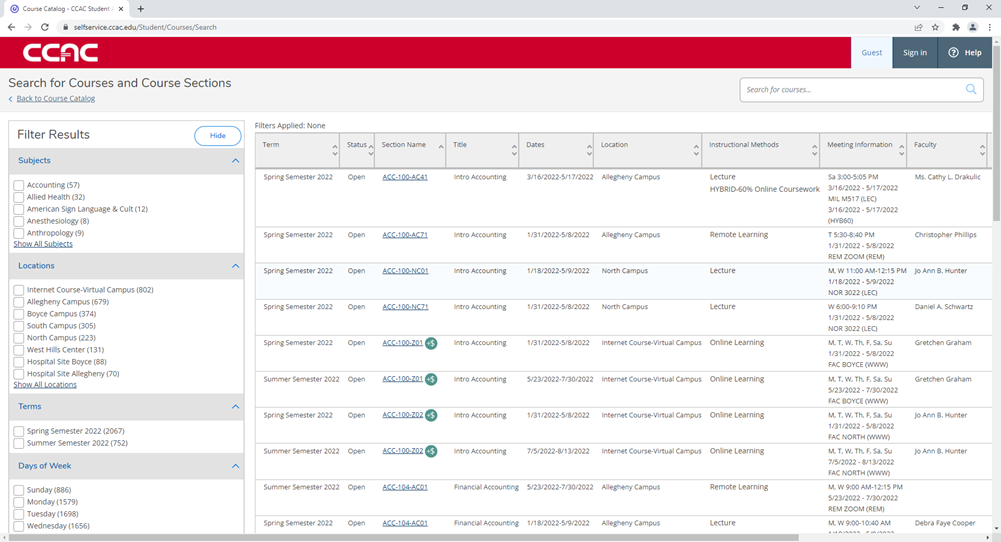
- Section Listing (Detailed View)
- Catalog View (Card View)
- Select your Term for the term drop-down menu or enter the date you want to meet

- Select a course from the Course and Sections section
You can add multiple courses to your search results to see all the listings
- Choose the Subject from the subject drop-down menu

-
(Optional) Enter the Course Number

- (Optional) Enter the Section ID

-
(Optional) You can add more courses by clicking the + Add More... button

- Choose the Subject from the subject drop-down menu
- (Optional) Choose the Days of the Week

- (Optional) Choose the Location from the location drop-down menu

- (Optional) Choose the Start Time and End Time

- (Optional) Choose the Course Type from the course type drop-down menu

- Click the Search button
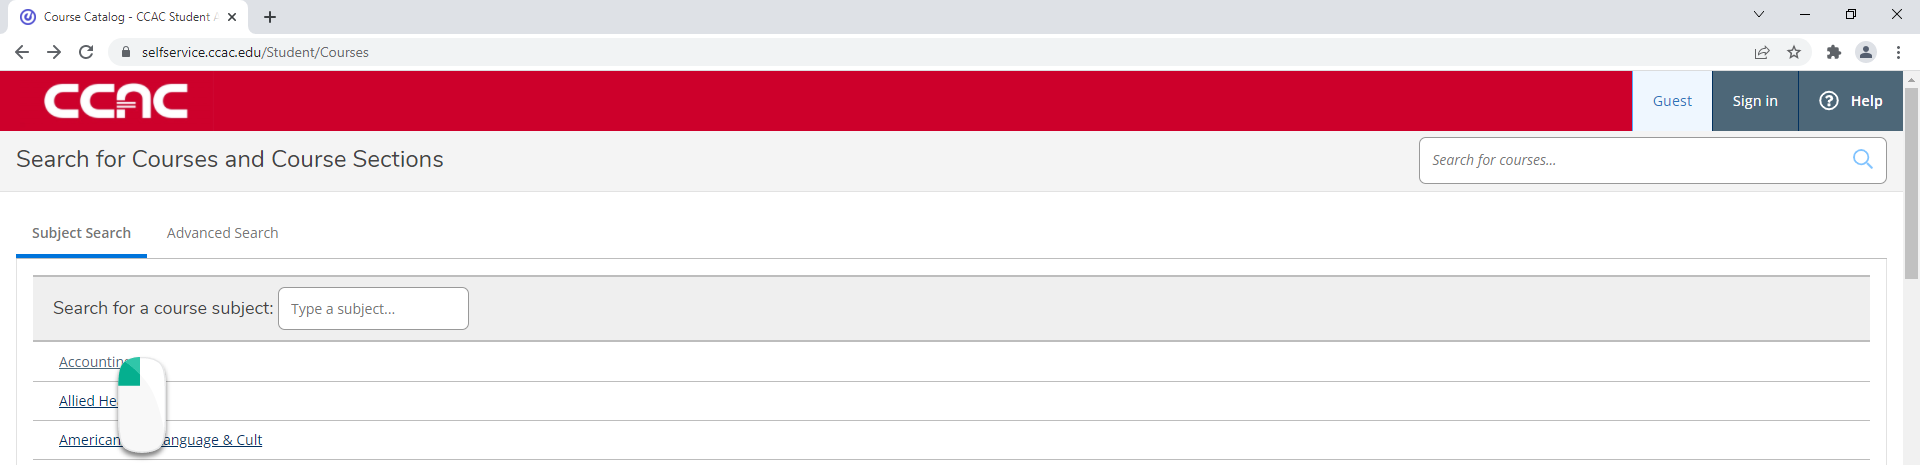
Alternate Solution - Using Subject Search Tab
- From a web browser, go to https://selfservice.ccac.edu/Student/Courses
- Choose the Subject Seach tab

- Choose your Course you want to learn more about
Confirm Credit will Transfer
Always confirm with your home school that our course will be accepted in transfer. For more detailed information on a course use the CCAC Catalog and search under Courses/Master Syllabi.
What is a Master Syllabi?
A master syllabus is a comprehensive document outlining the core components of a course, including learning outcomes, content, and assessment standards, designed by program coordinators.
What is the Difference Between a Master Syllabi and a Syllabus?
A master syllabus serves as a foundational, standardized document outlining the core elements of a course for all sections, while a course syllabus is an instructor-specific document that details the unique aspects of a particular section. The master syllabus ensures consistency across all sections of a course, while the course syllabus provides instructors with flexibility to tailor the course to their specific teaching style and student needs.
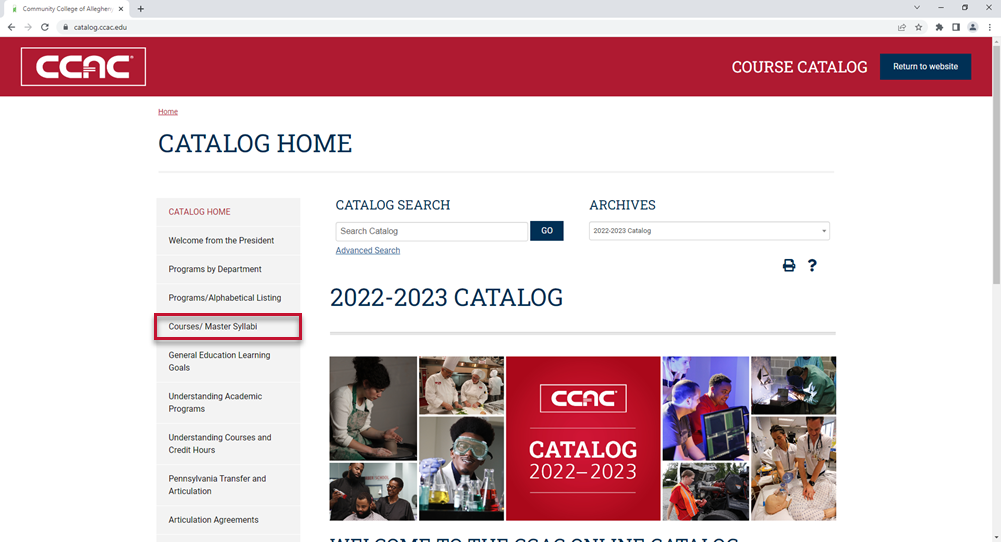
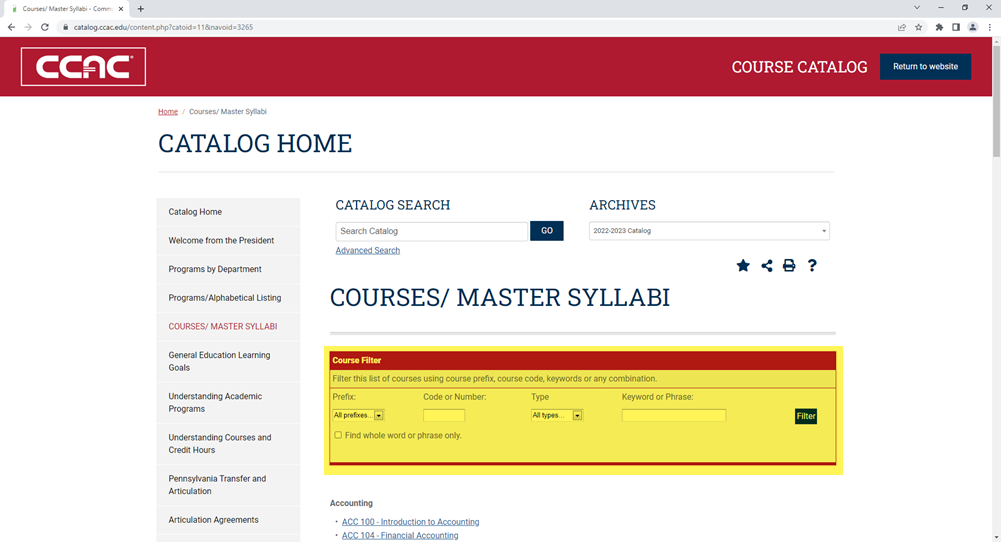
Locating a Master Syllabi
- From a web browser, go to https://catalog.ccac.edu/
- Use the drop-down menu to choose the correct catalog
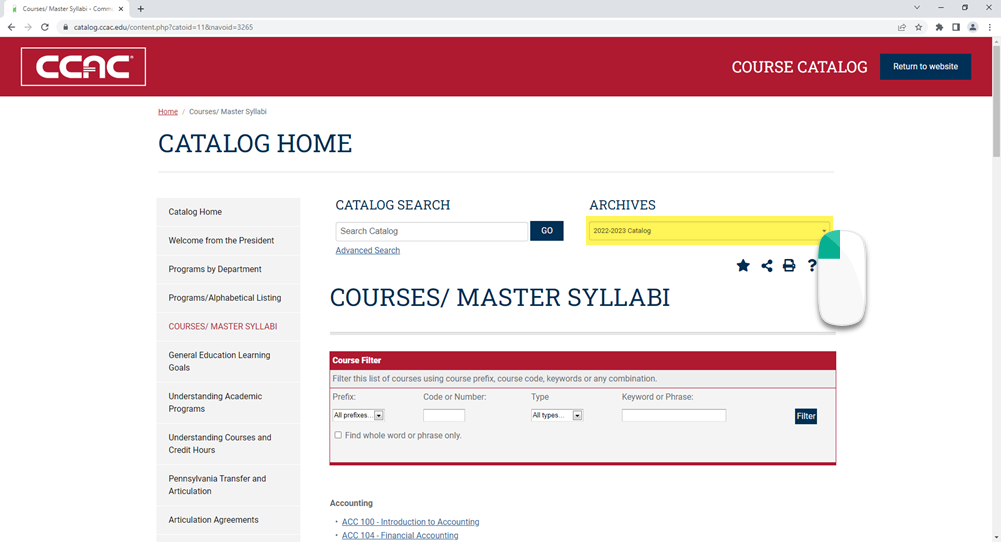
- From the left-side menu, click Courses/ Master Syllabi
- Use the Course Filter to narrow and search your results
Apply or Enroll at CCAC
-
Yes
-
No
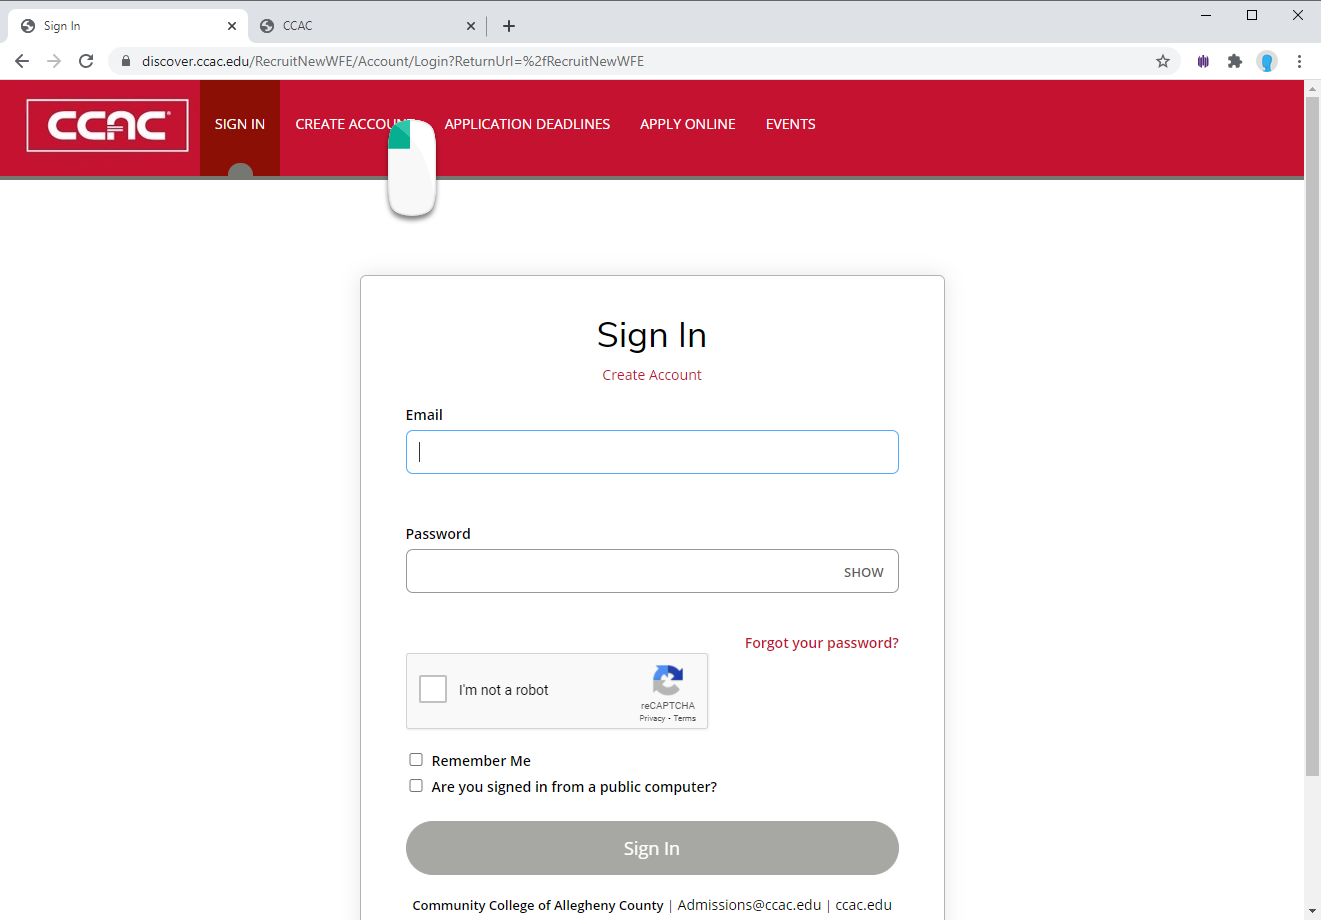
Create your CCAC Account
Table of Contents
Create Account Demographic InformationEnrollment InformationAccount InformationComplete the Account Process- From a web browser, go to https://discover.ccac.edu/
Click Create Account
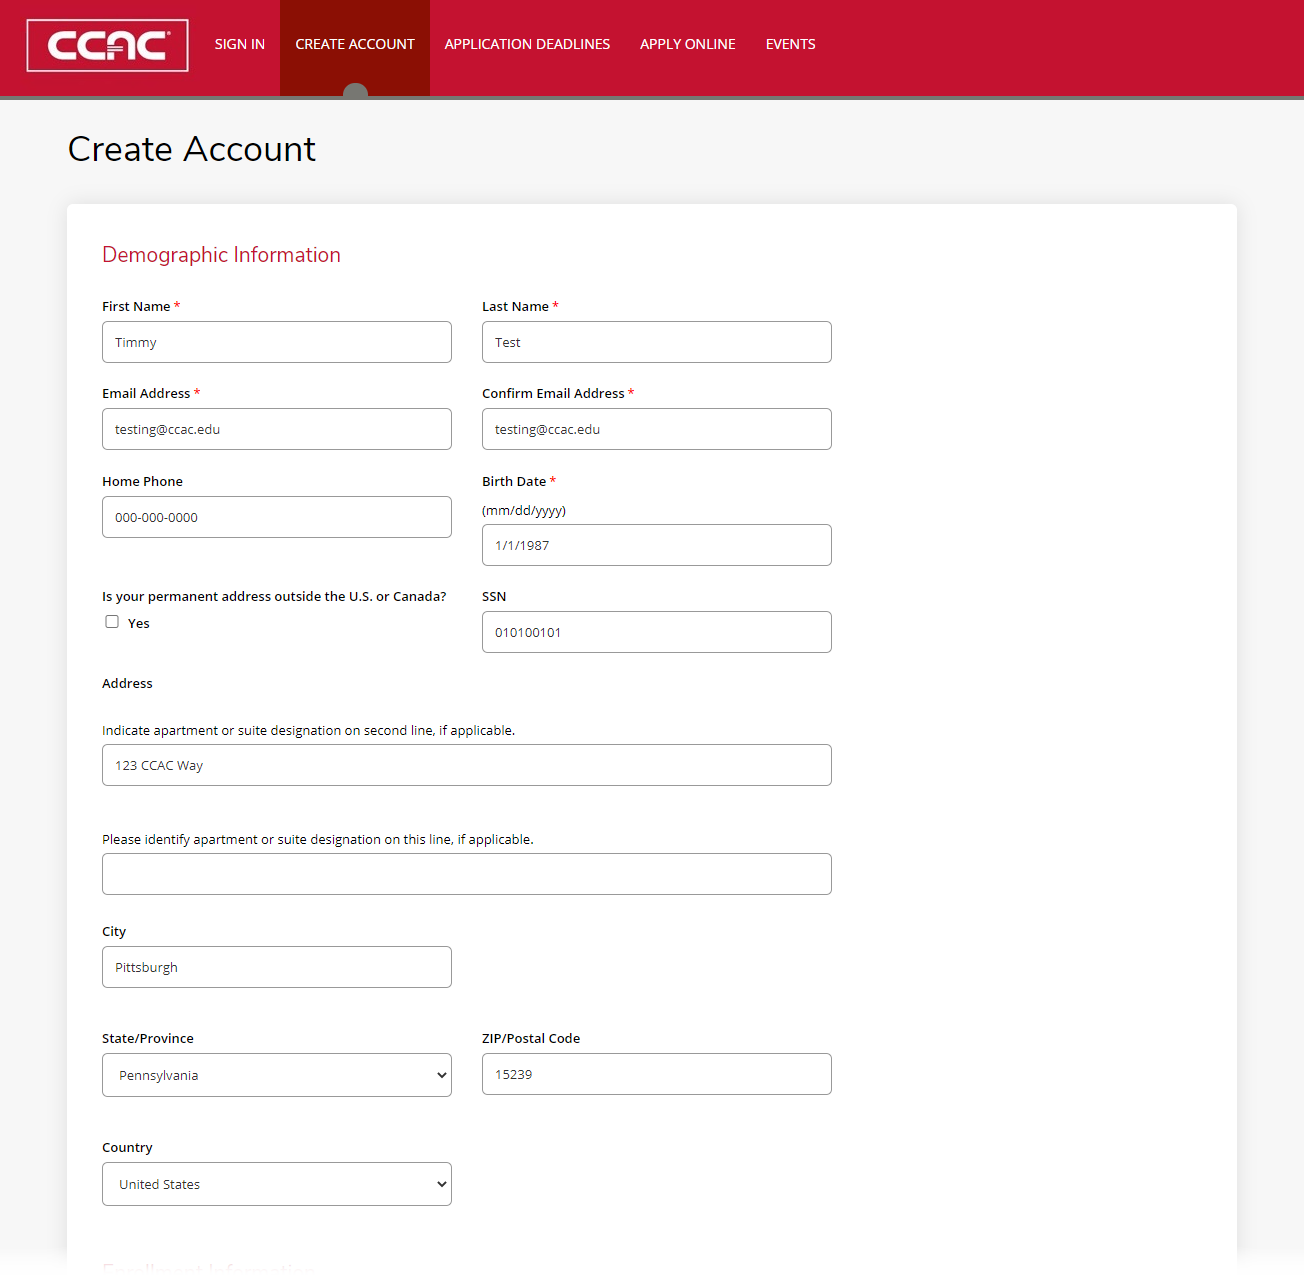
Fill out the Demographic Information
Fill out the Enrollment Information
- Select when you anticipate enrolling at CCAC from the drop-down menu

- Select Area of Interest, the selected "Visting Student or Not pursuing a degree..."
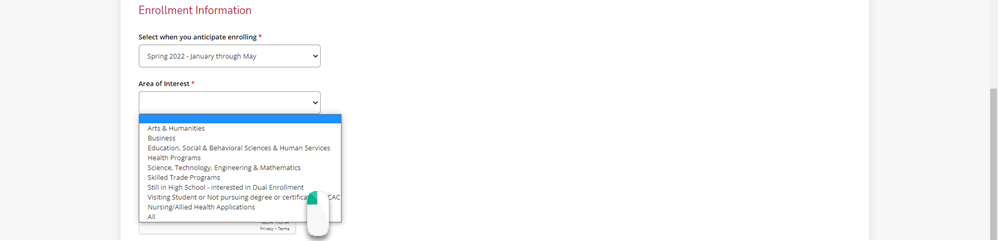
- Select your Academic Program, the selected Non-CCAC VISITING student
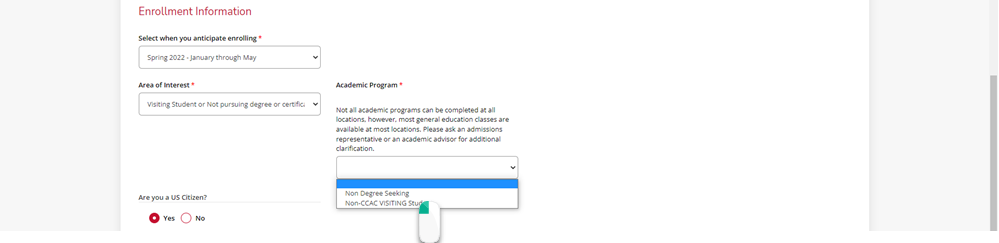
- Select a Location

- Select if you are a US Citizen

-
Fill out the Account Information
This password and email will be used if you do not complete your application and need to come back.
Complete the reCAPTCHA

Click the Create Account button

(Optional) Financial Aid from Home College
Check with your home college to see if you are eligible to use your financial aid to pay for course(s) from CCAC. This allows students to take coursework at two institutions at the same time.
DeleteDoes the Class have a Pre-Requisite?
-
Yes
-
No
- Add Button
-
Yes
-
No
- Add Button
You will need to take the placement test.
Go to the Placement Testing webpage to see how to sign up.
Confirm your Account Information
- From a web browser, go to https://ccac.edu/enrollment/registration/index.php#virtual-registration-welcome-center
- Click "Join Now" Button
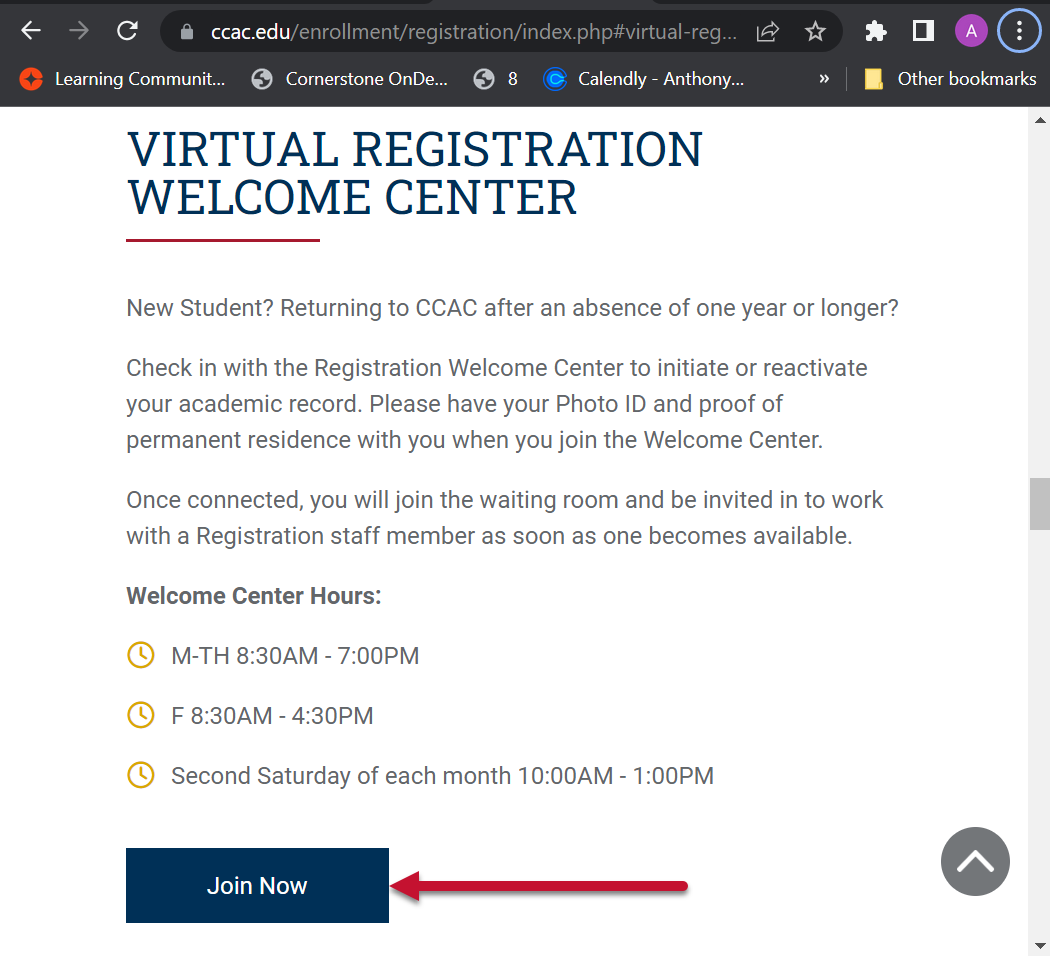
- Zoom will launch
- You will be in a virtual waiting room. The next registration staff member will be able to assist you.
Register for Classes
Meet with an Academic Advisor
Go to https://ccac.edu/academics/academic-advising.php#how-to-meet-with-an-advisor to see all the ways to meet with an advisor.
Use CCAC Self-Service
- From a web browser go to: https://selfservice.ccac.edu/Student/Student/Courses/
Registration Form
- From a web browser, go to https://www.ccac.edu/about/forms.php#registration-and-advising-forms
- Select Registration form
- Complete and sign the DocuSign Registration form
Pay for Classes
Pay by Credit Card
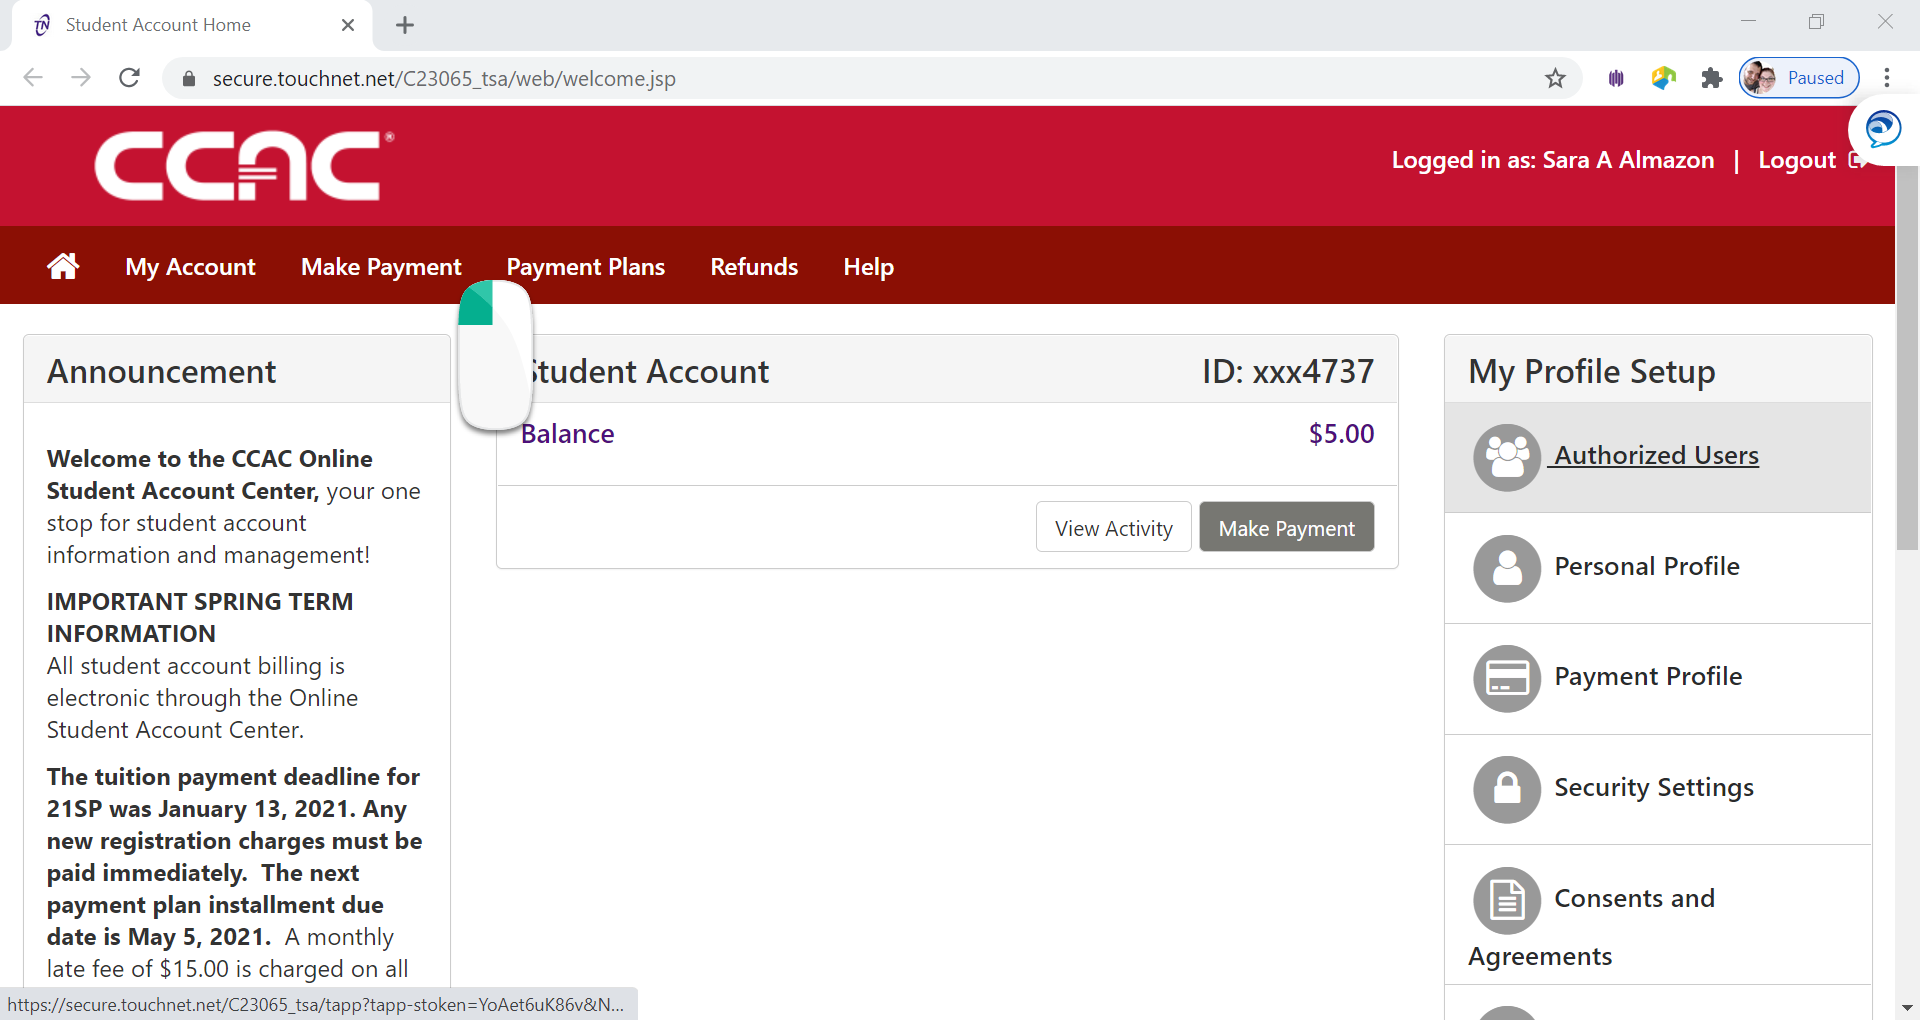
- Log into the Online Student Account Center - Access the Online Student Account Center - For Students
-
Click Make a Payment on the Menu Bar
-
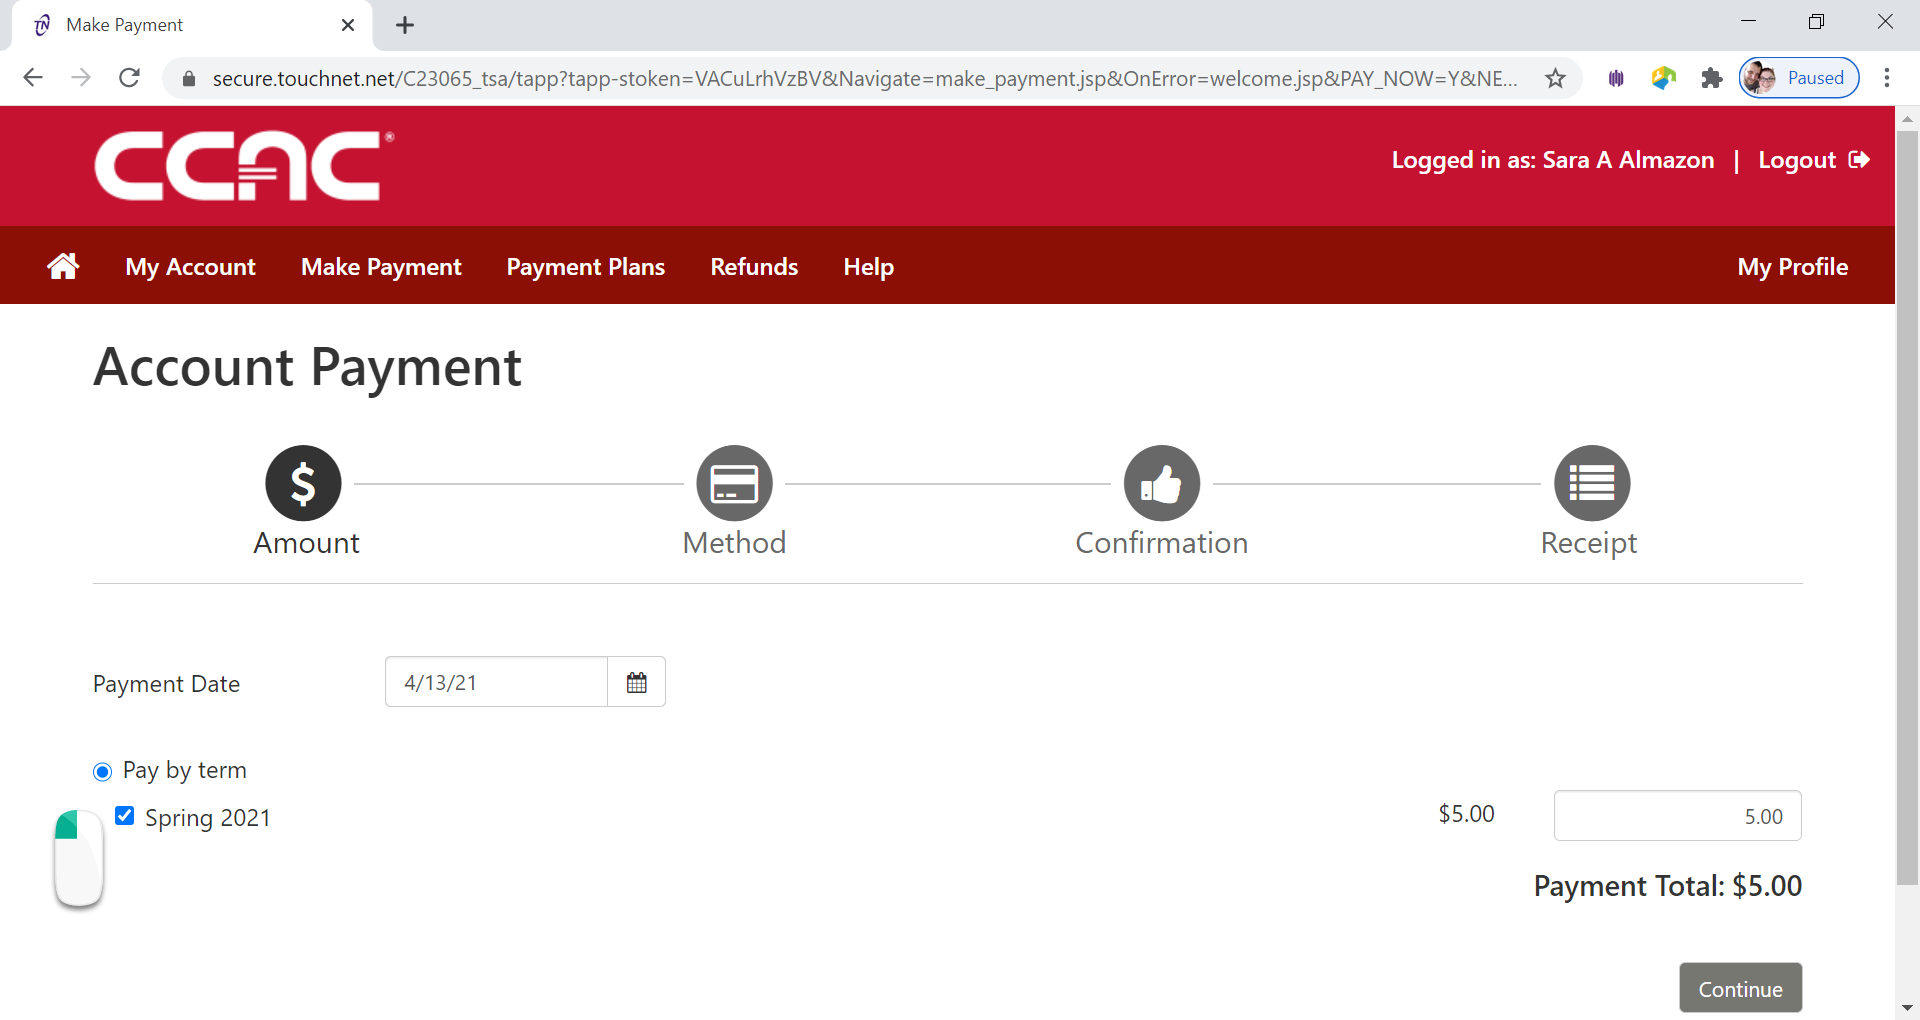
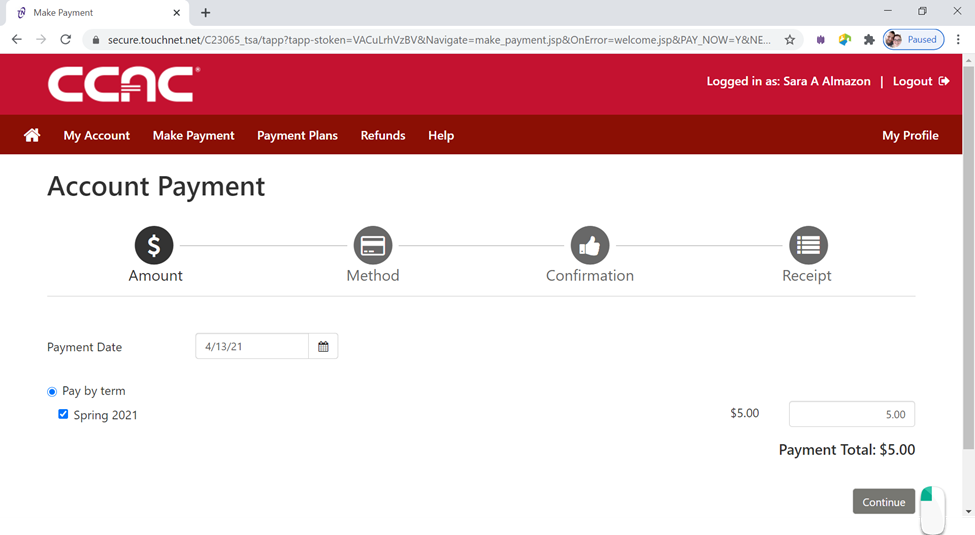
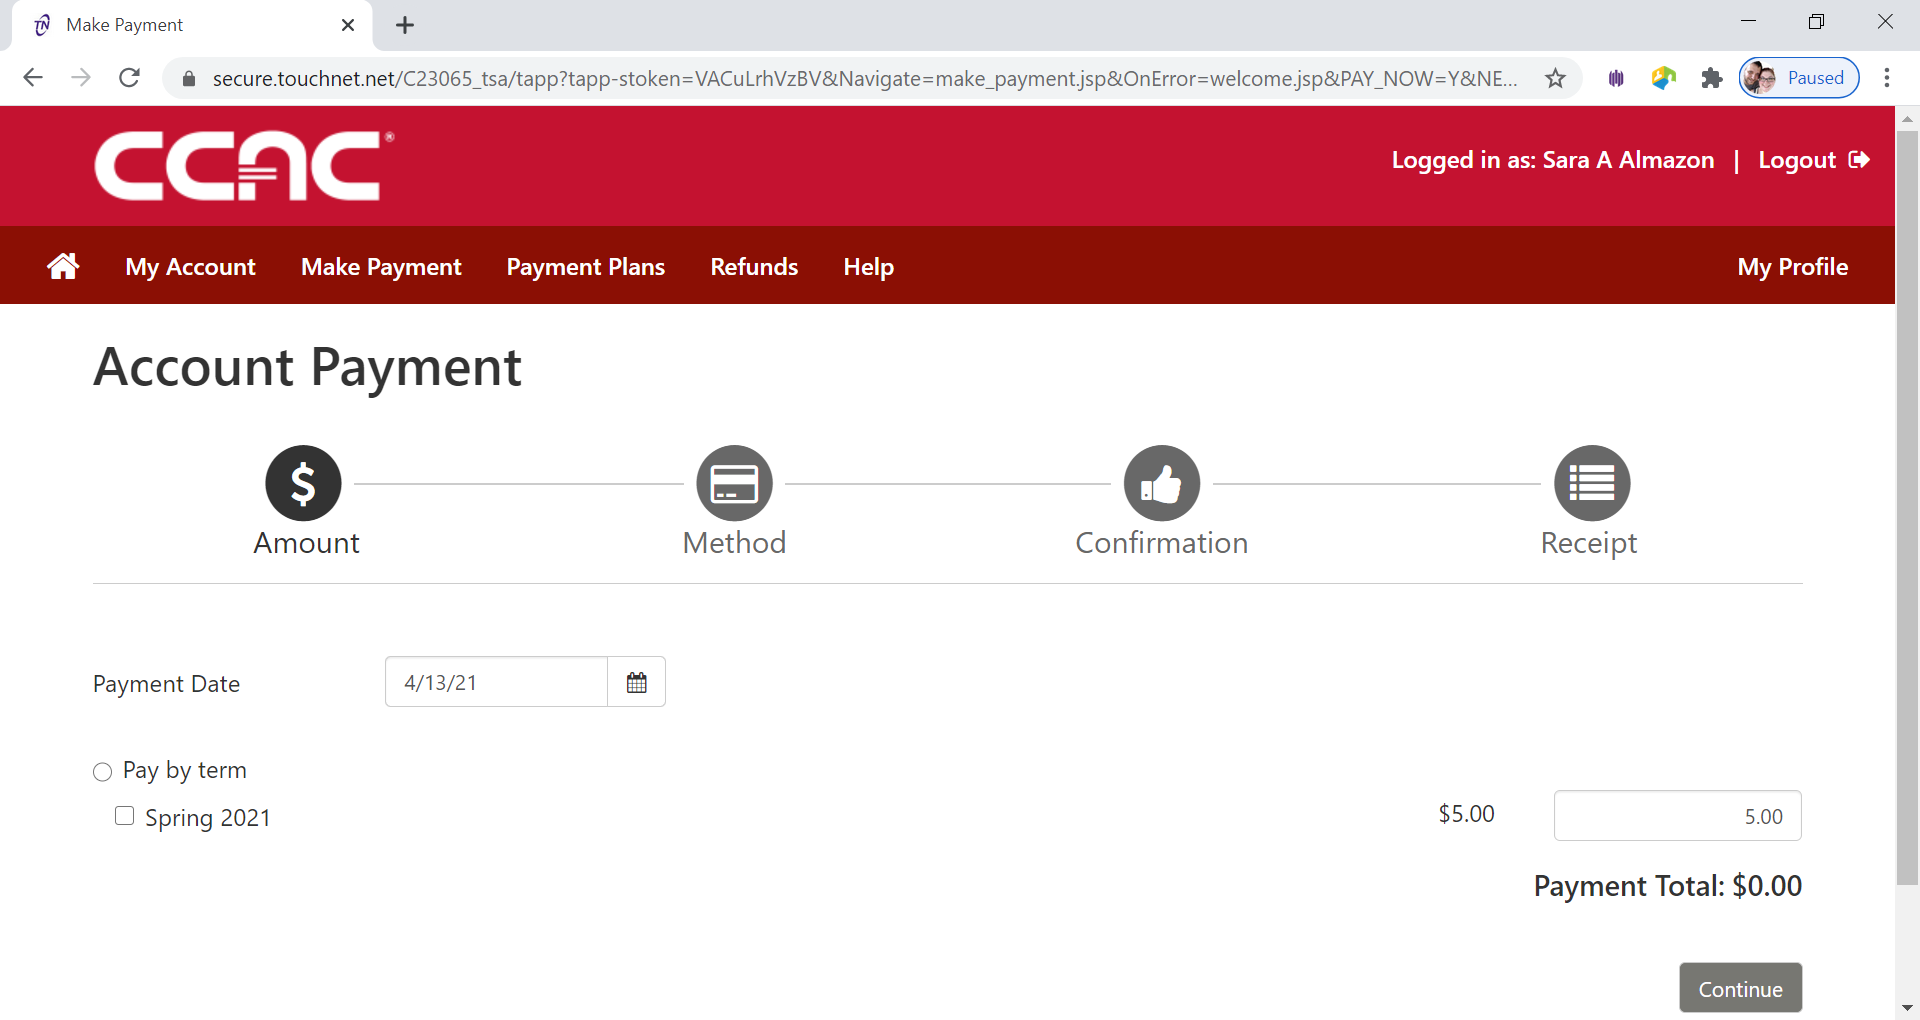
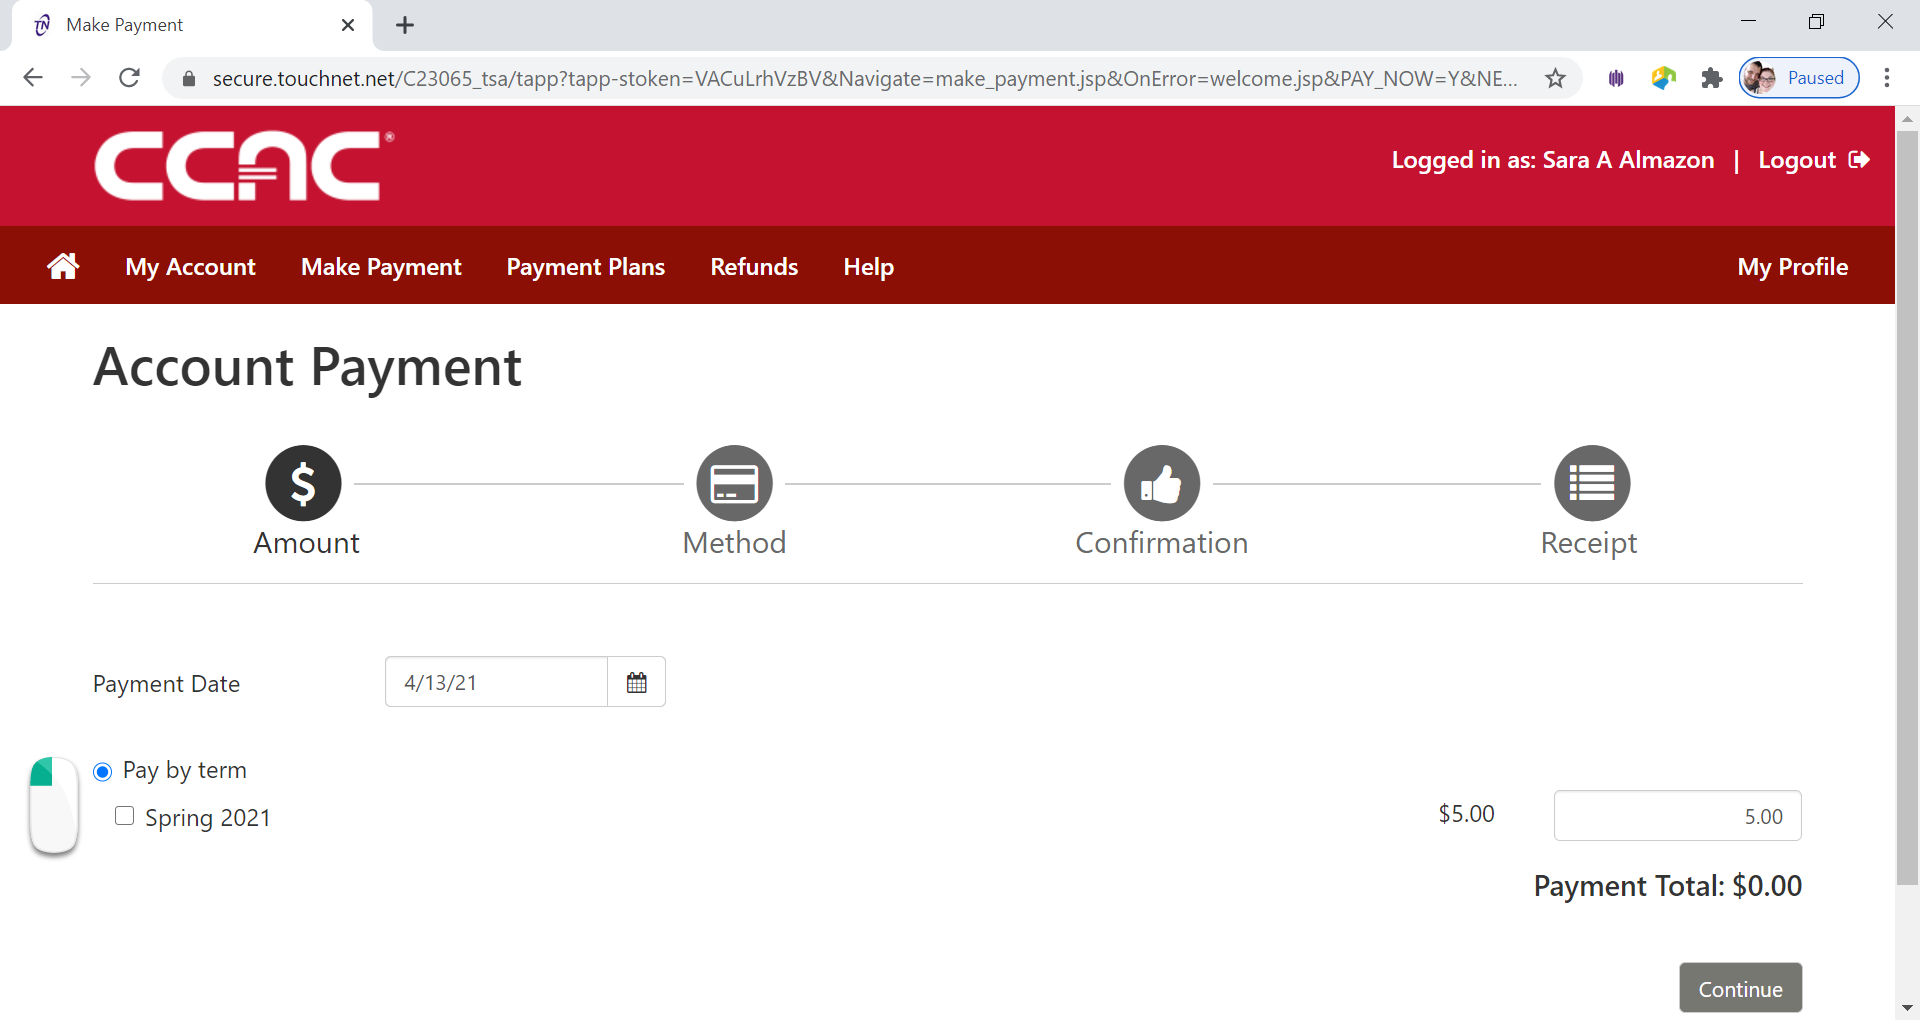
See the Account Payment Screen
-
Click Pay by Term button
-
Select the Term you want to pay by clicking the check box next to the term
-
Click Continue button
-
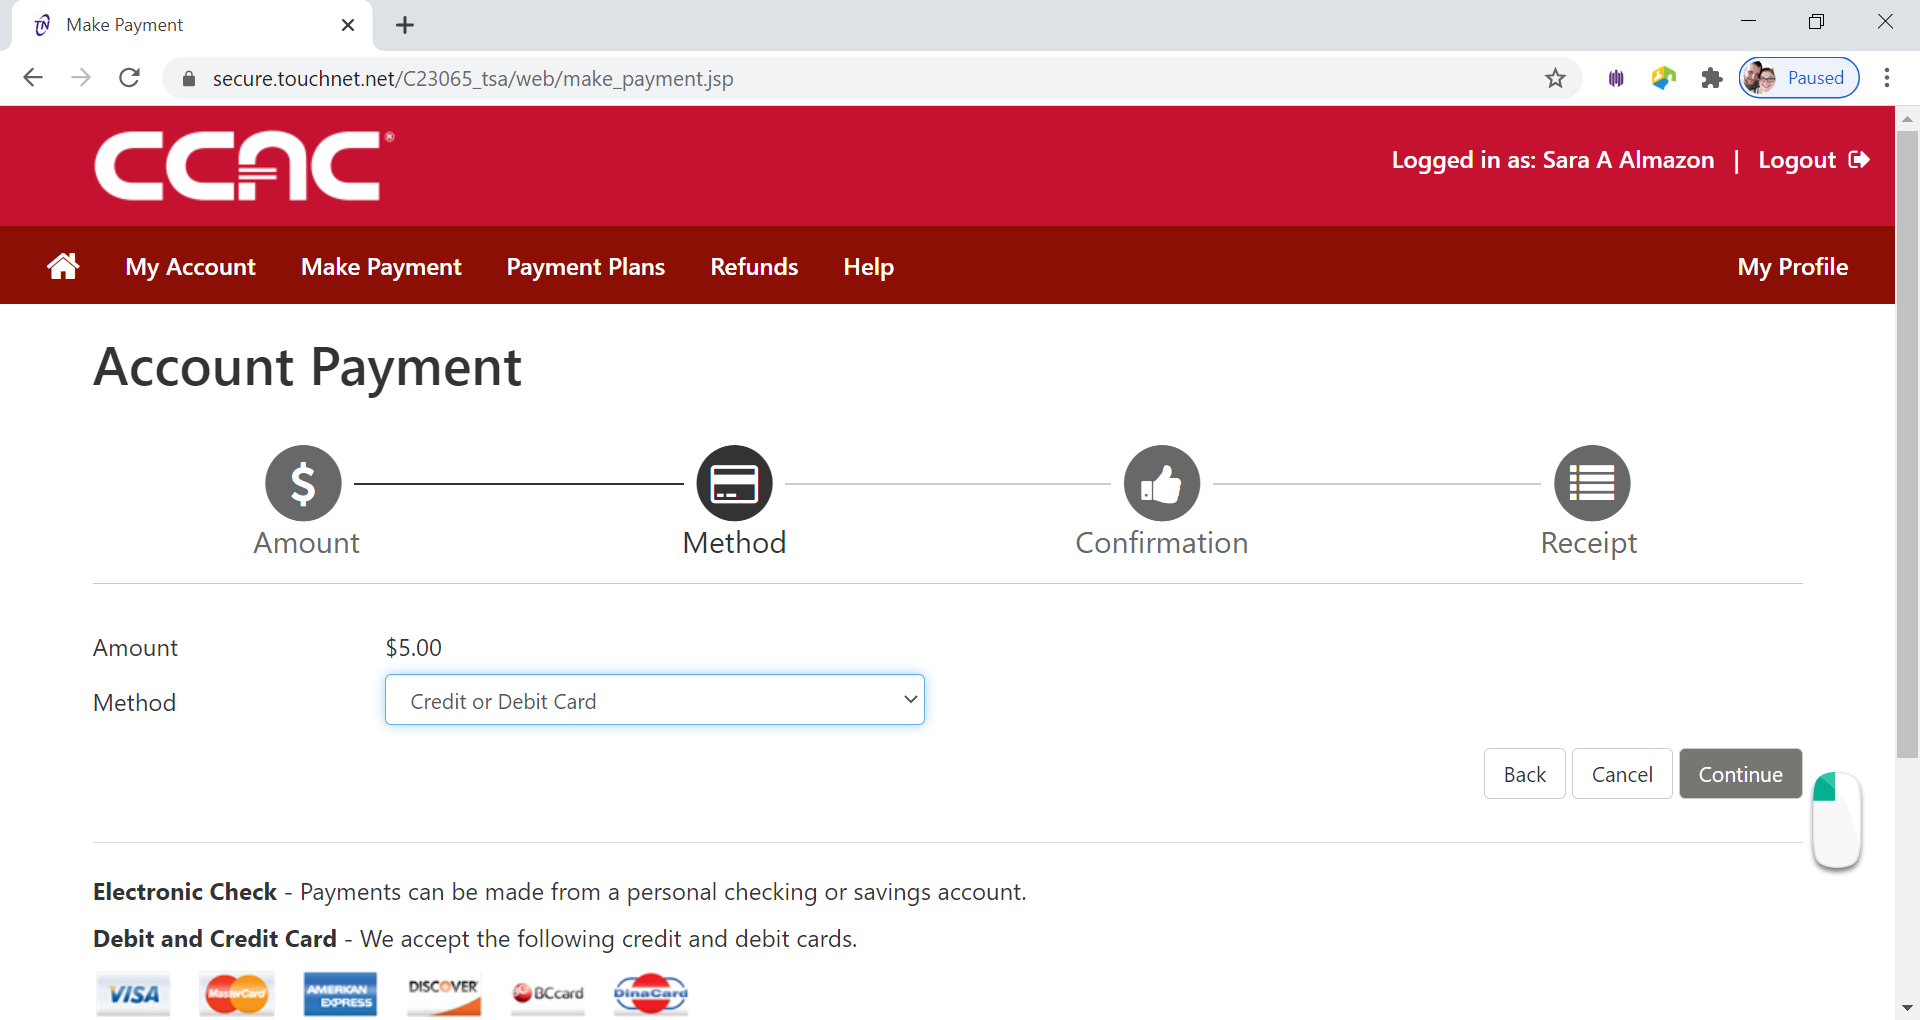
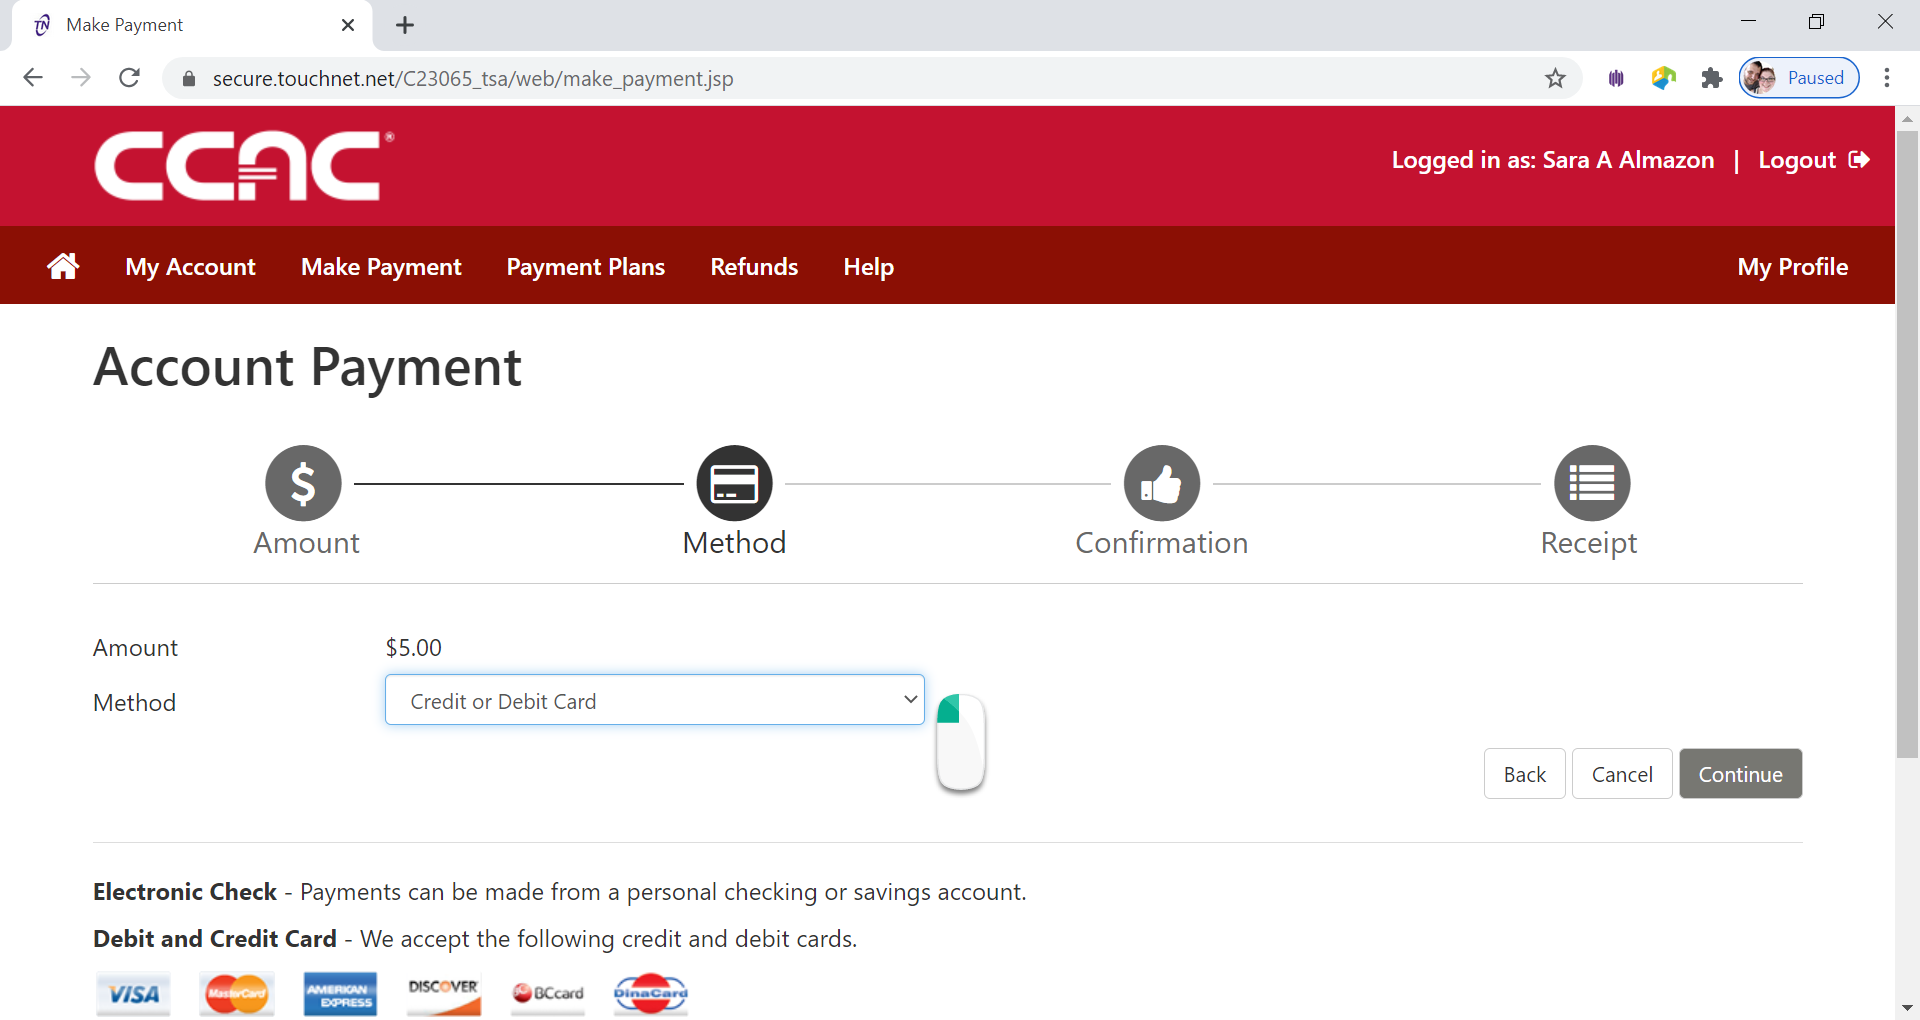
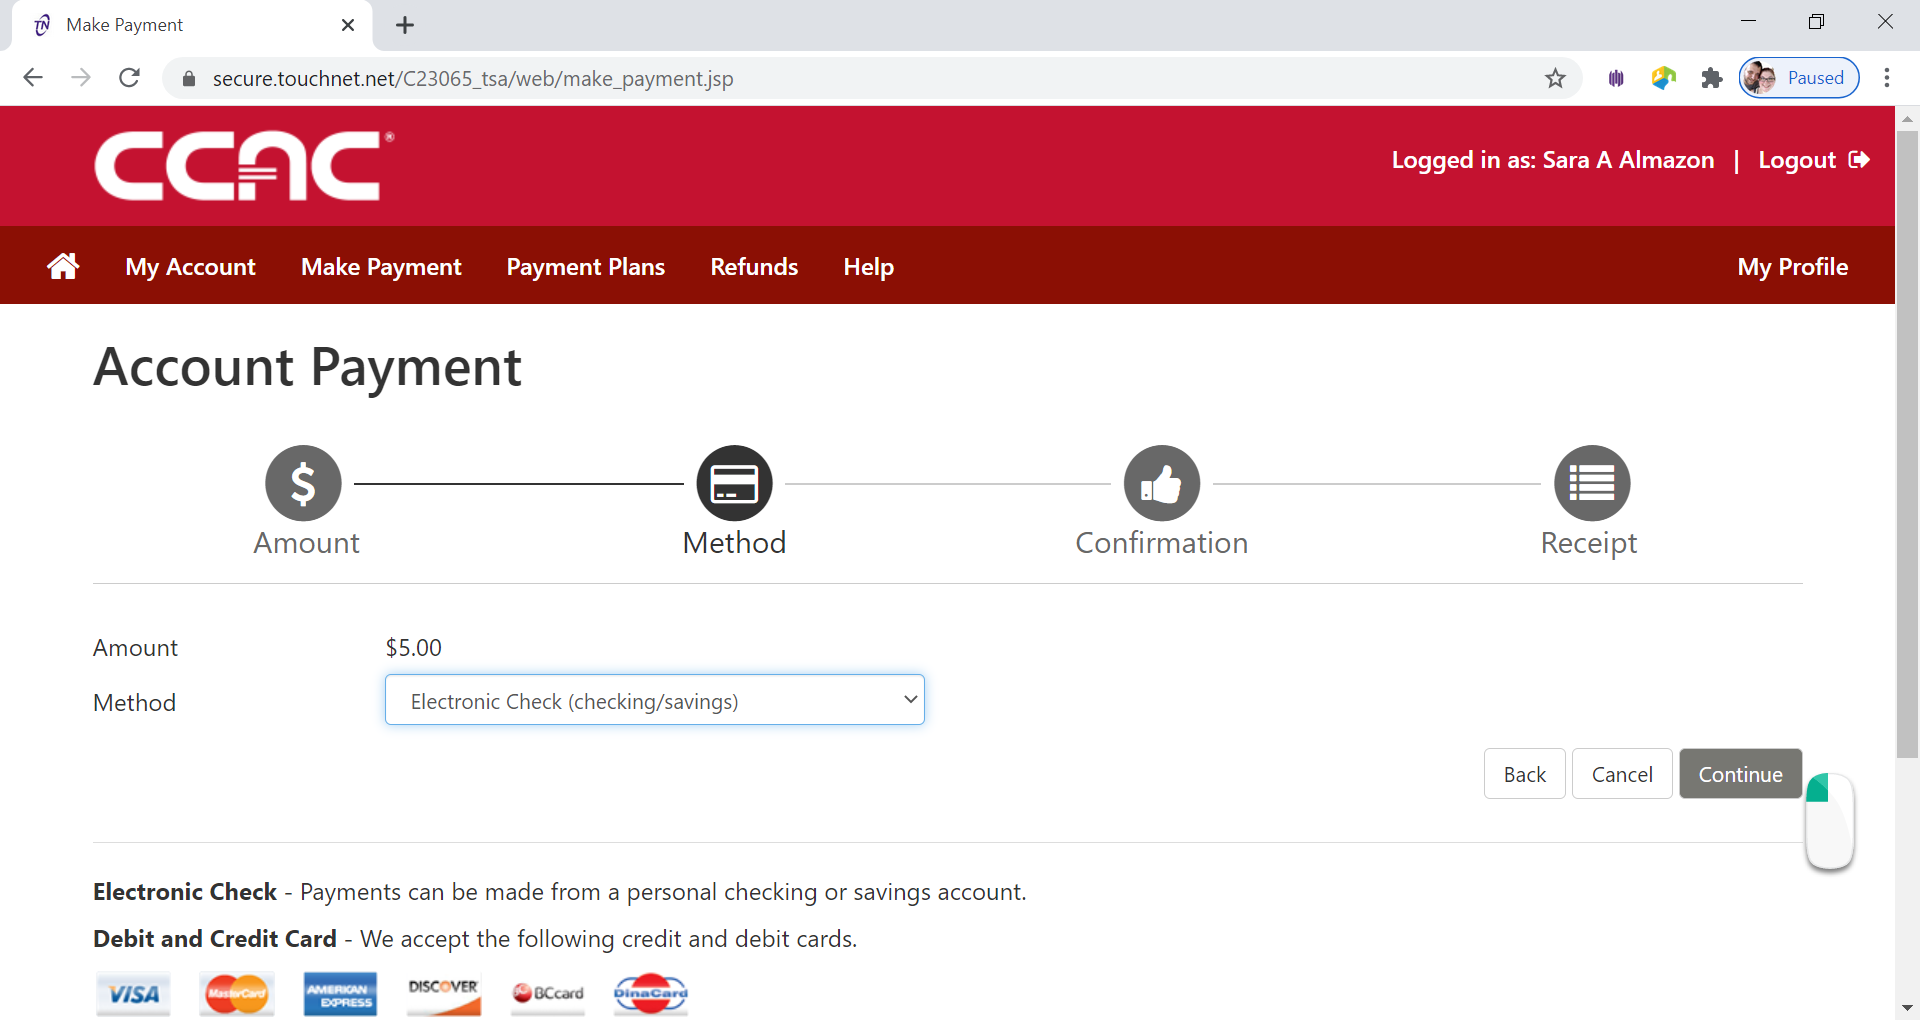
Select Payment Method from Drop Down Menu
-
Choose Credit or Debit Card from Method drop down menu
-
Click Continue button
-
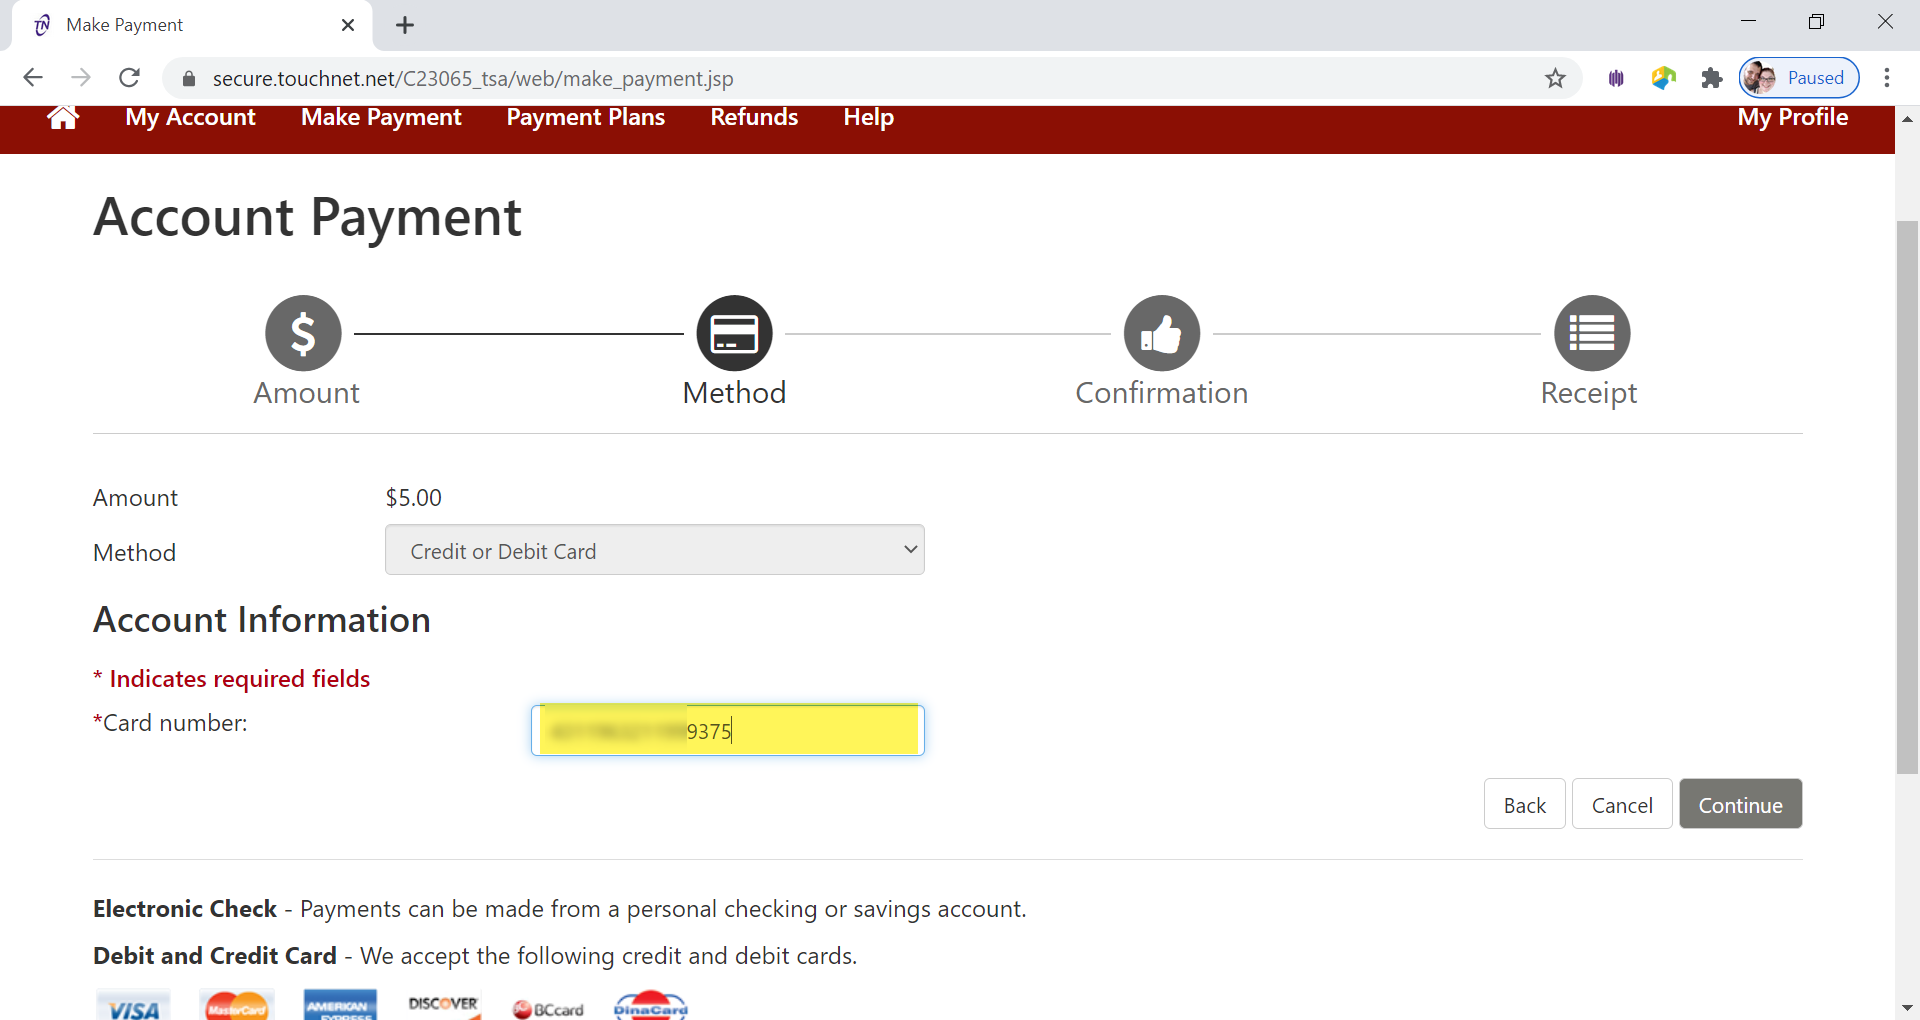
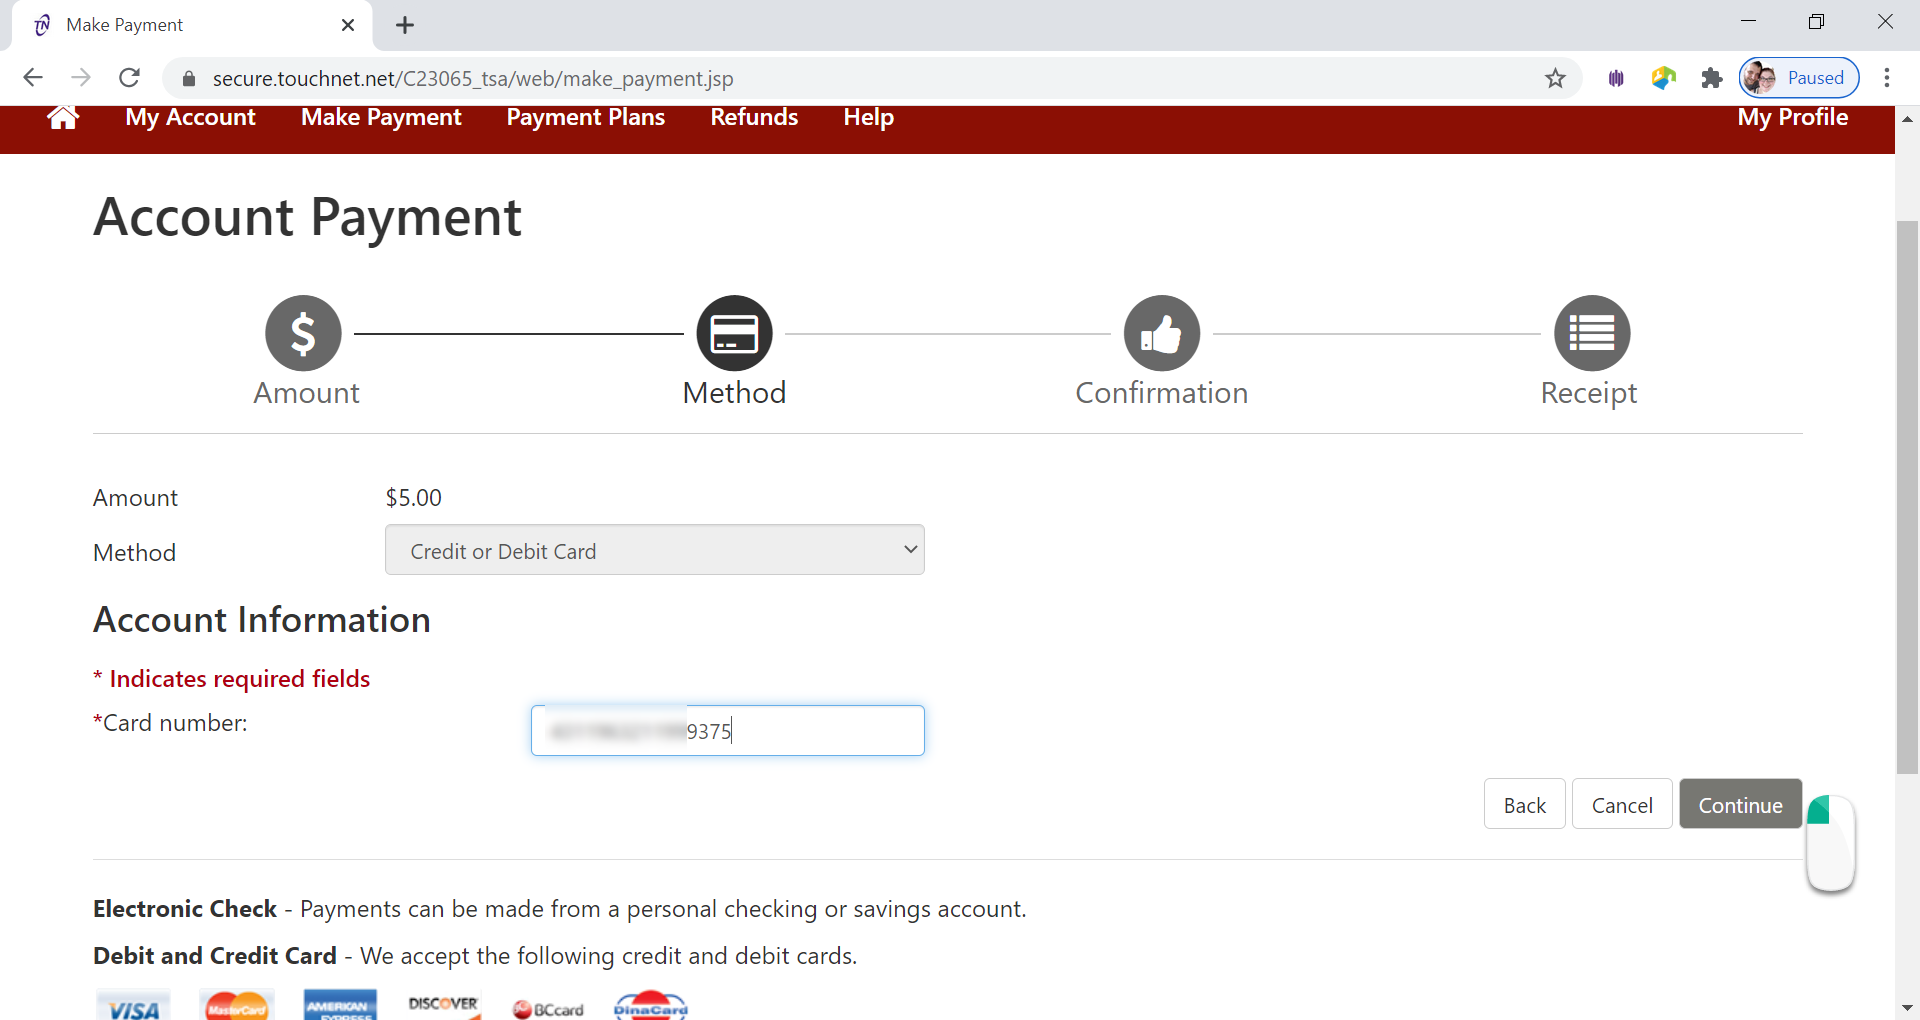
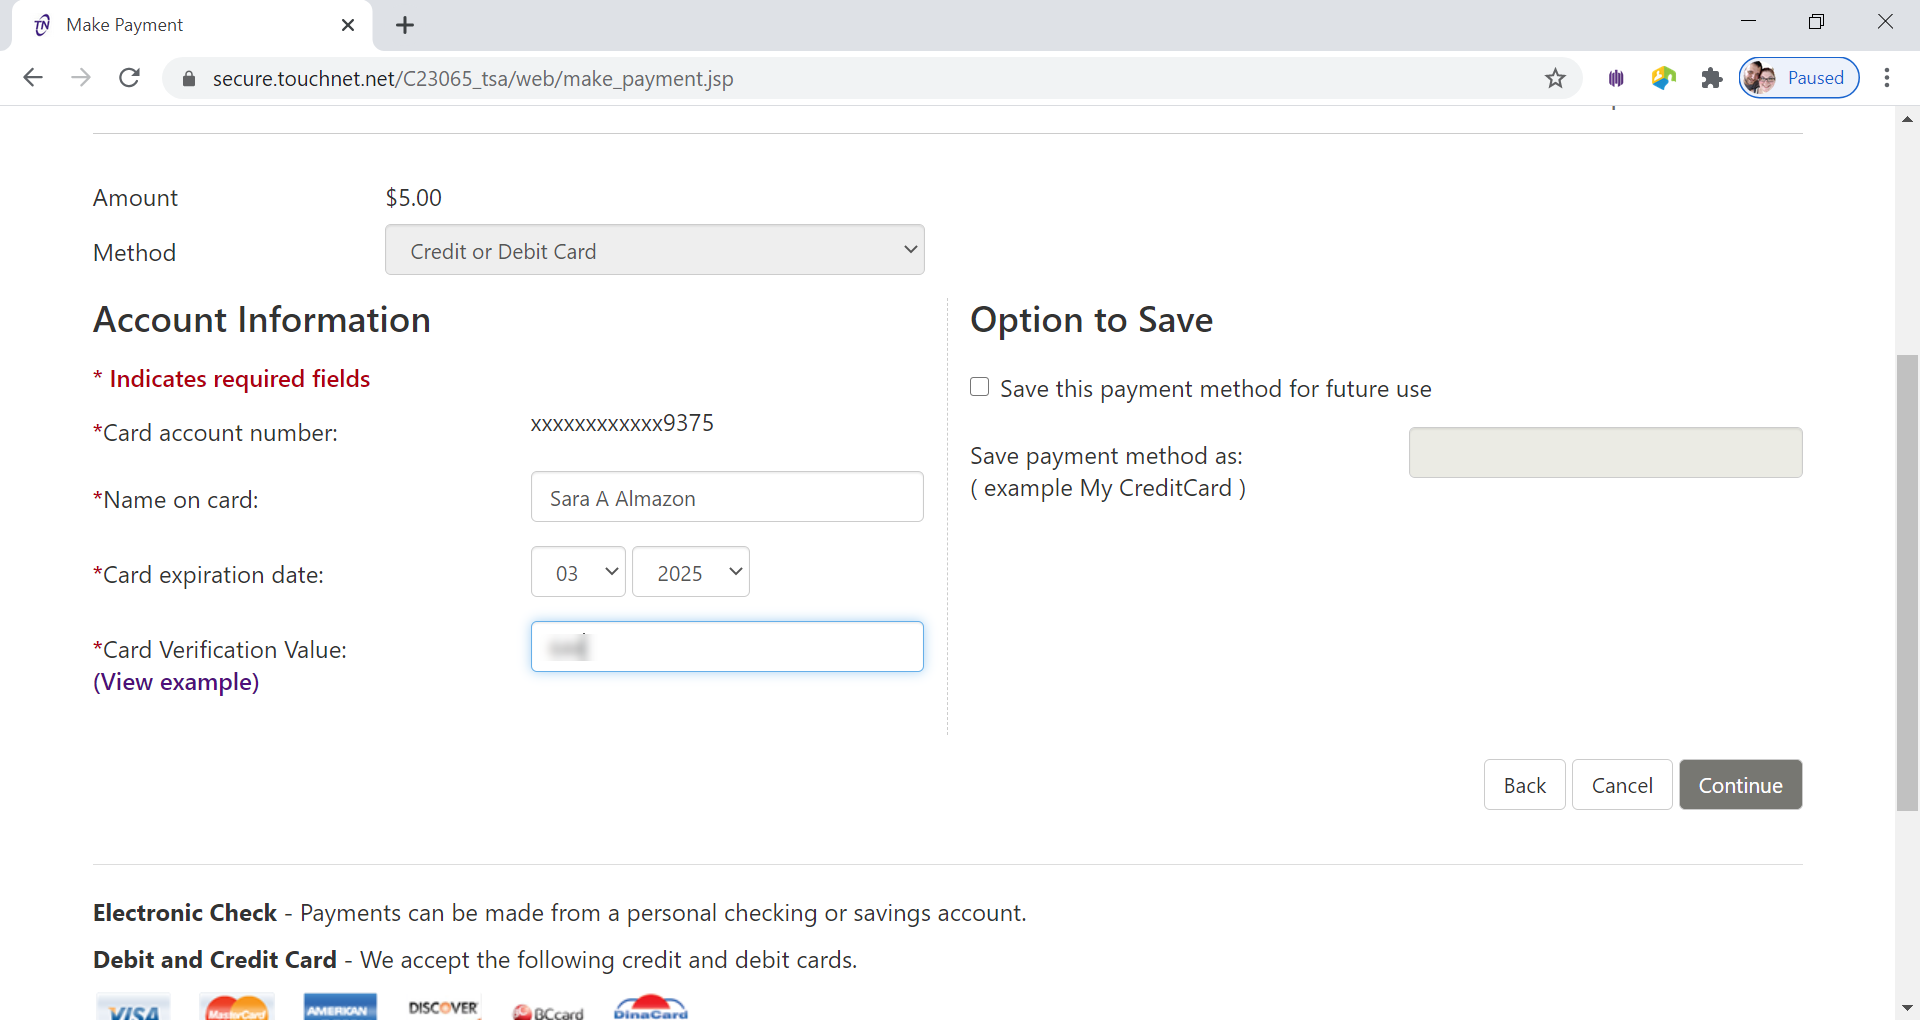
Enter Card Number in Card Number Box
-
Click Continue button
-
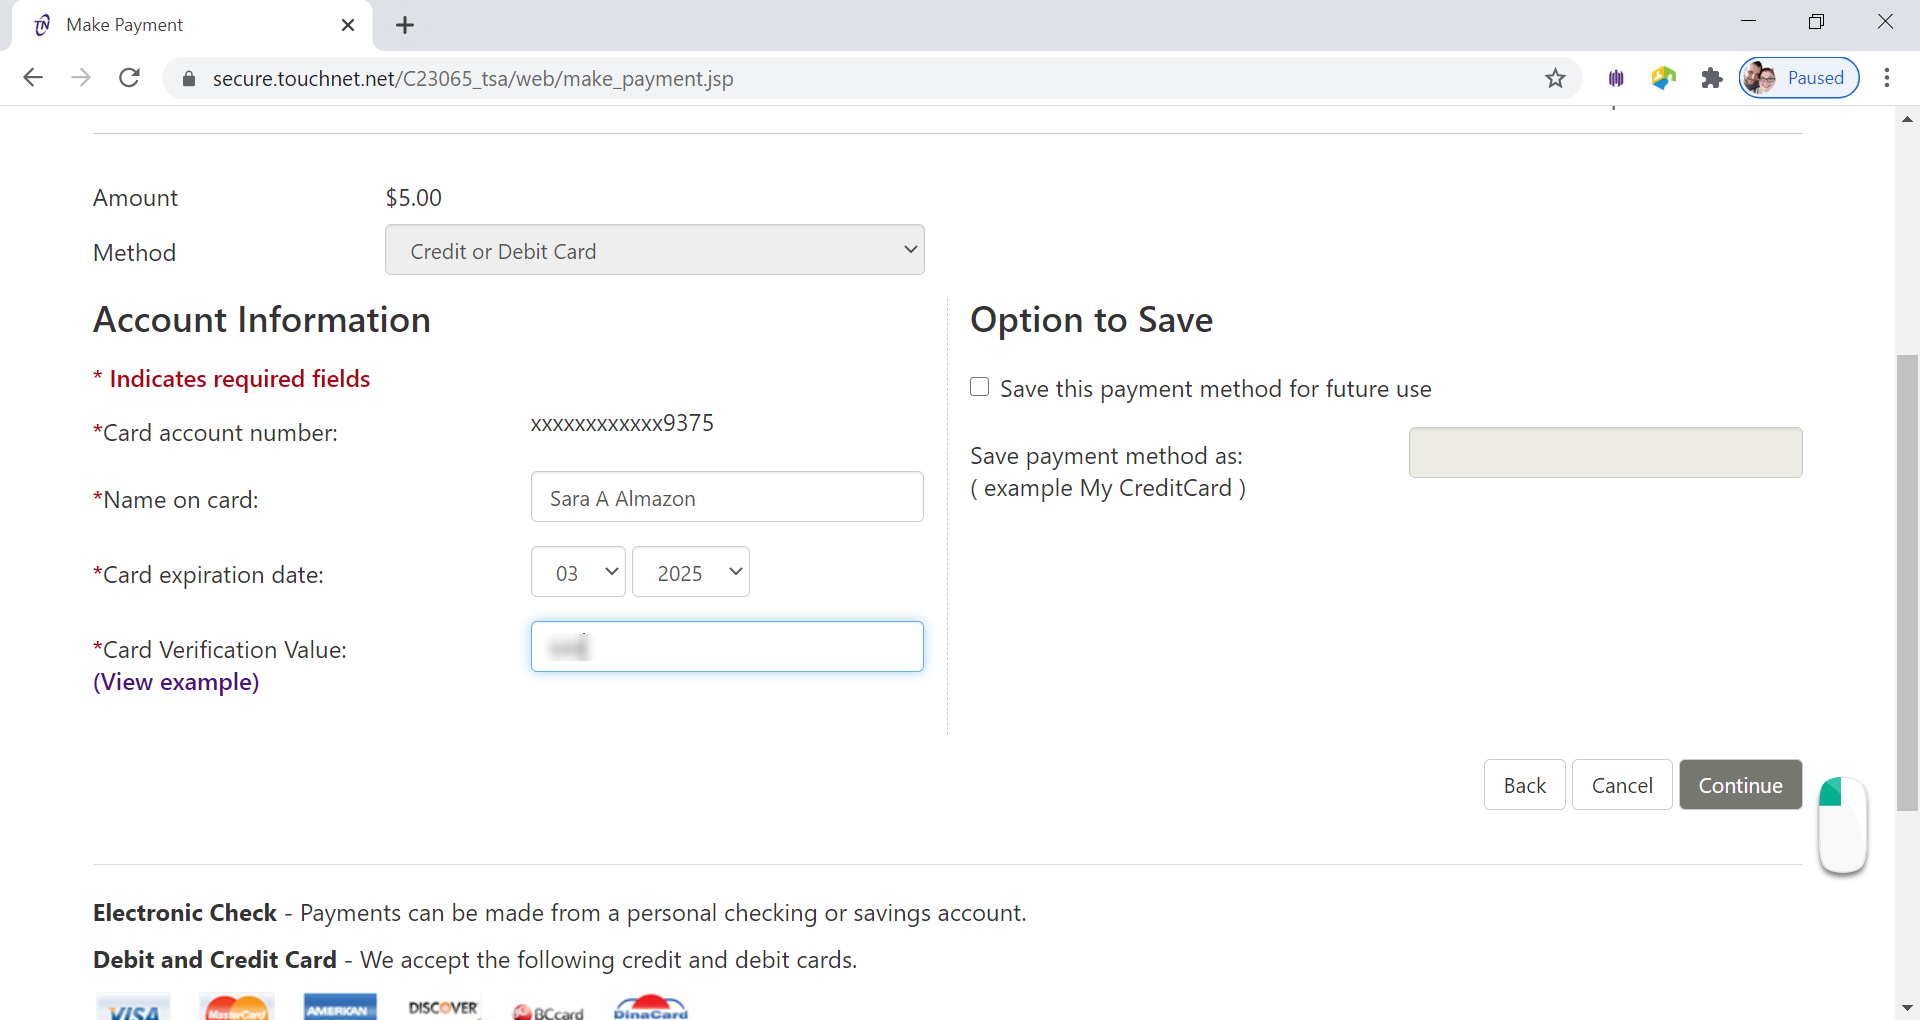
Enter Name on Card, Card Expiration Date, and Card Verification Code (Security Code)
-
Click Continue Button
-
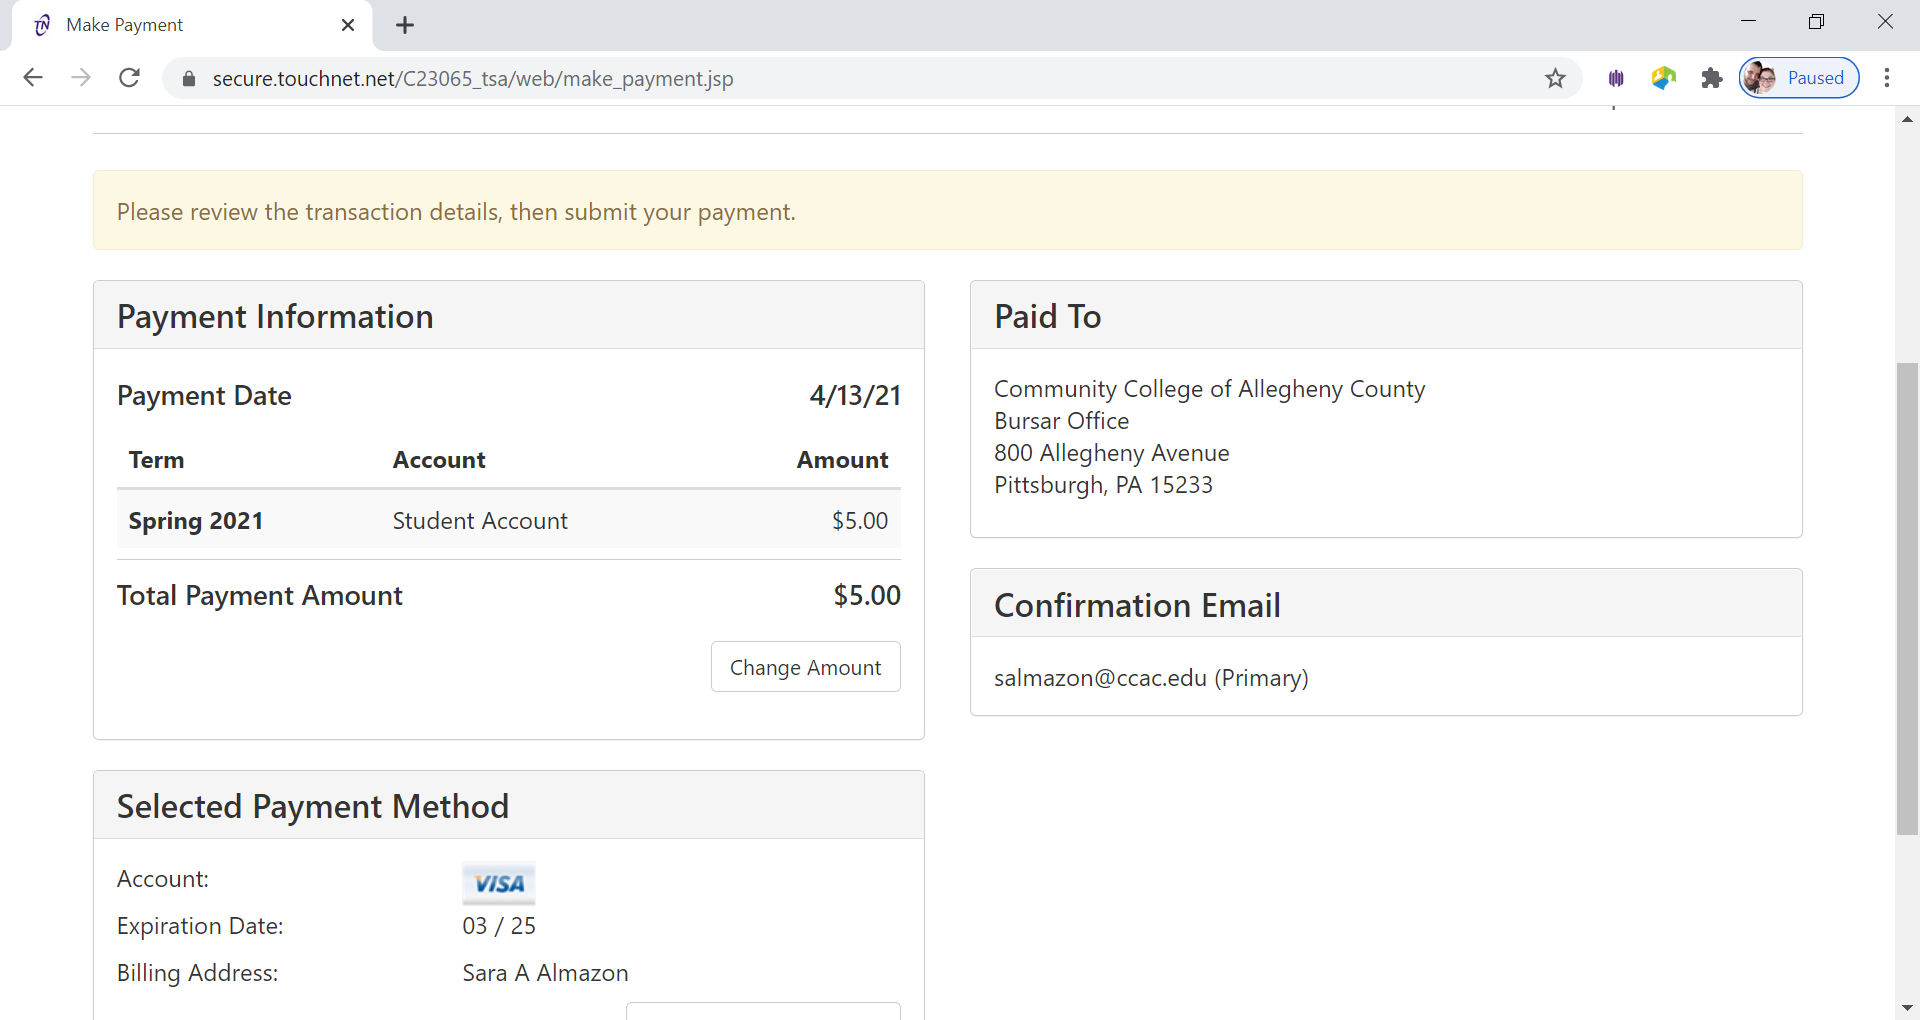
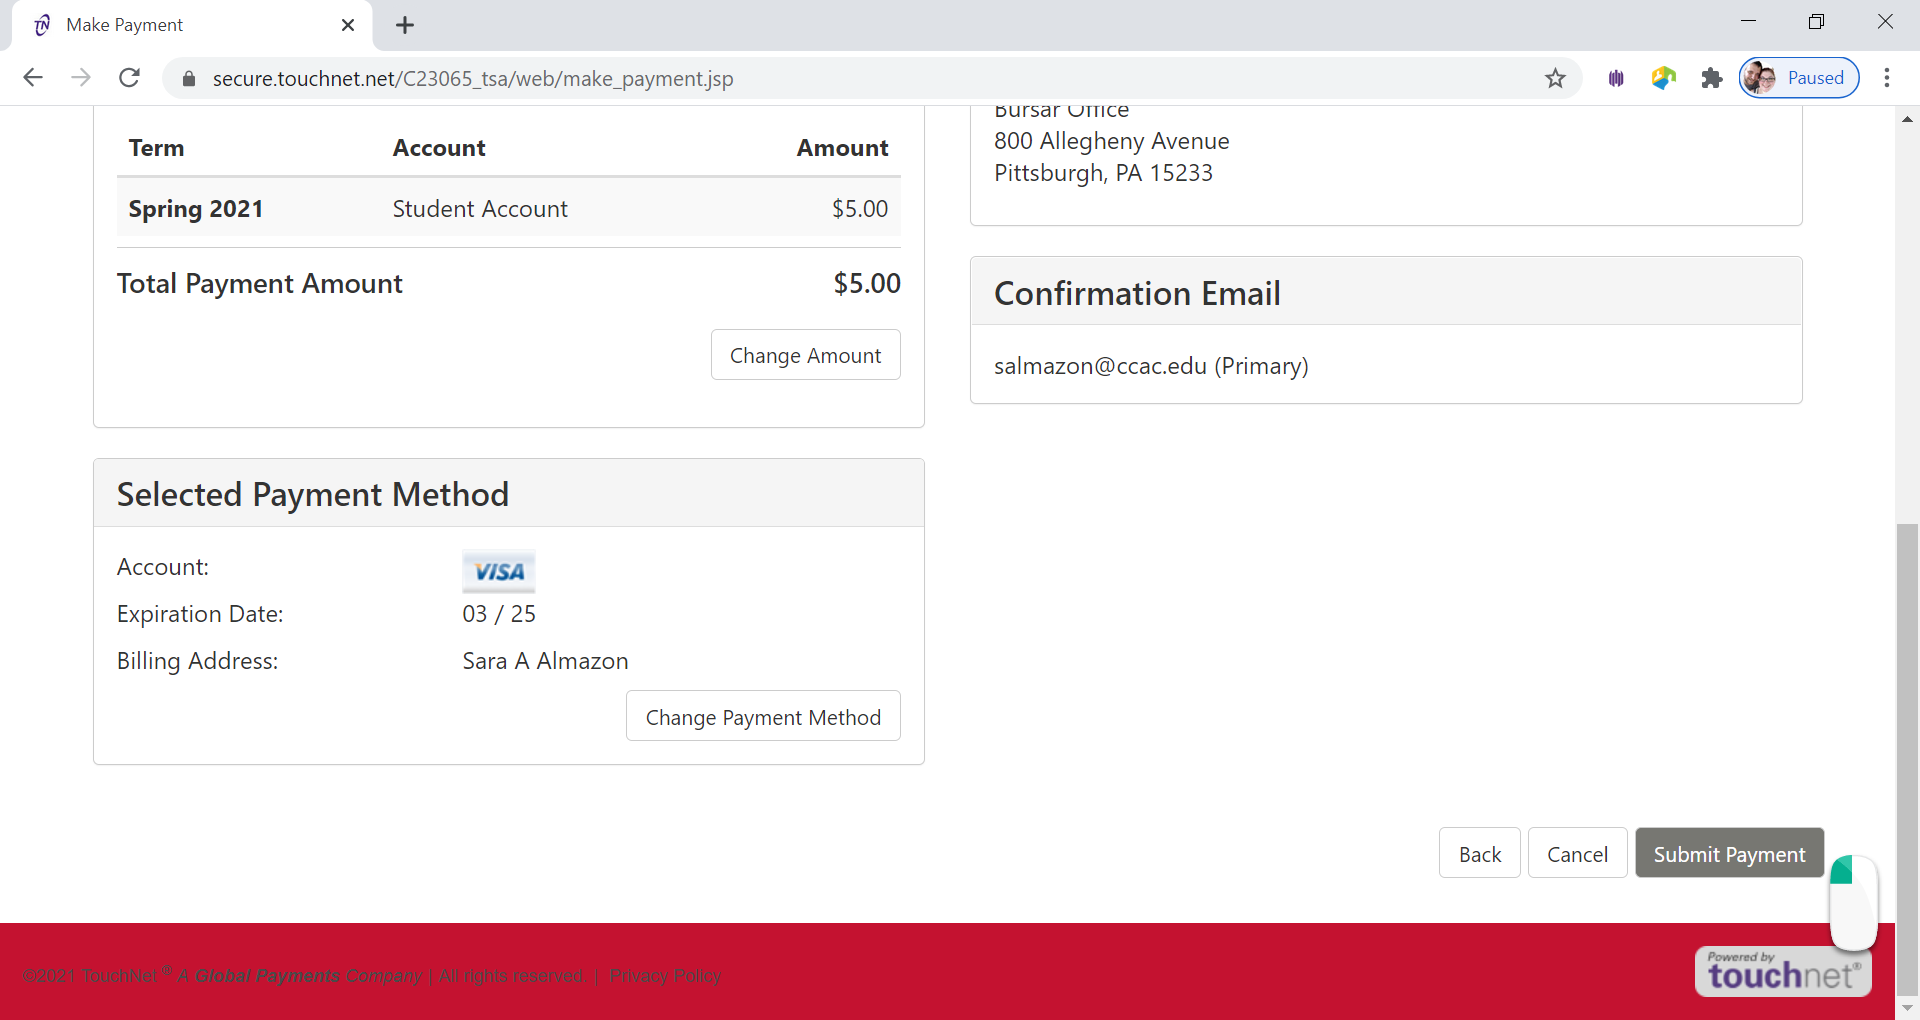
Review Payment Information
If you need to correct anything about your payment, click the back button. -
Click Submit Payment Button
-
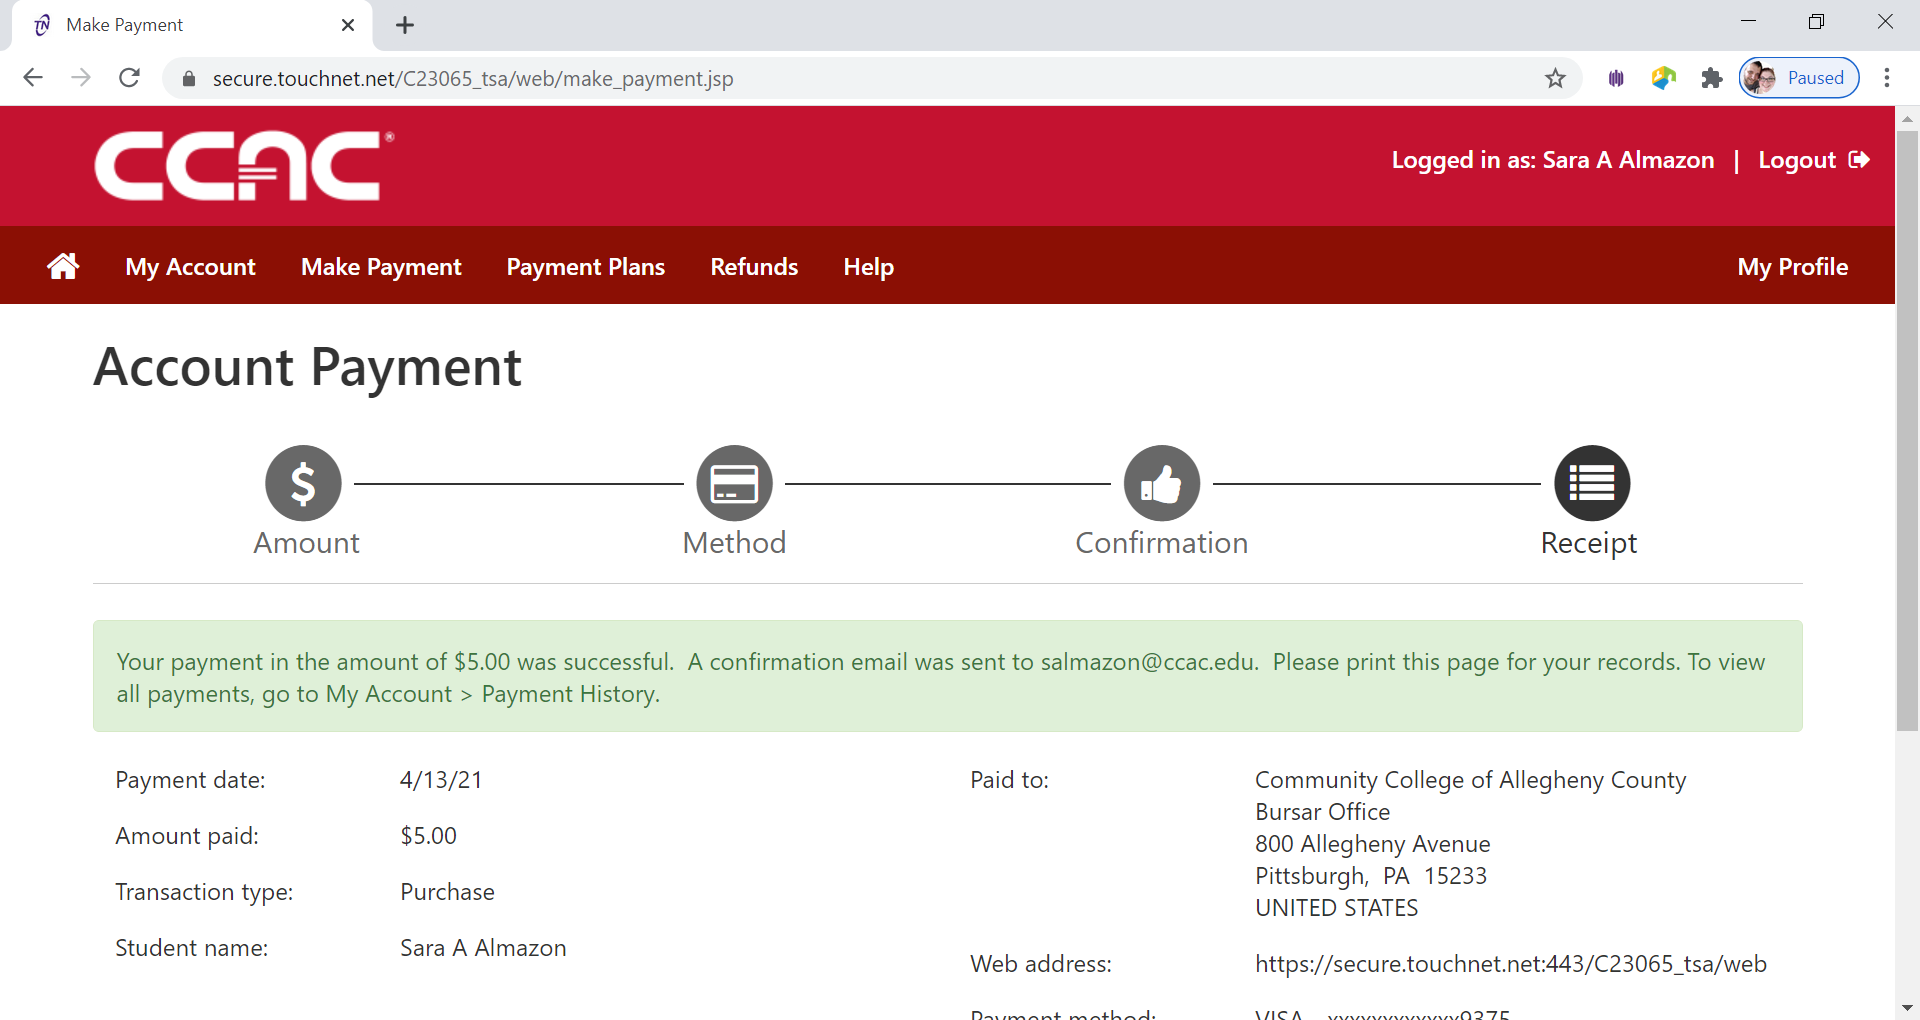
Confirmation Page will appear
Payment confirmation will be sent to your CCAC Academic Email


Alternative Way - Bank Wire
- Log into the Online Student Account Center - Access the Online Student Account Center - For Students
- Click Make a Payment on the Menu Bar

- See the Account Payment Screen

- Click Pay
by Term button

- Select the Term you want to pay by clicking the check box next to the term

- Click Continue button

- Select Payment Method from the Drop Down Menu
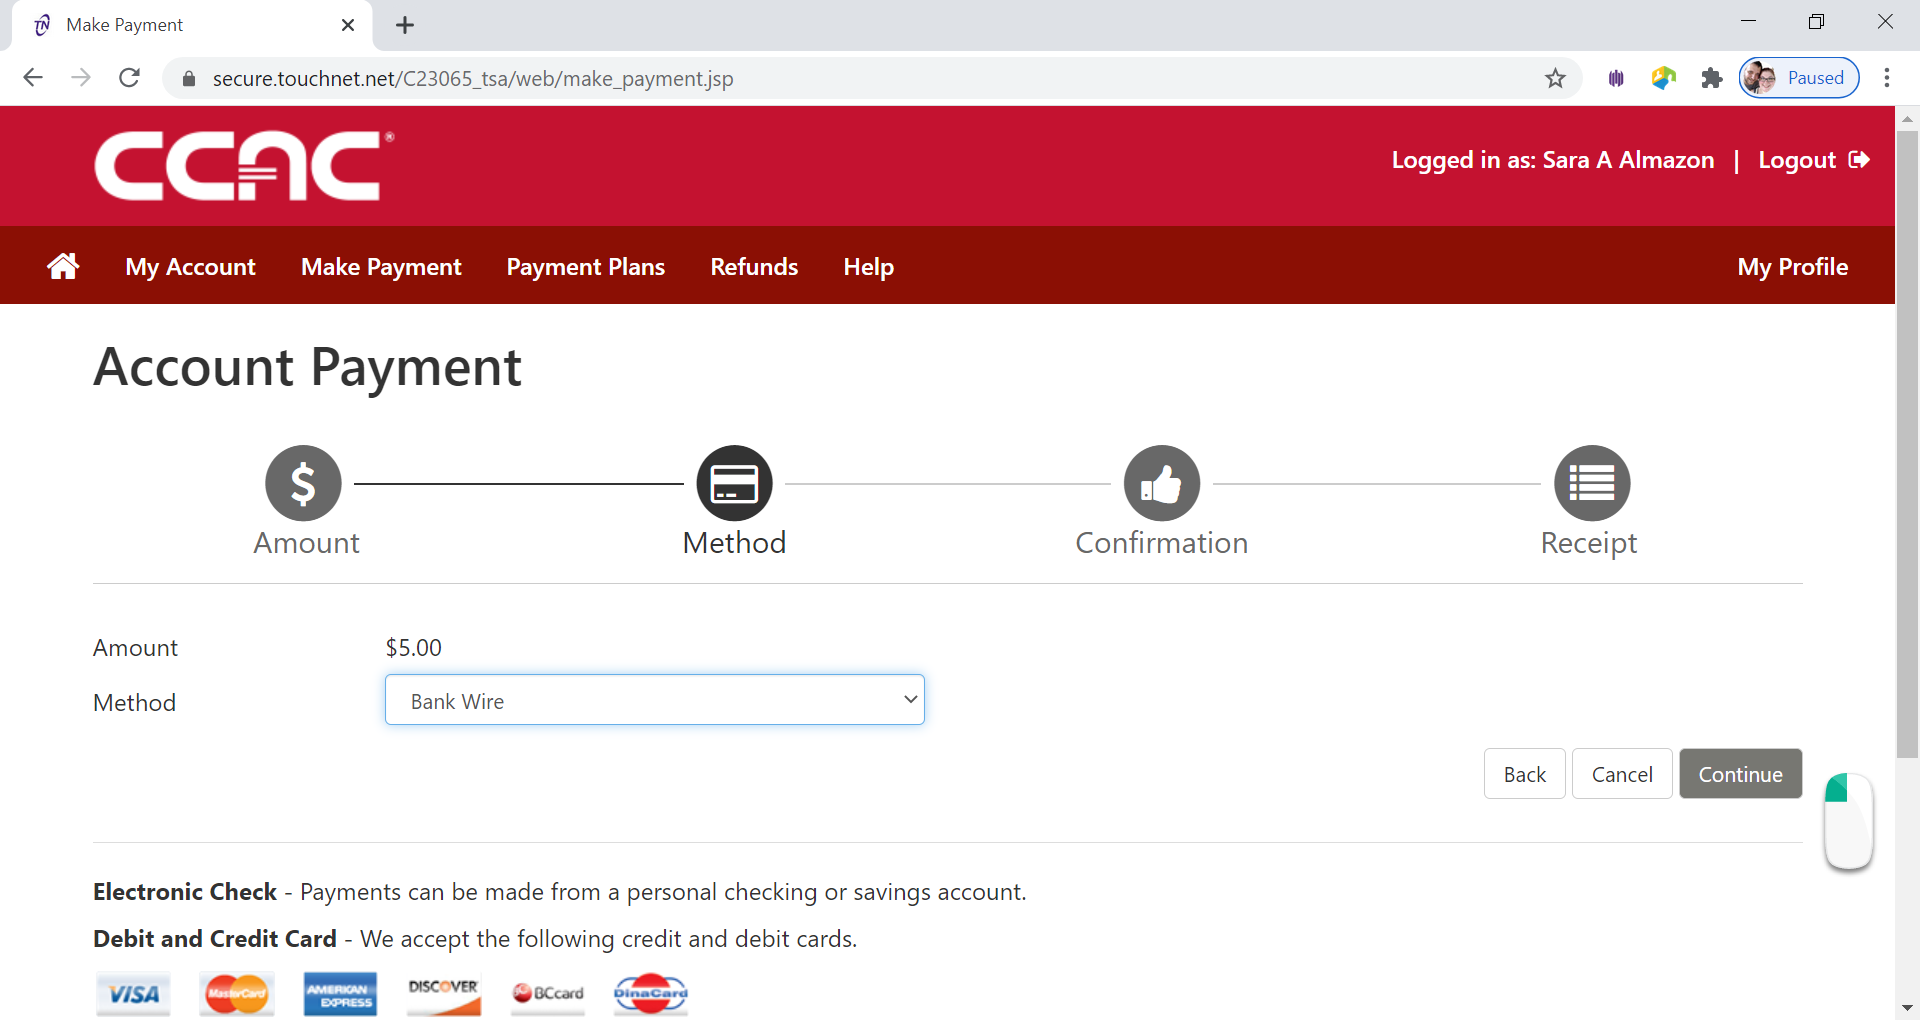
- Select Bank Wire from Method drop down menu
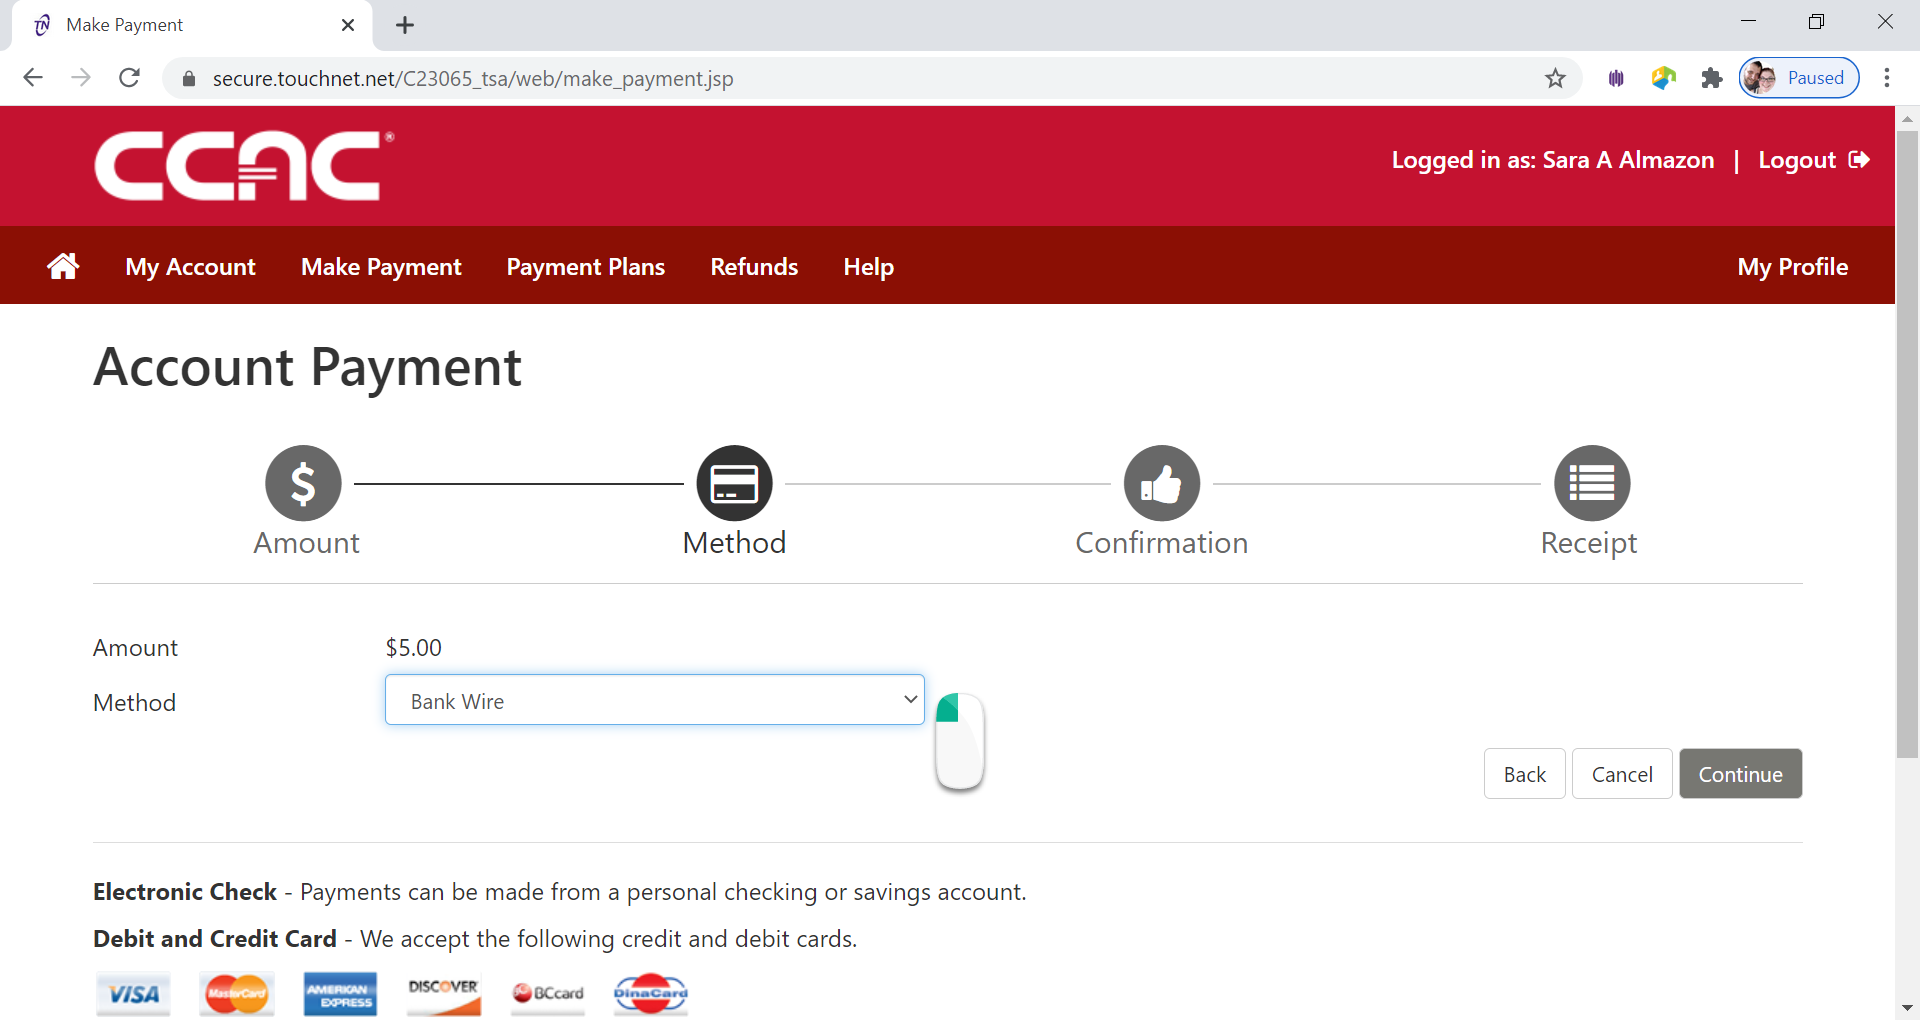
- Click Continue button
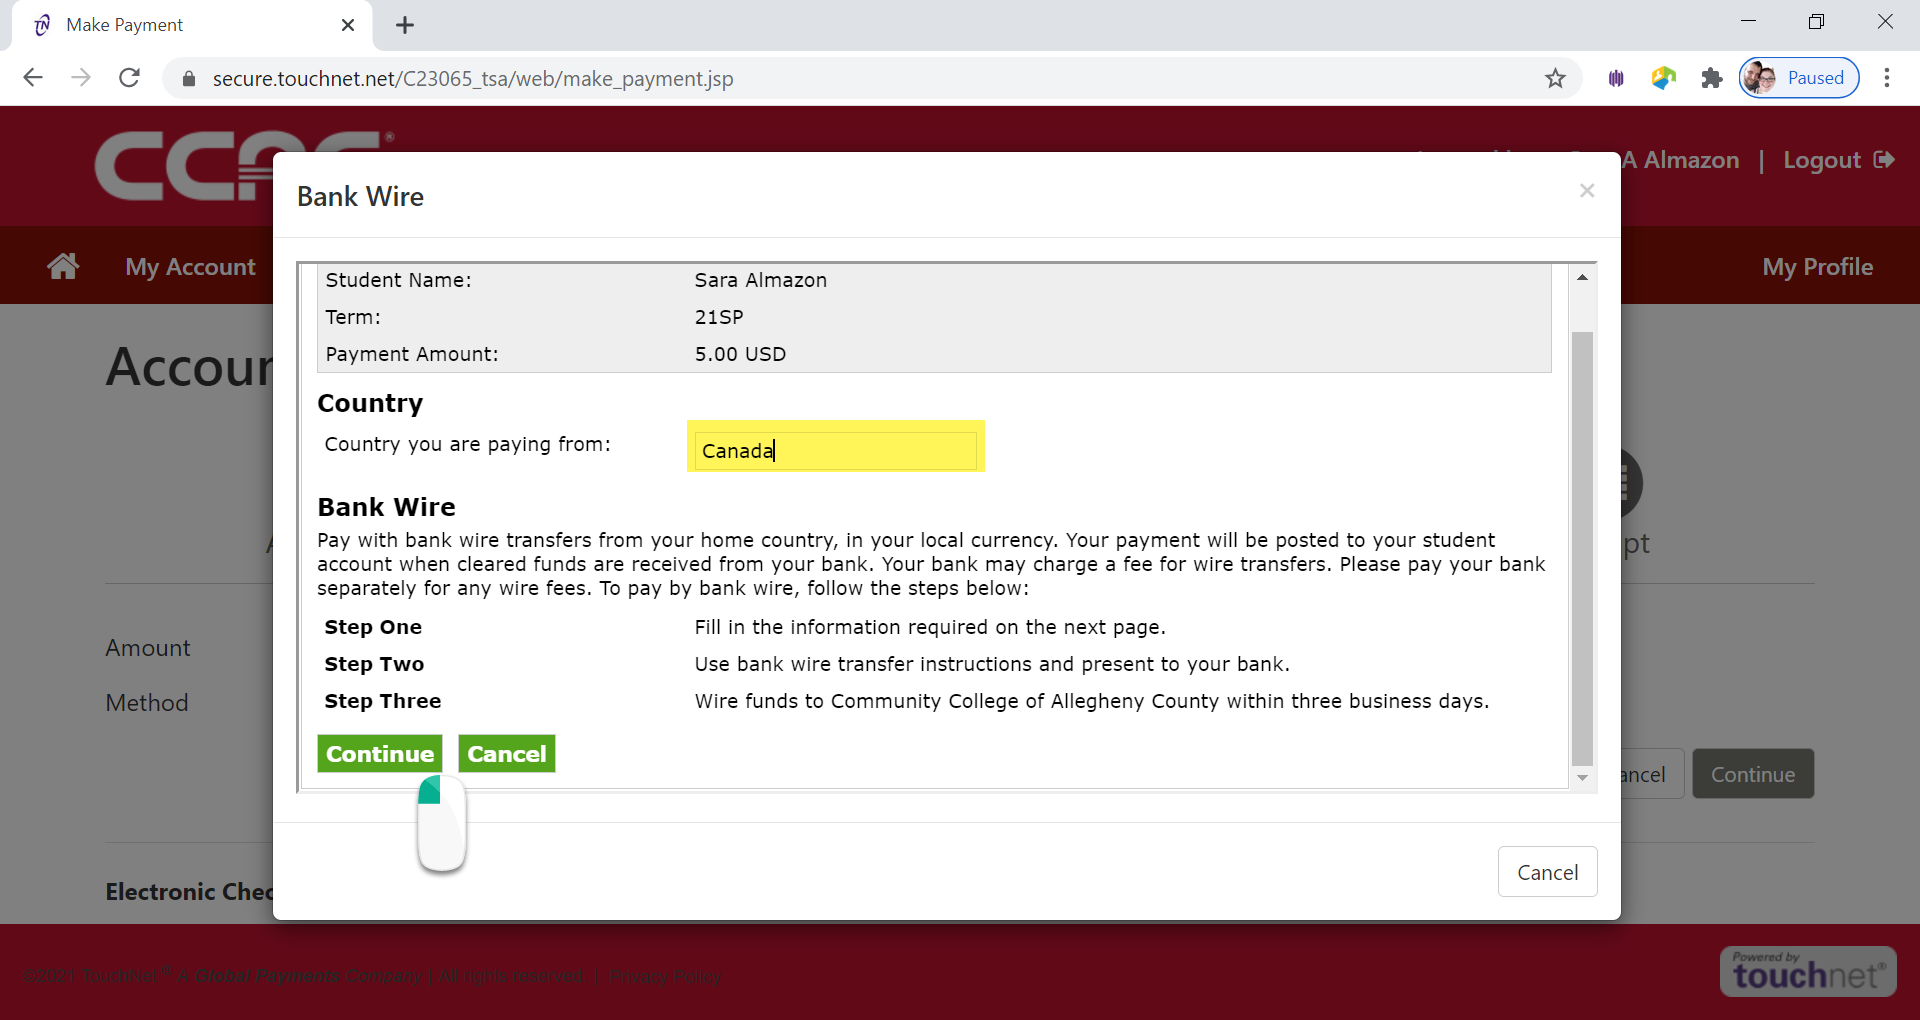
- The Choose the Country Page will appear
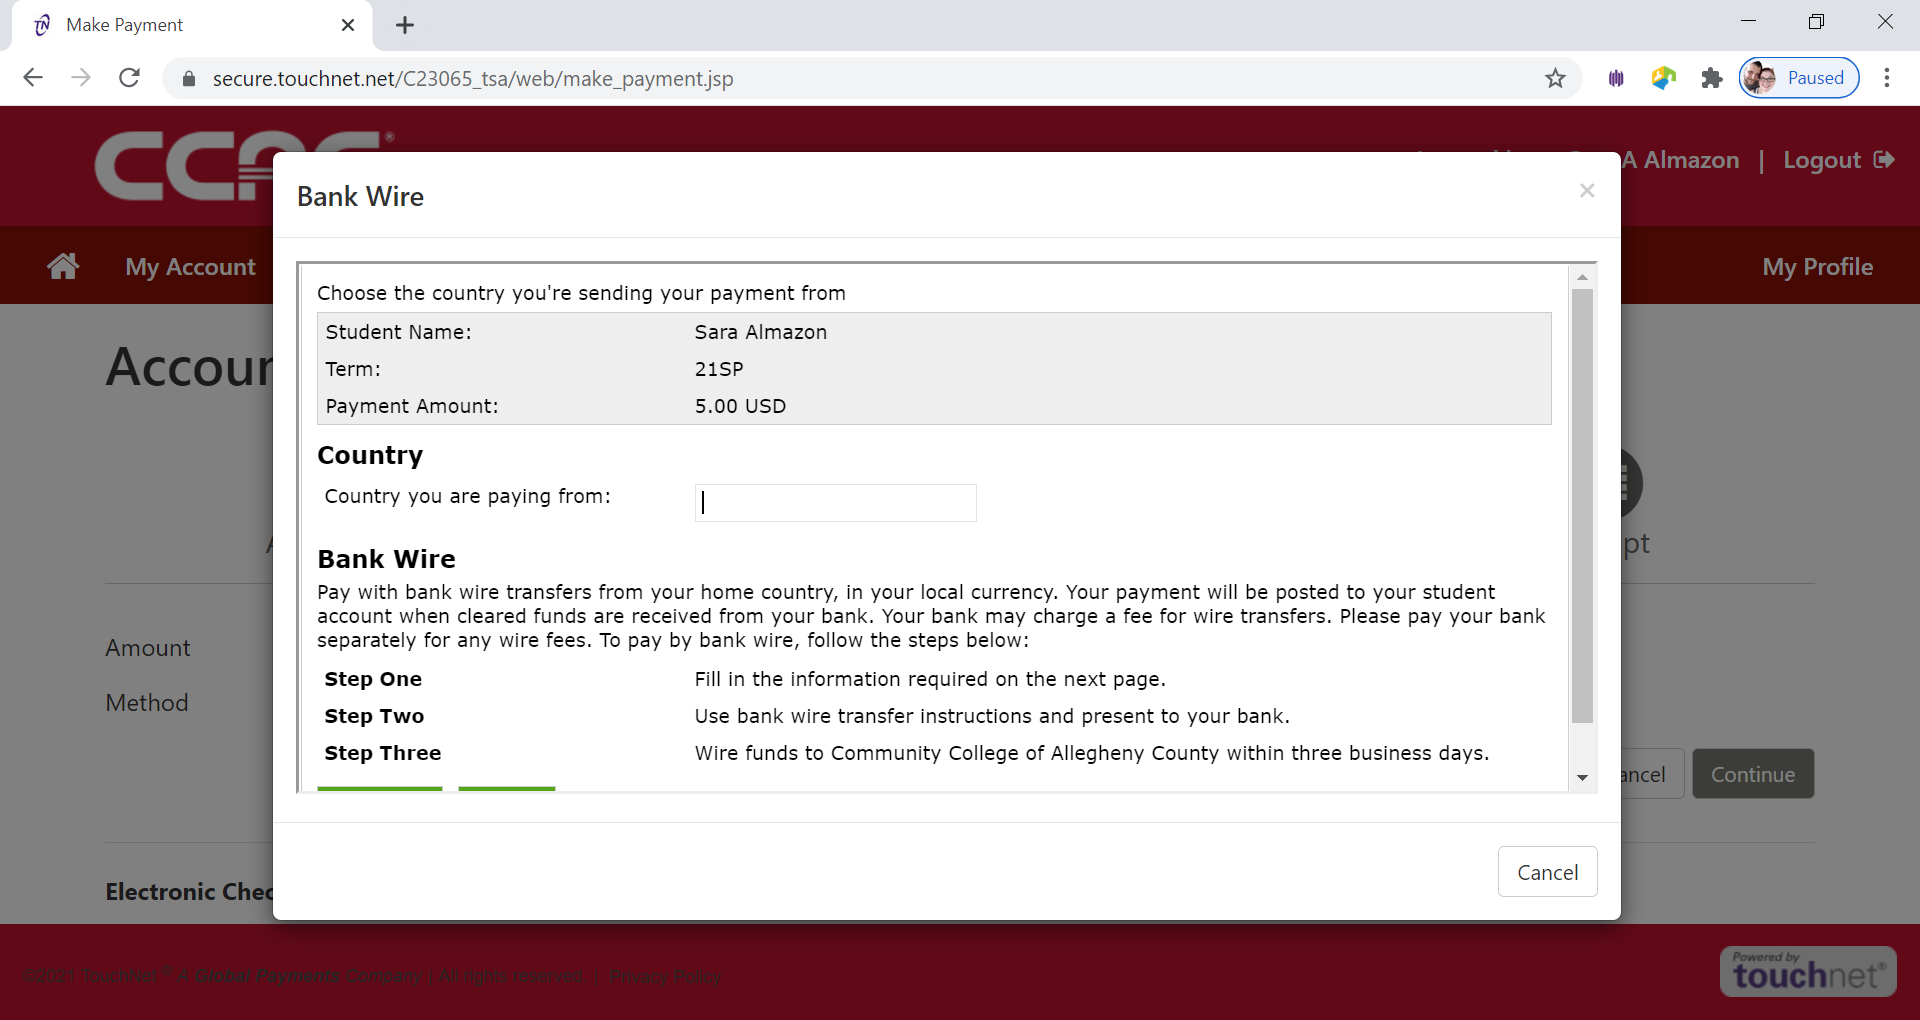
-
Type in the Country the payment is coming from in the Country you are paying from box
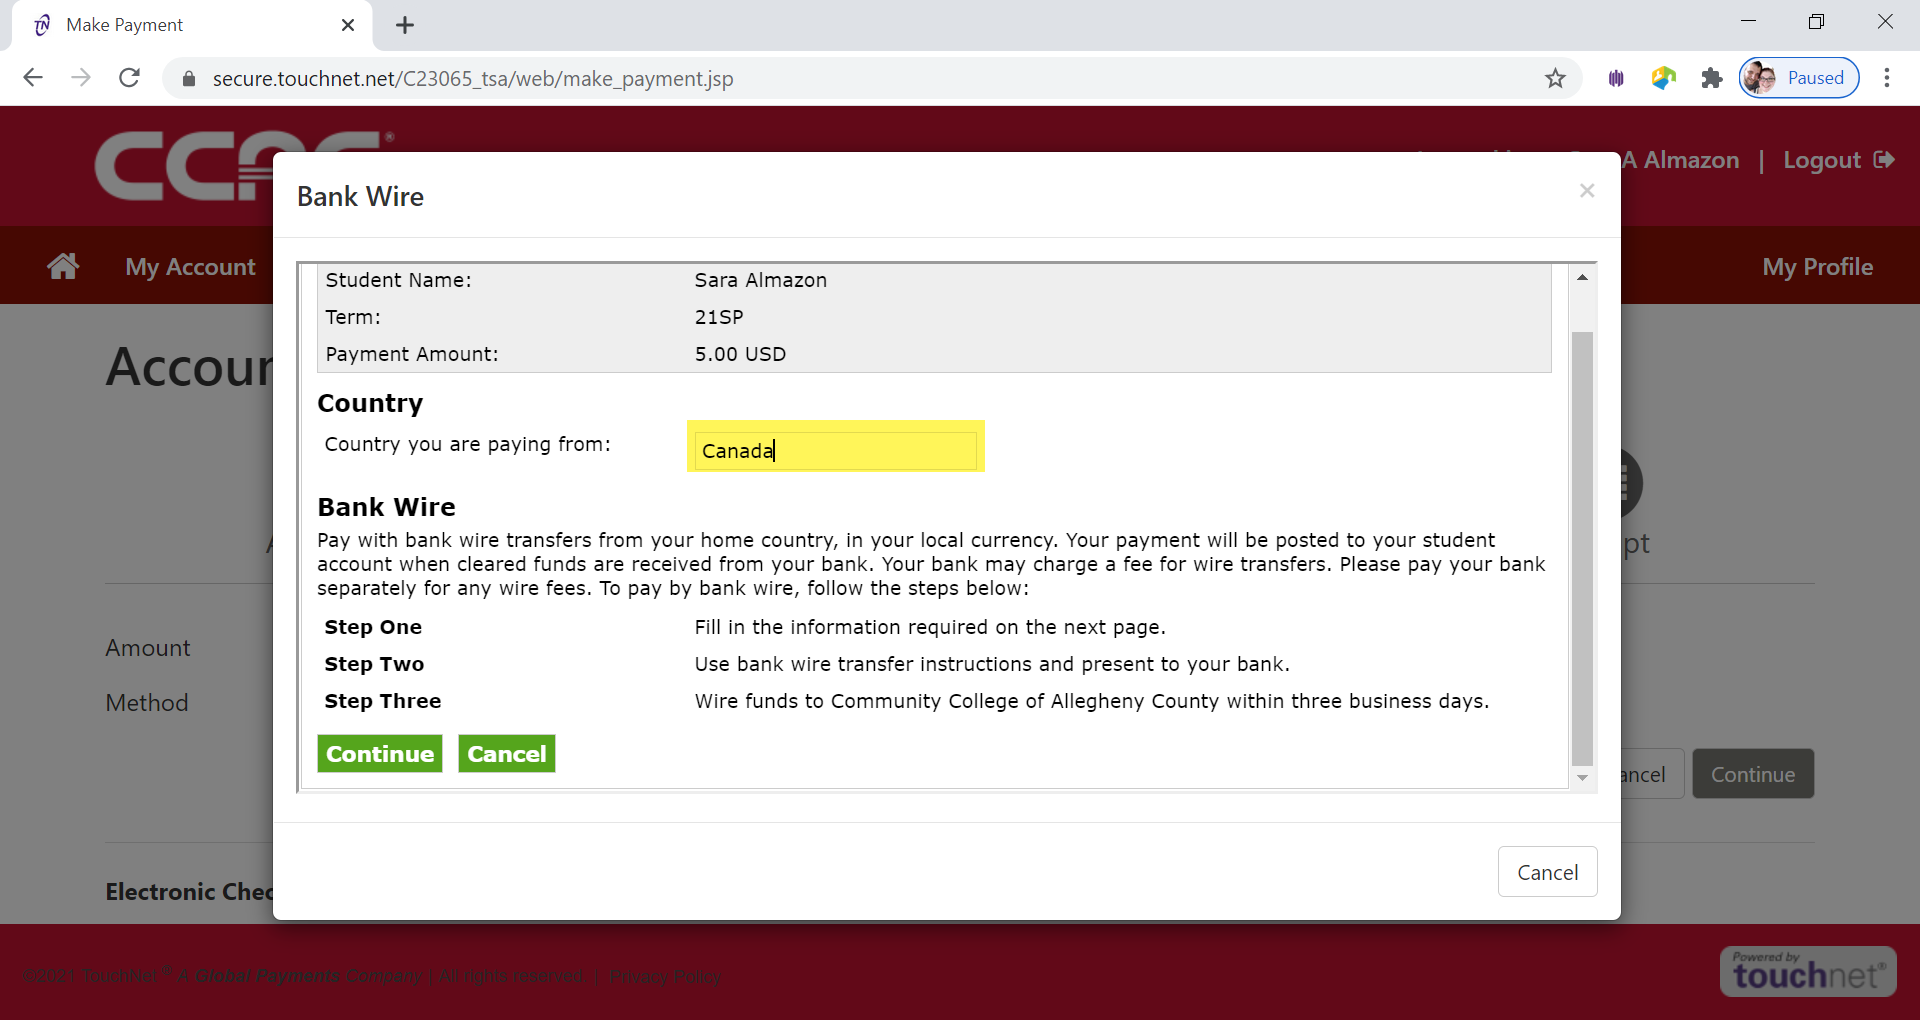
- Click Continue button
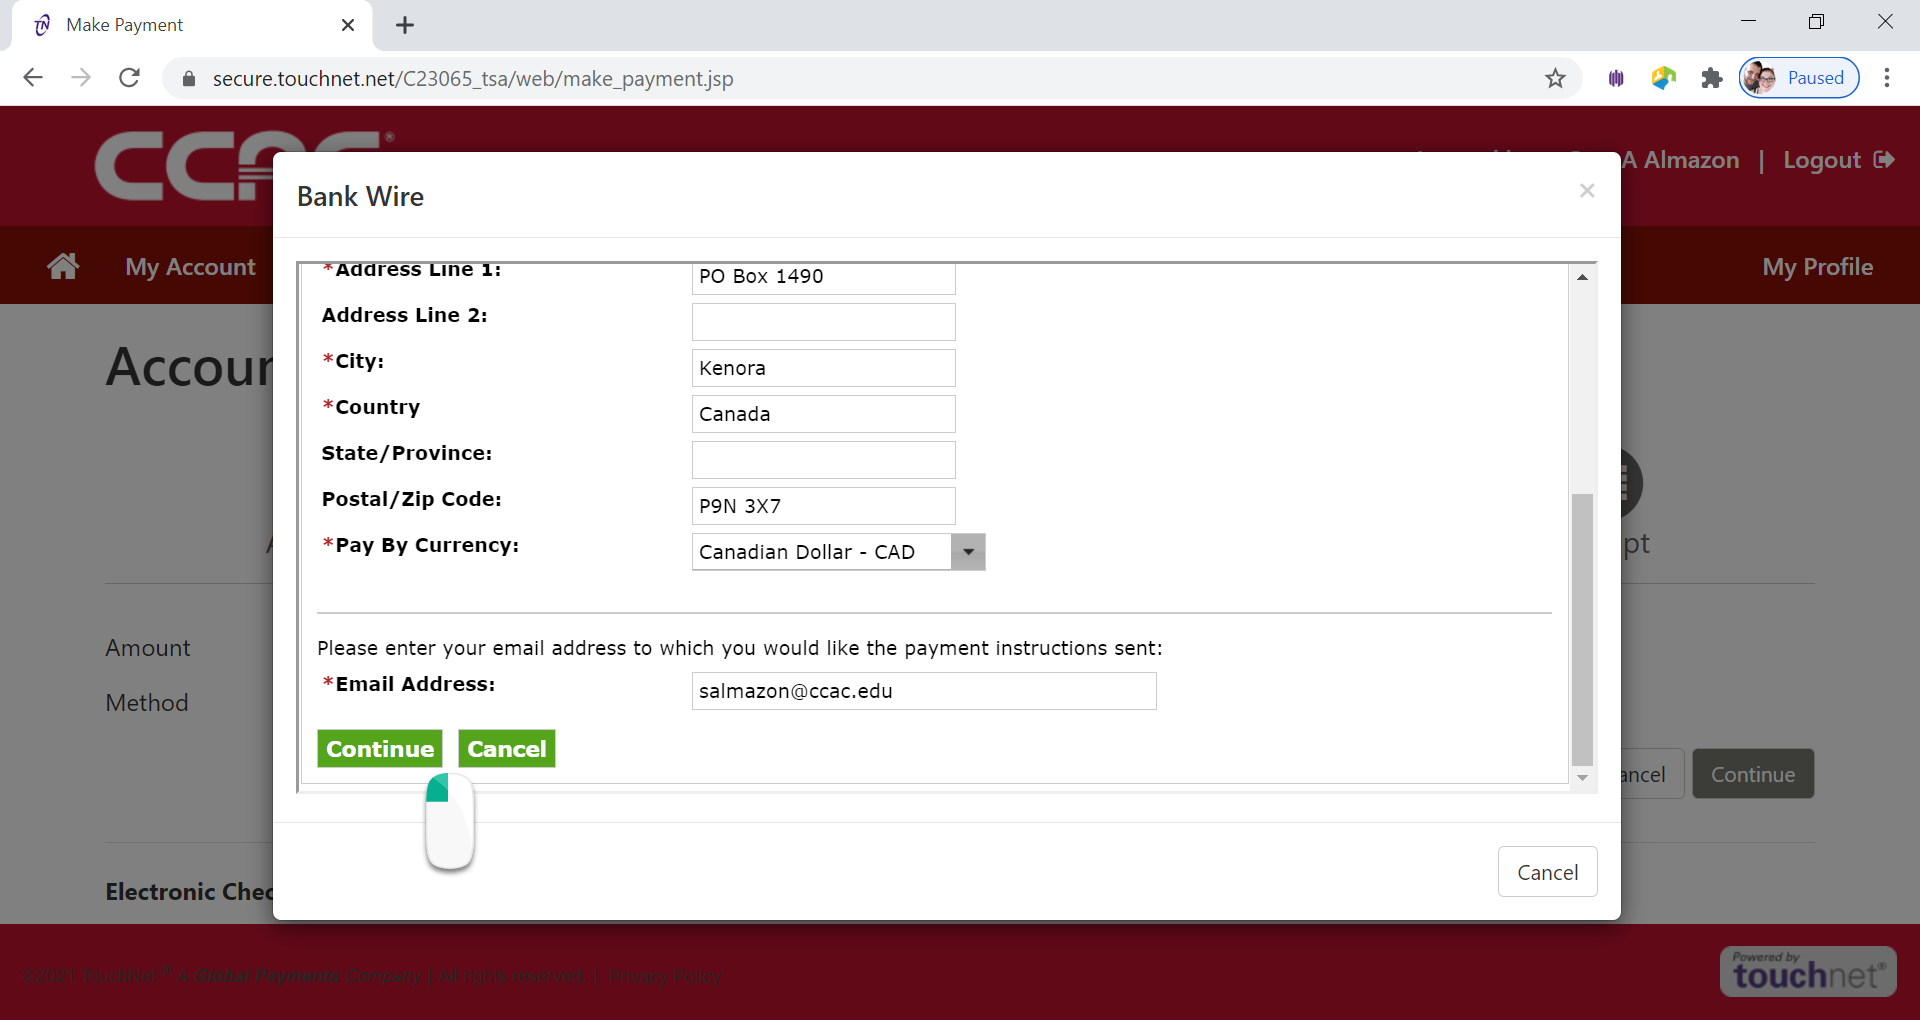
- Payer Information Page will appear
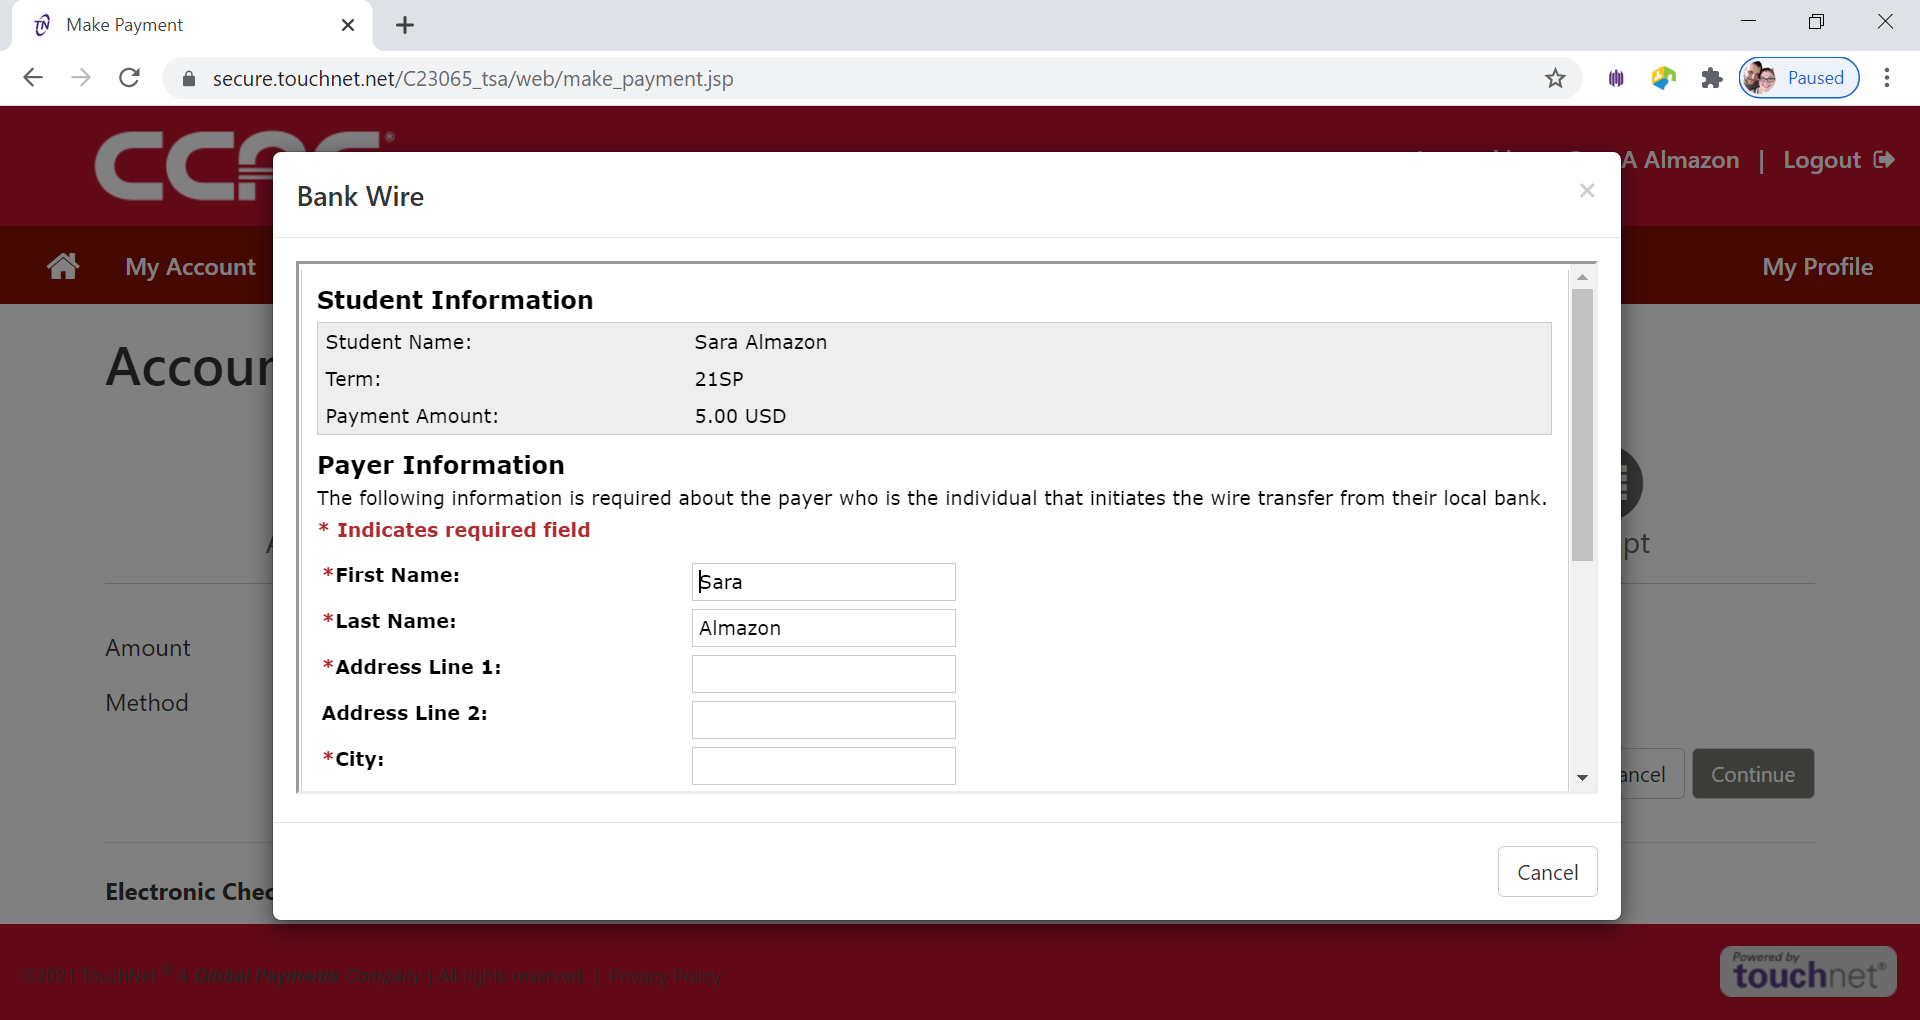
-
Fill out the address of the Payer Information
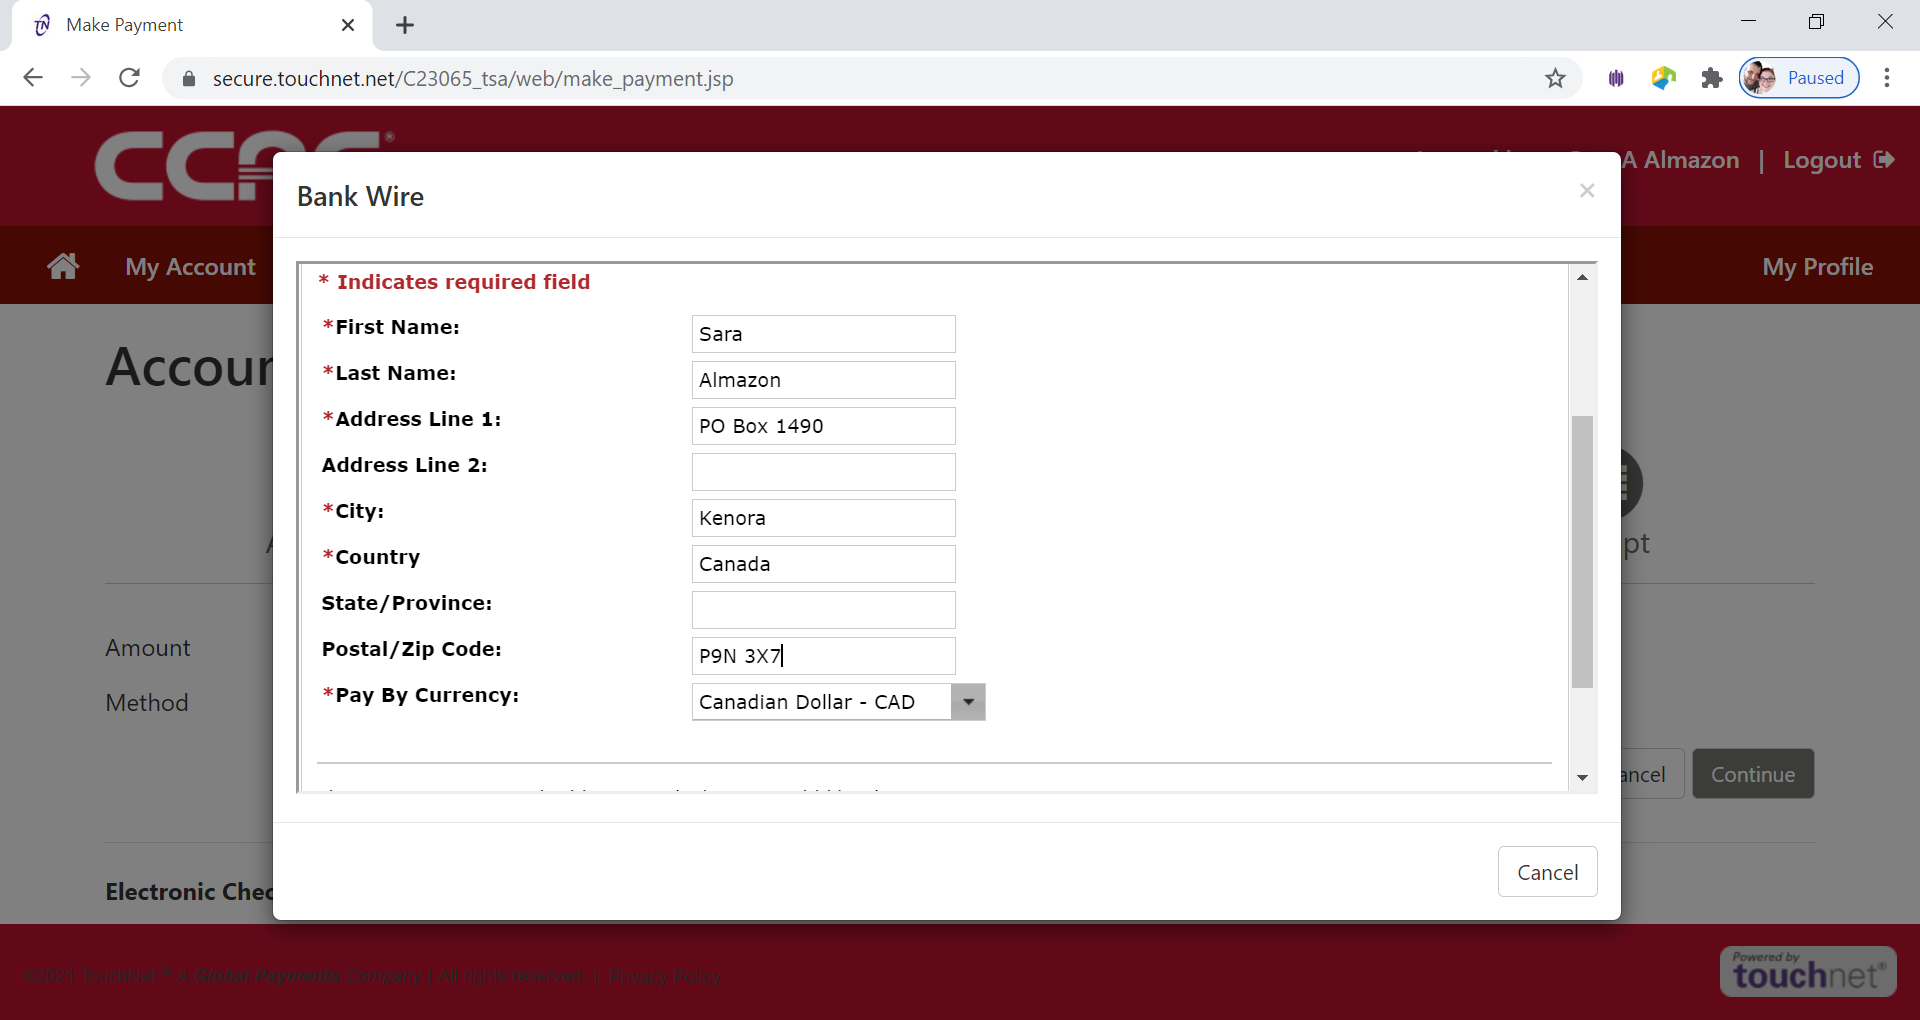
- Click Continue button
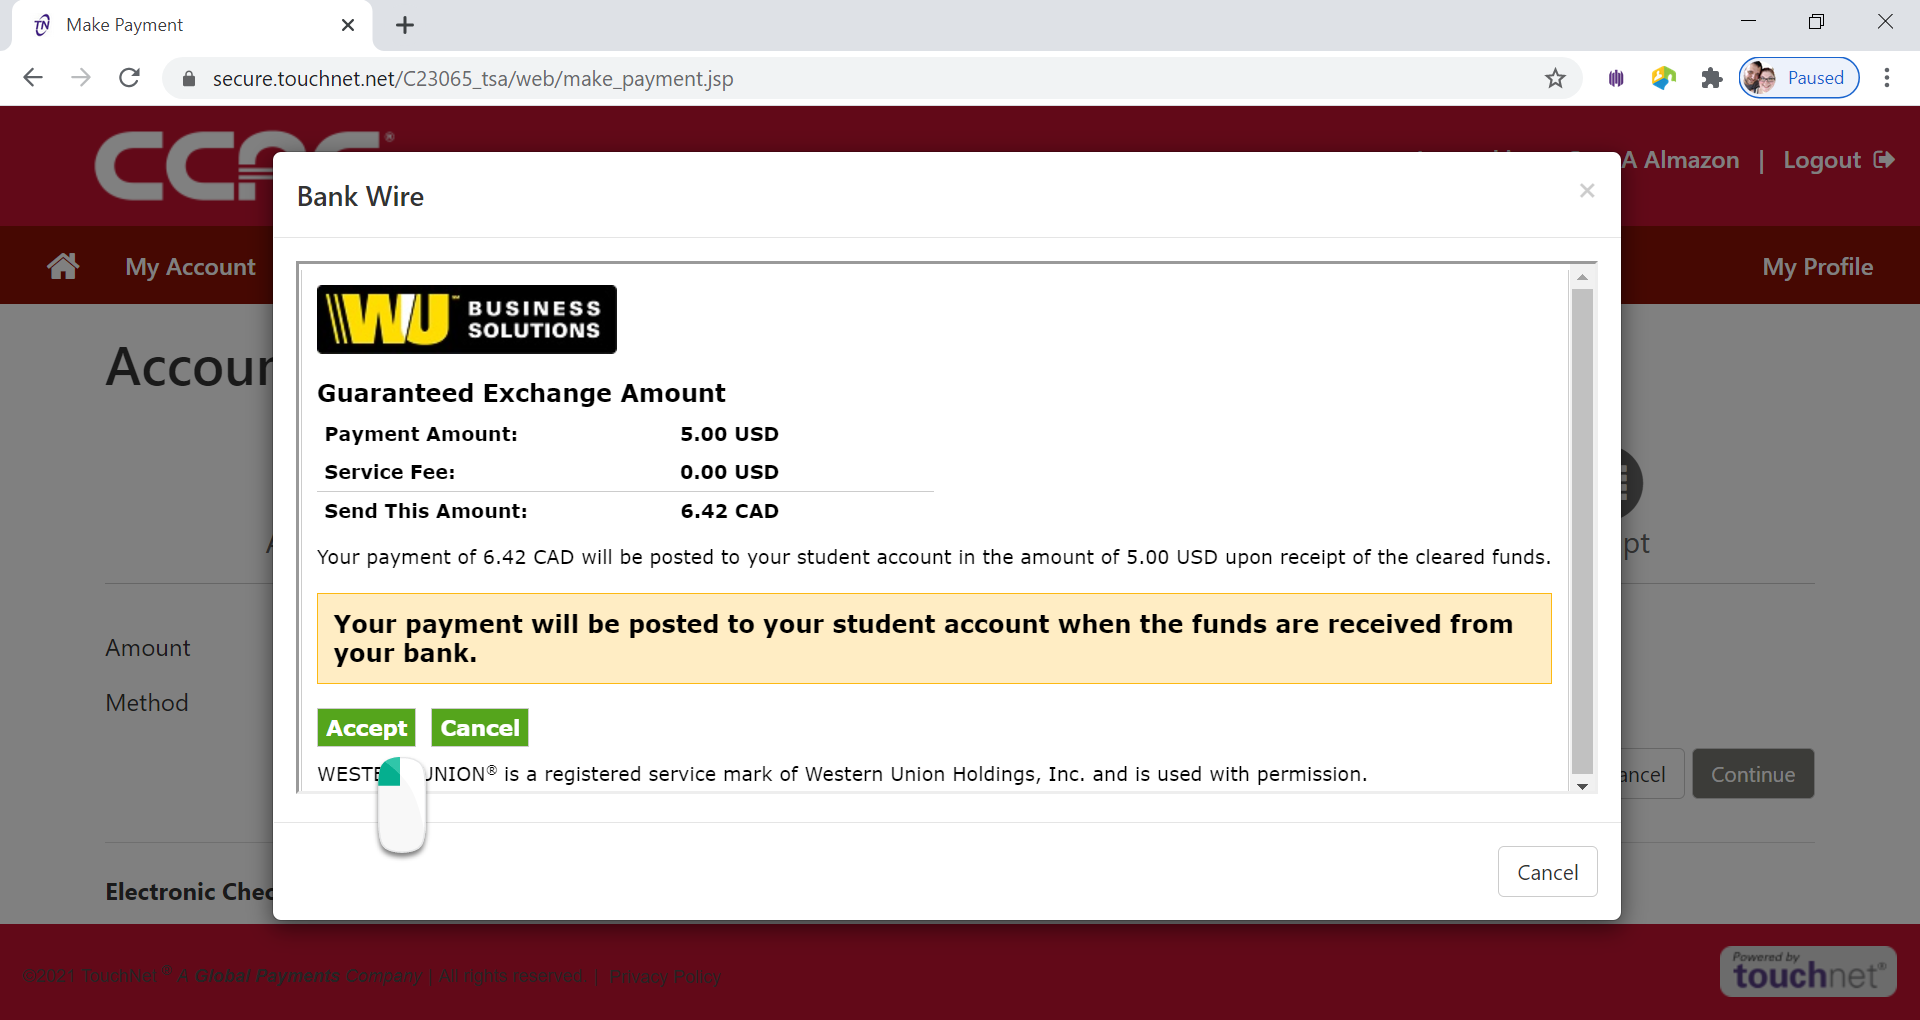
- The Guaranteed Exchange Amount page will appear
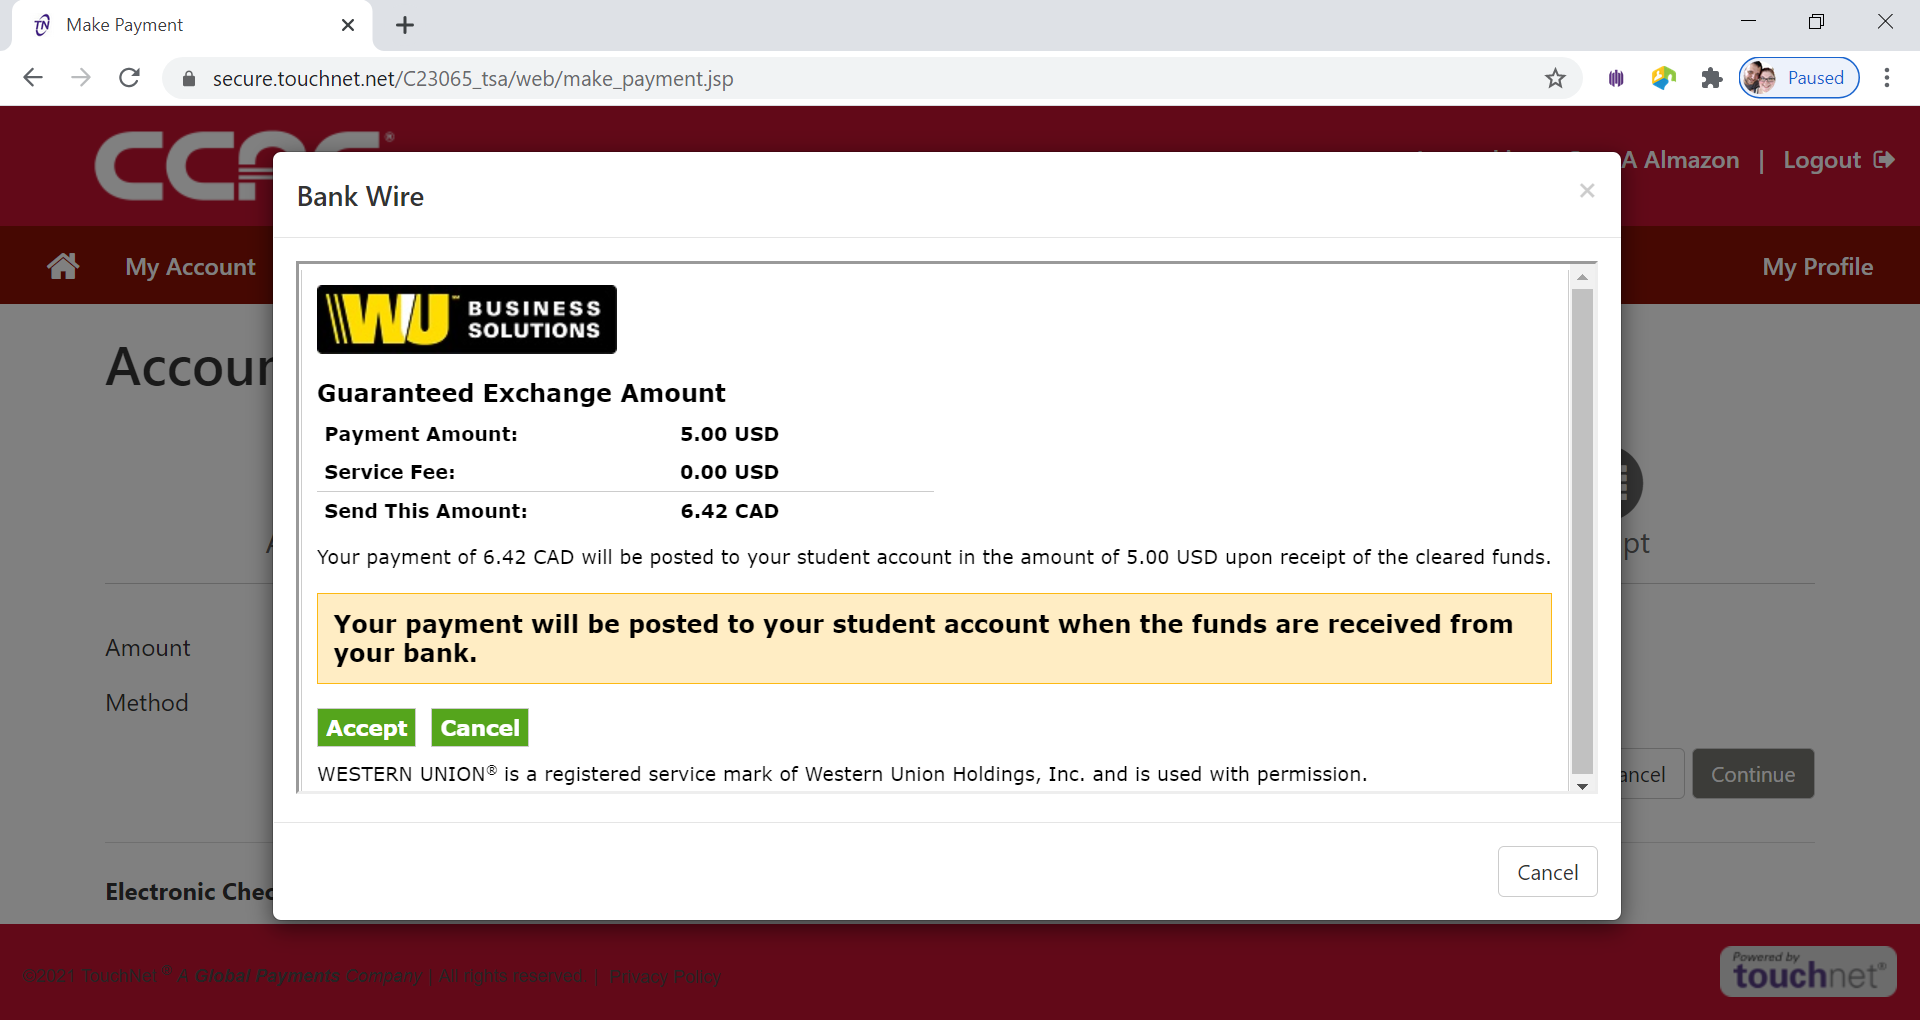
- Click Accept button
- Click Finish button
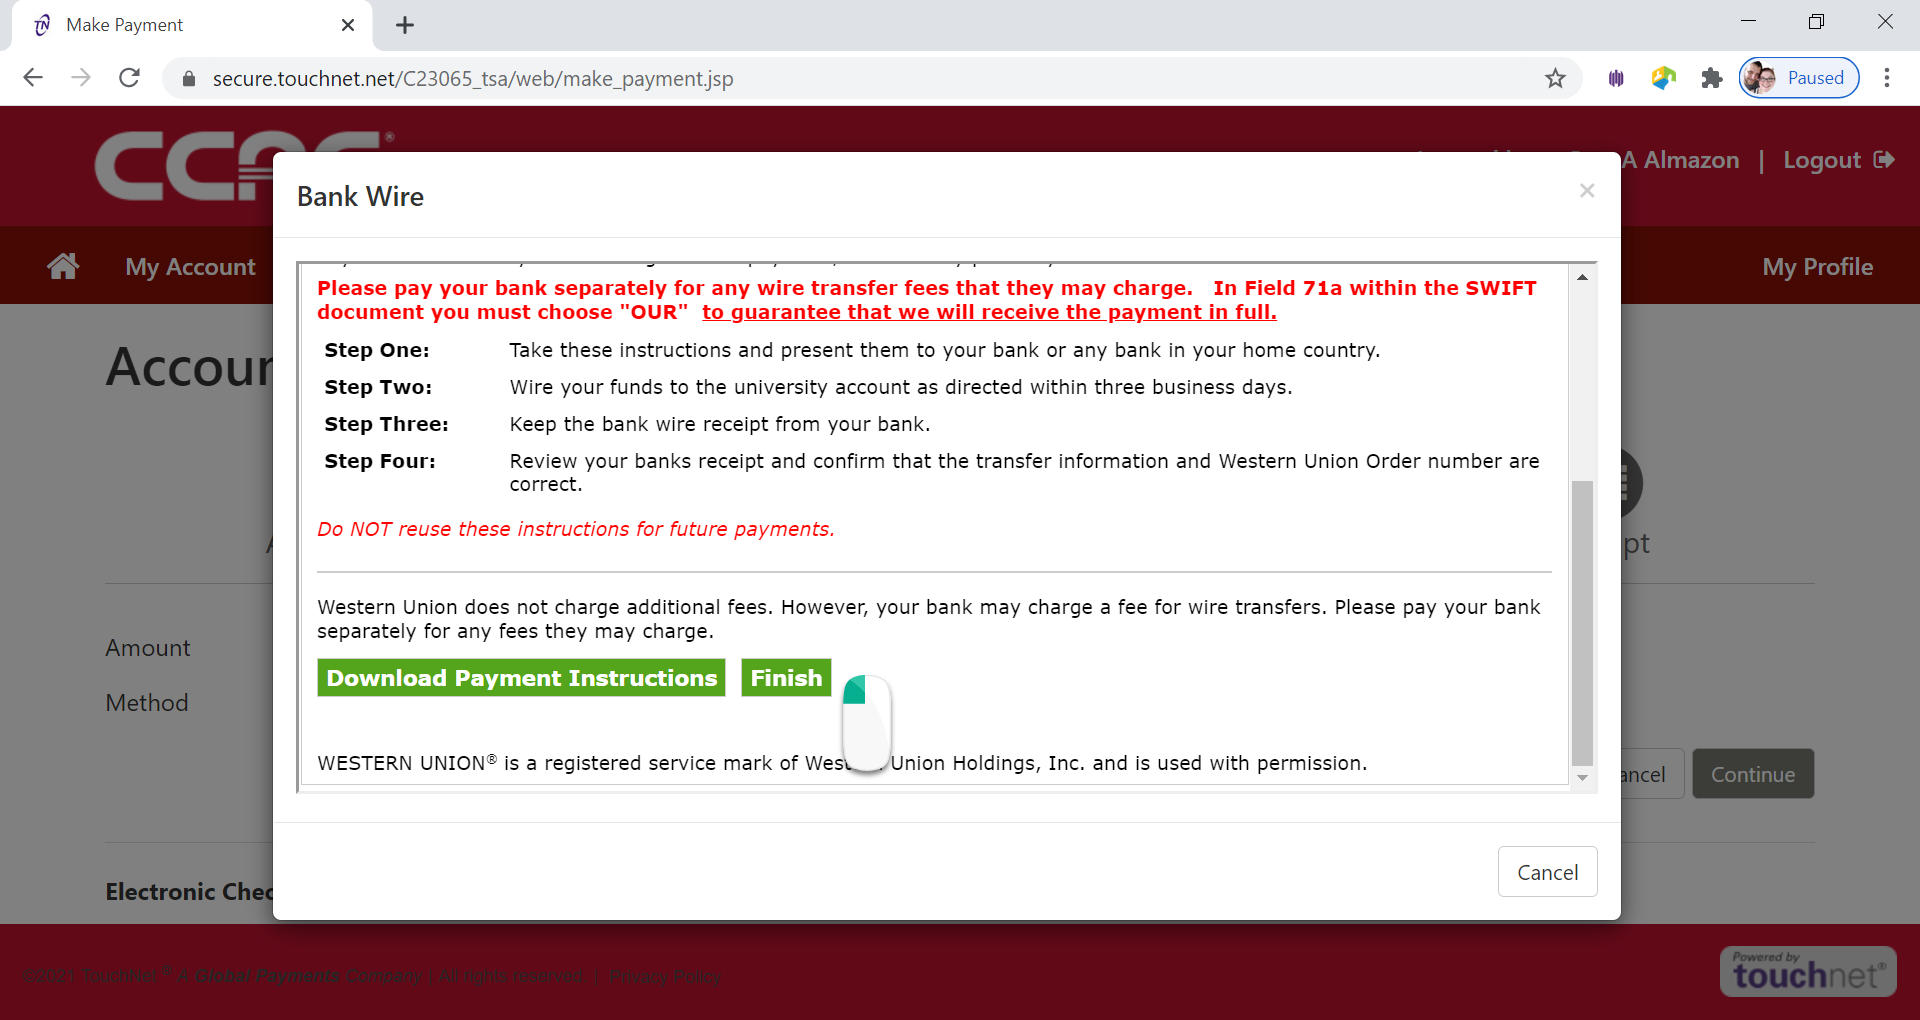
- An email with instructions will be sent to the email address you entered on the previous page.
- Payment confirmation will be sent to CCAC Academic Email
Alternative Way - Electronic Check
- Log into the Online Student Account Center - Access the Online Student Account Center - For Students
- Click Make a Payment on the Menu Bar

- See the Account Payment Screen
- Click Pay
by Term button
- Select the Term you want to pay by clicking the check box next to the term

- Click Continue button

- Select Payment Method from Drop Down Menu

- Select Electronic Check (checking/savings) from Method drop down menu
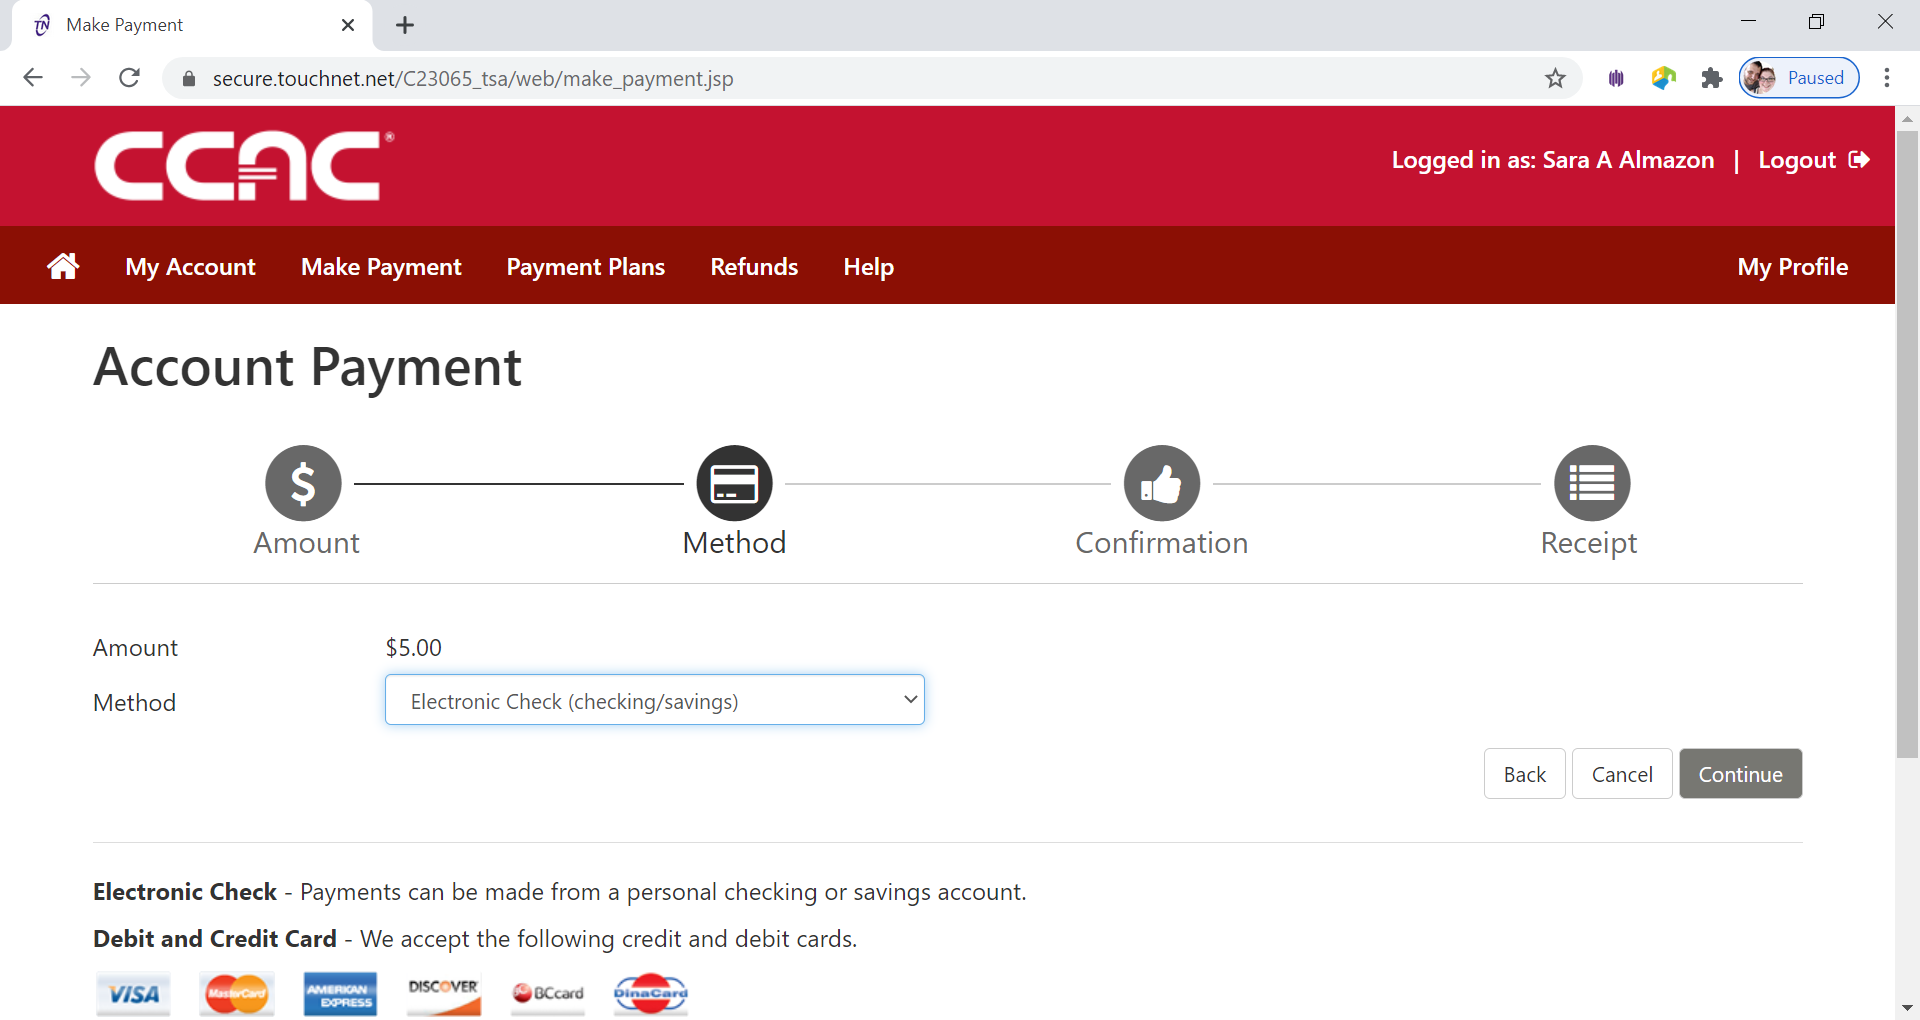
- Click Continue button
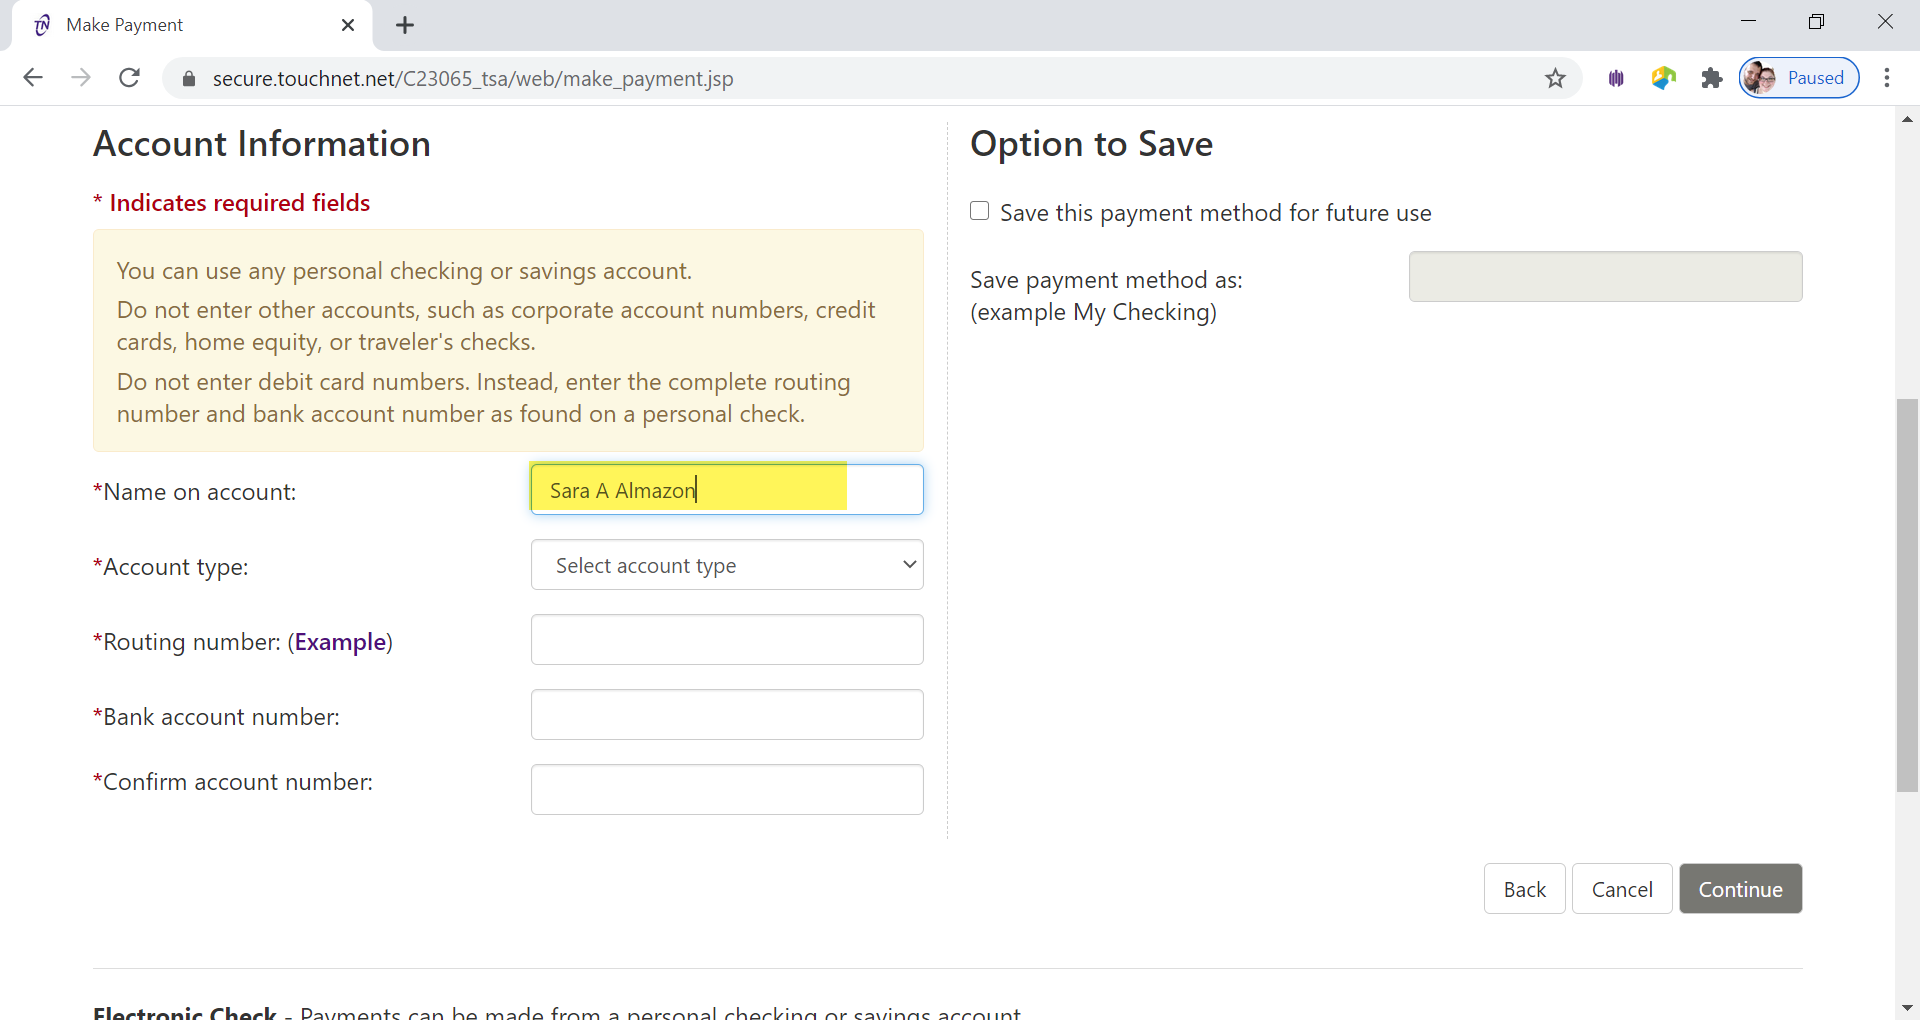
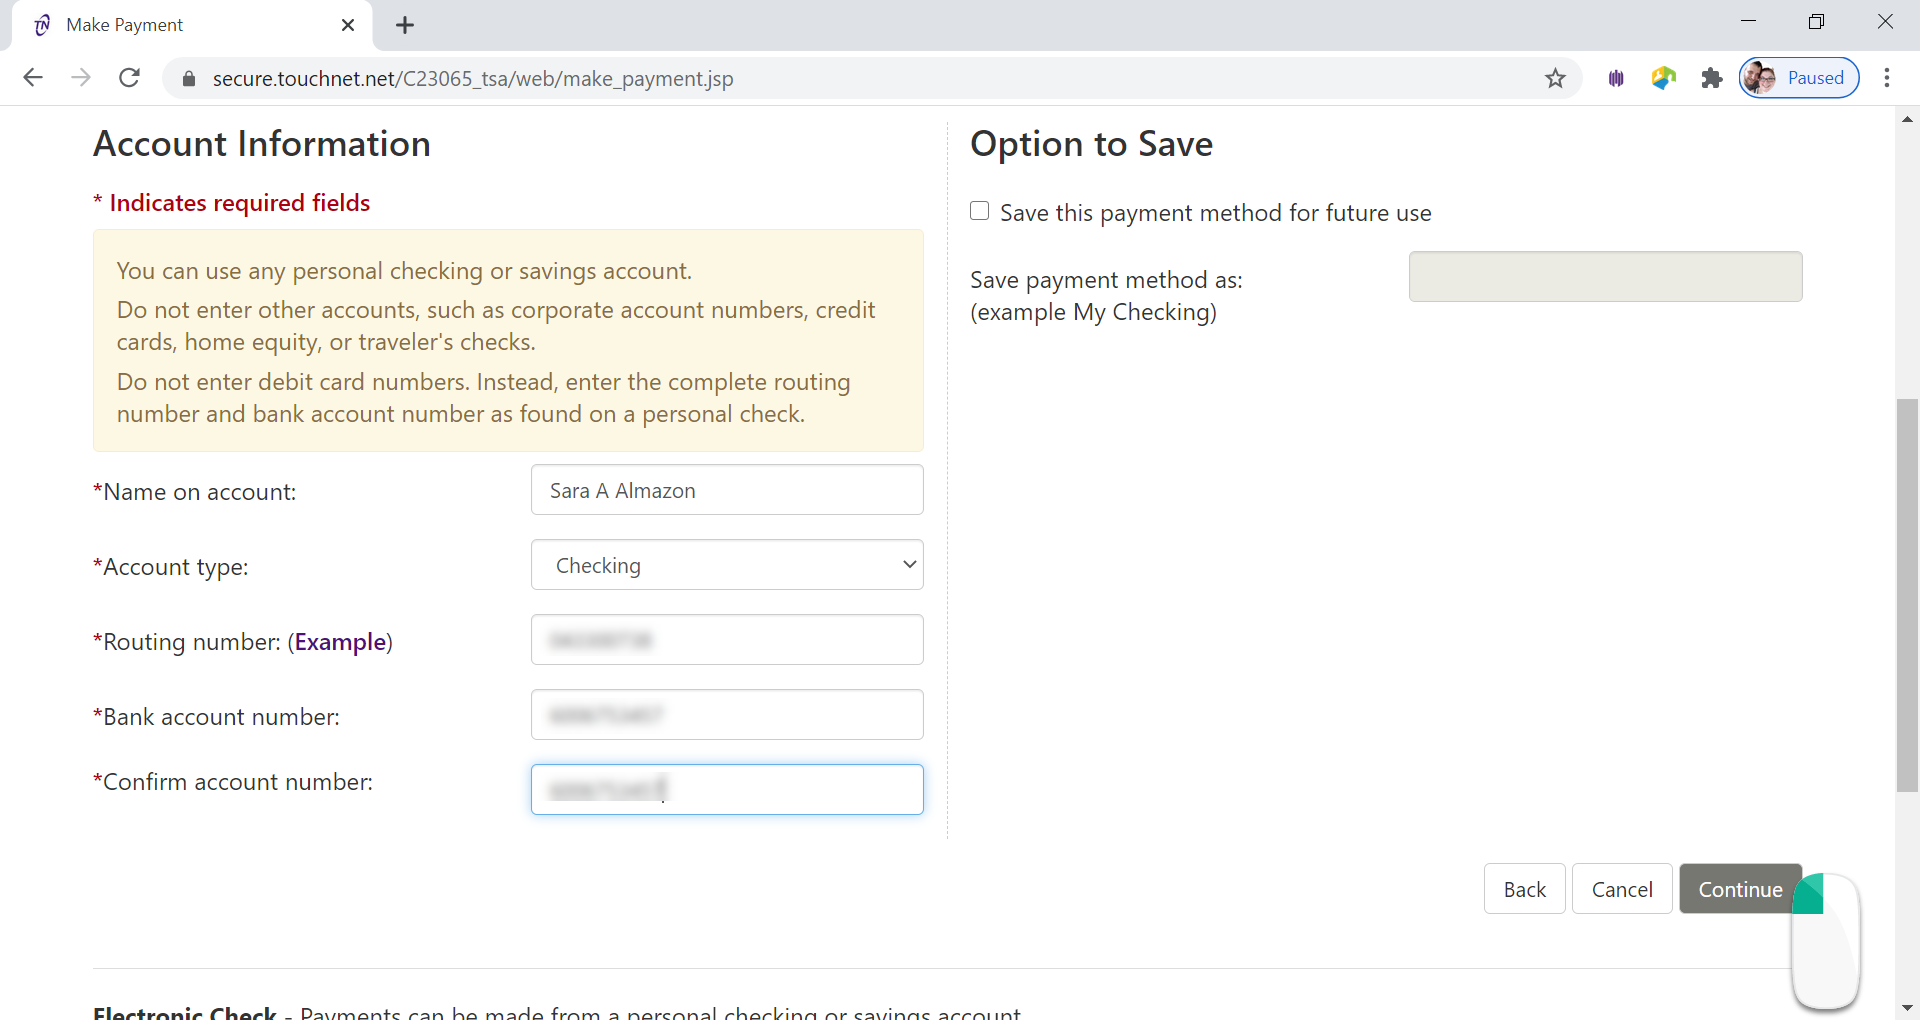
- Fill in the Name on Account box
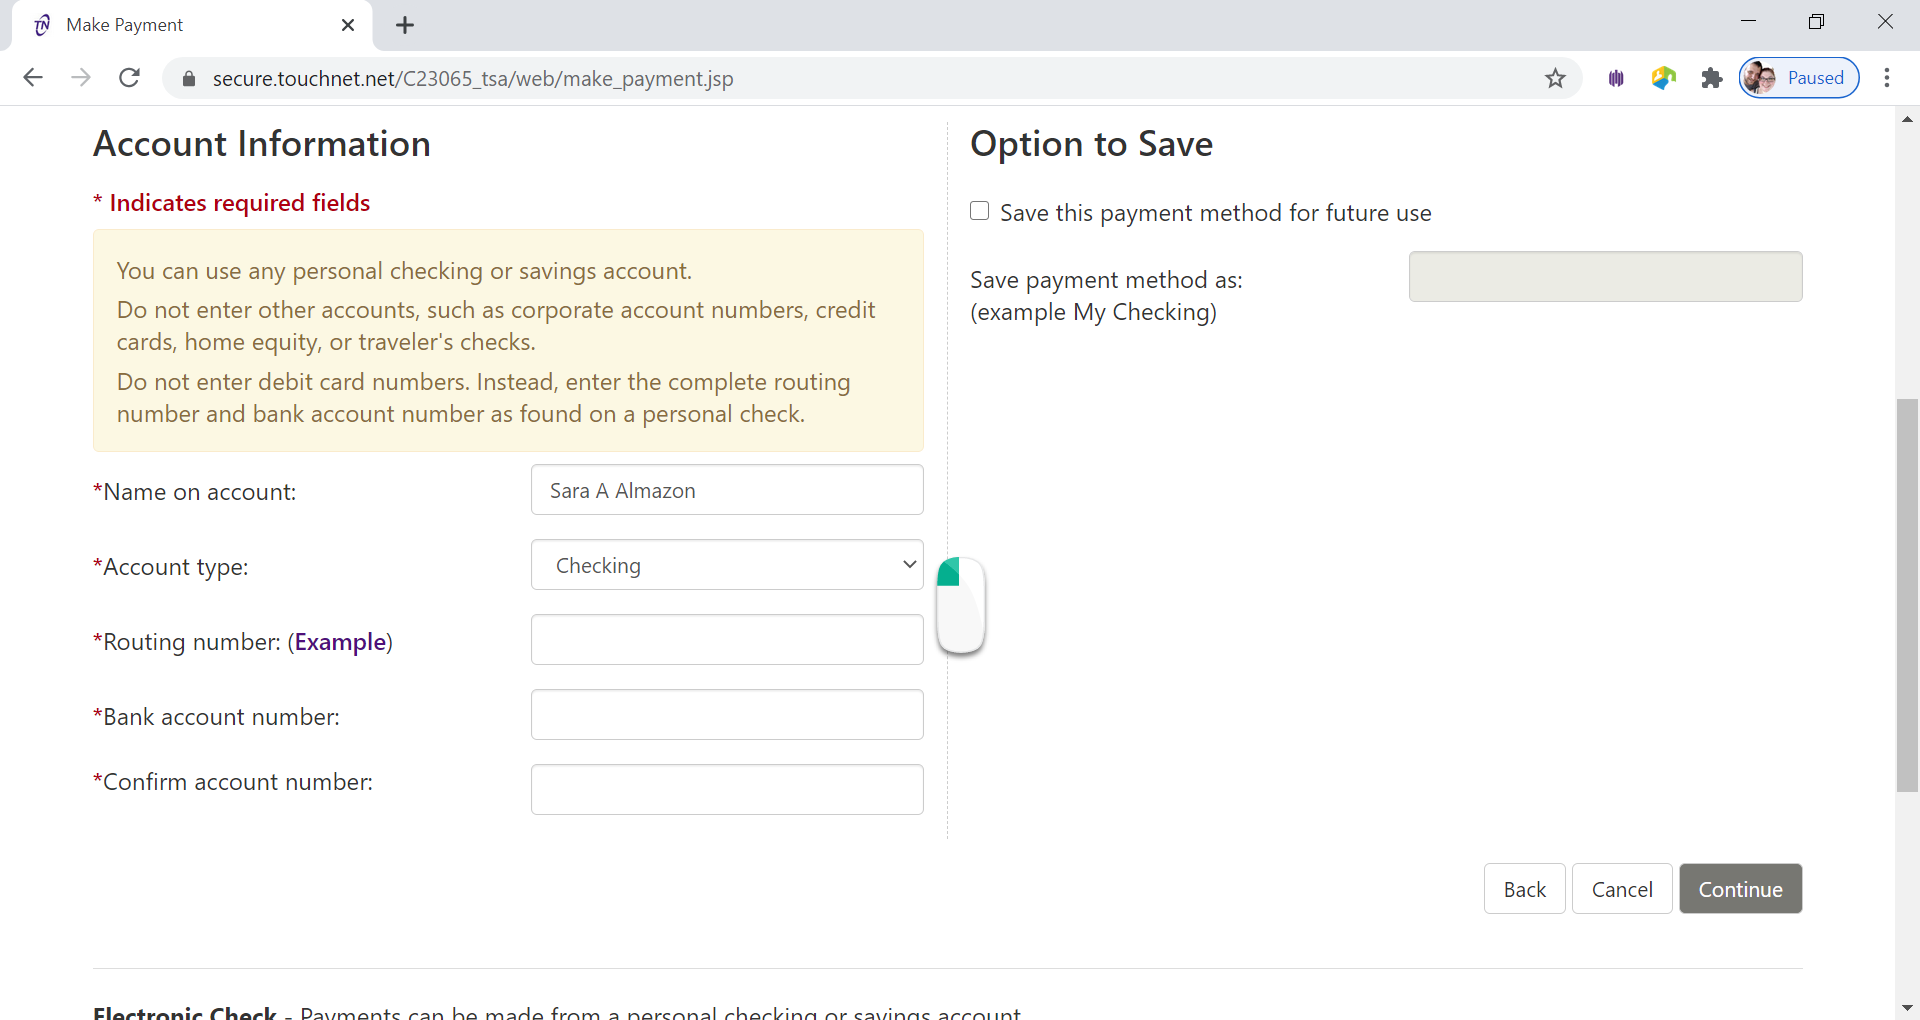
- Select the Account Type under drop down menu
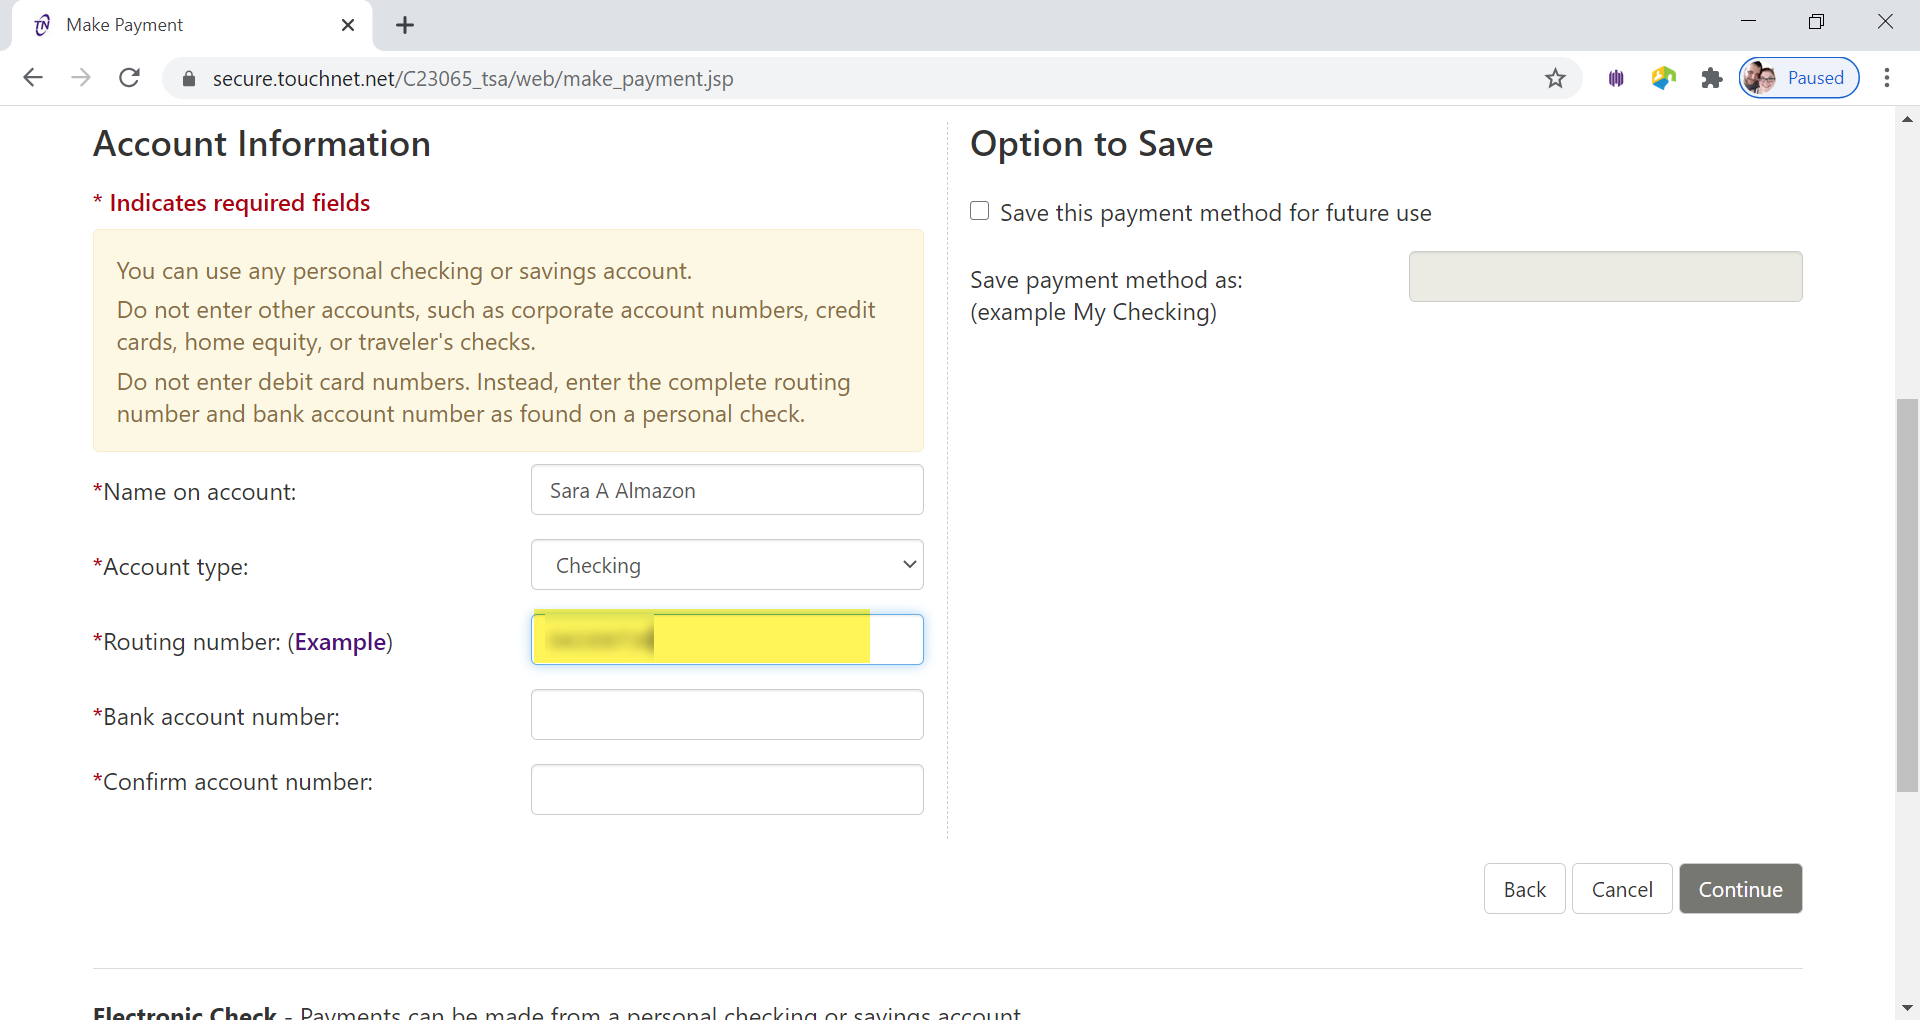
- Enter the Routing Number in Routing Number Box
- Enter the Bank Account Number in Bank Account Number Box
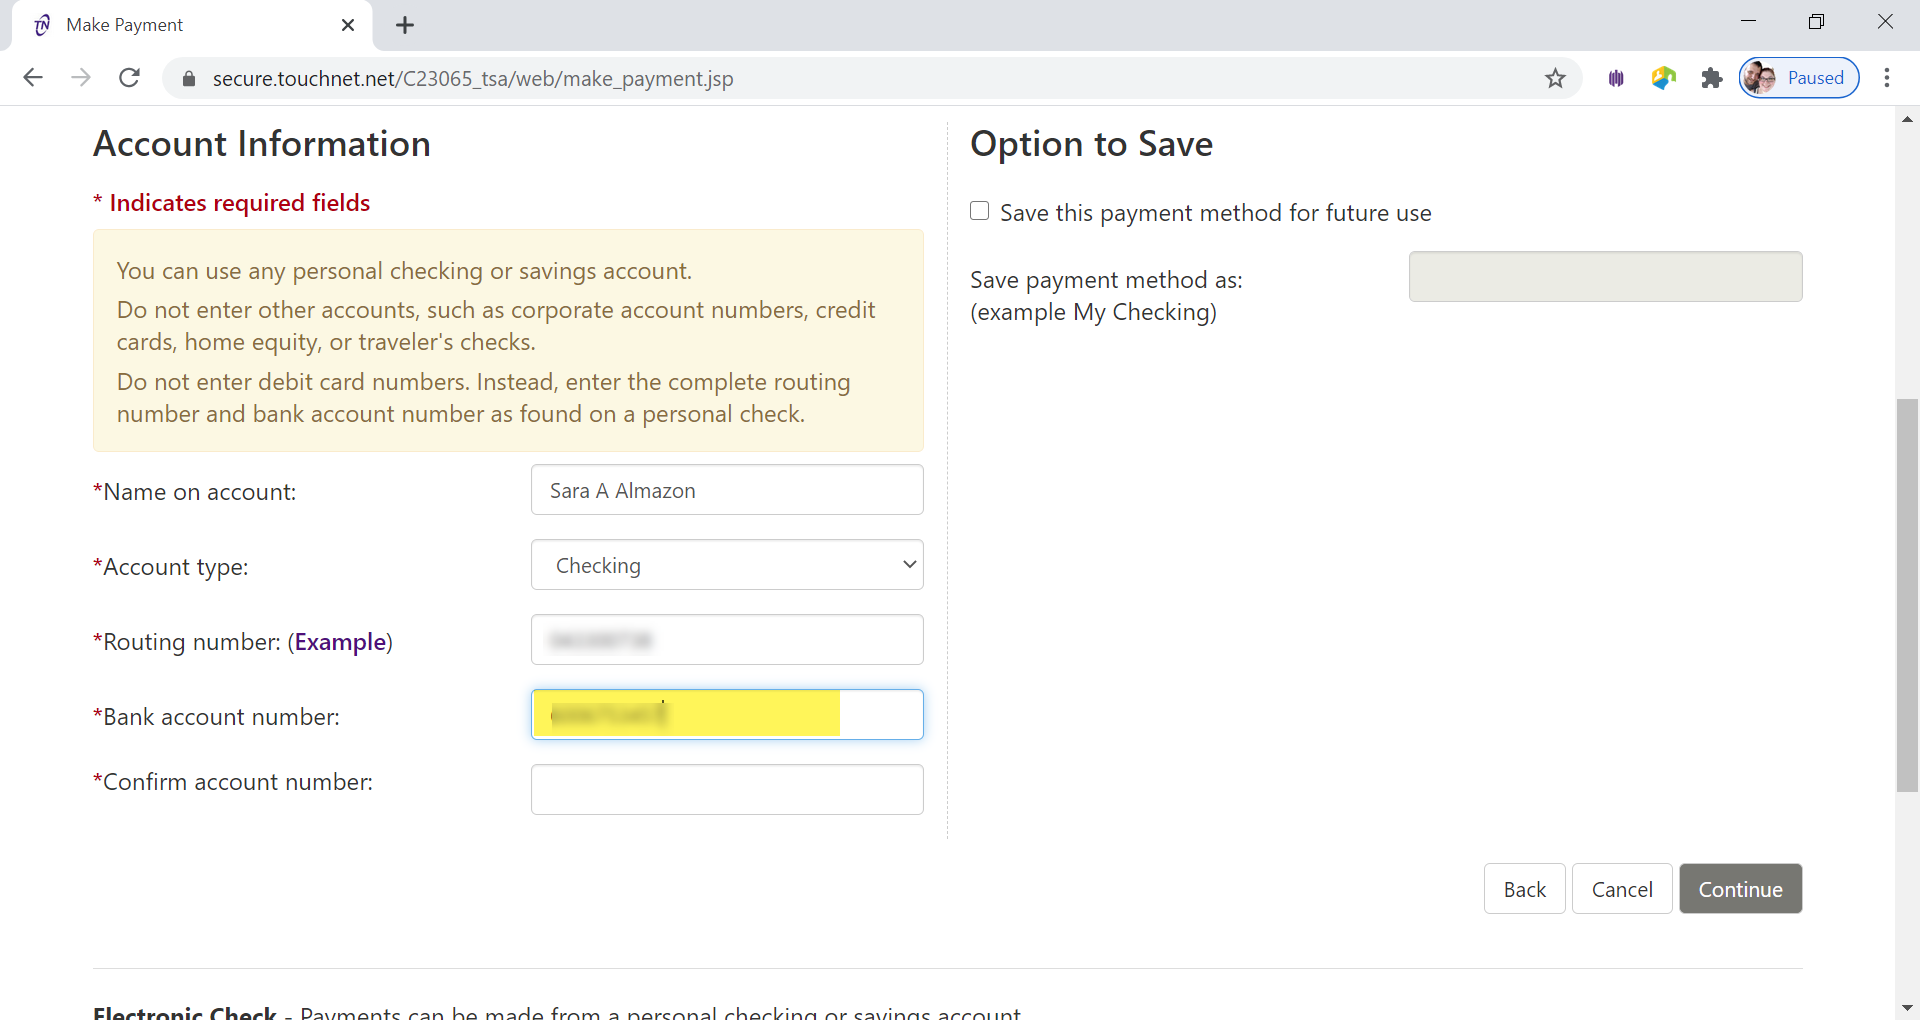
- Re-enter the Bank Account Number in the Confirm Account Number box
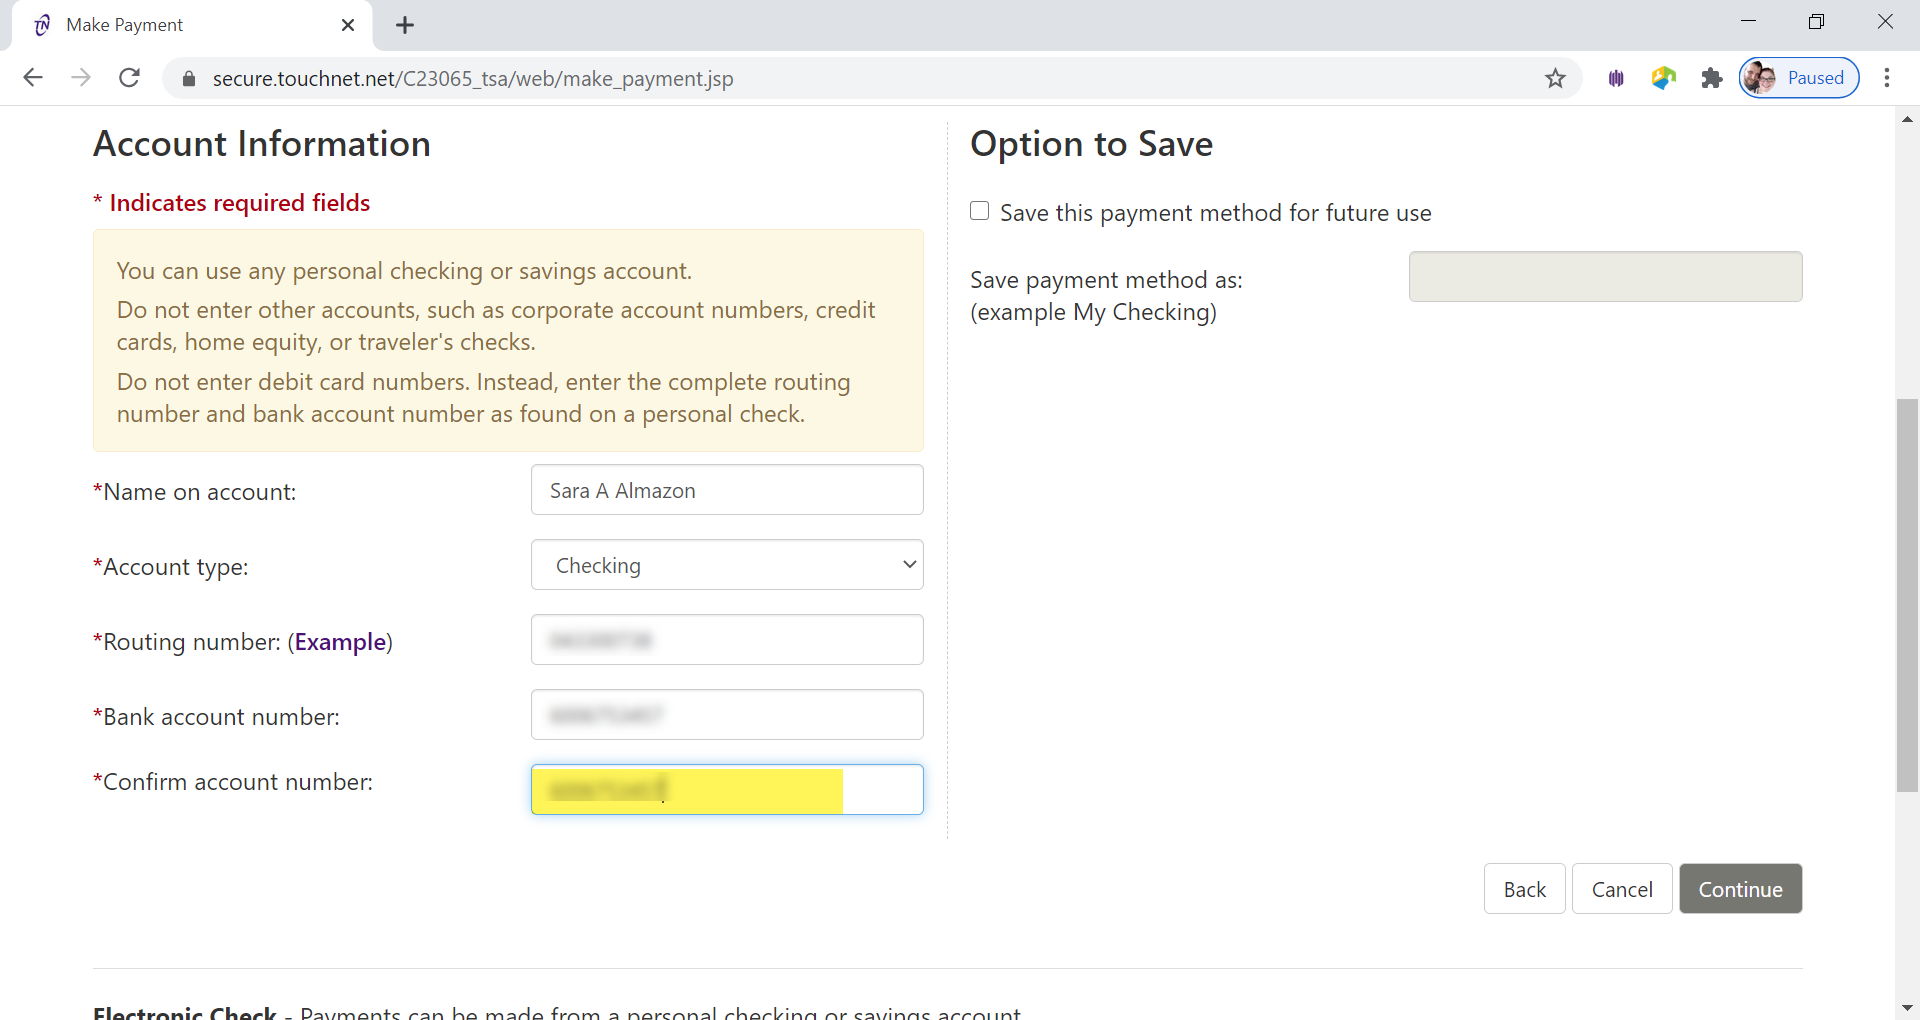
- Click Continue button
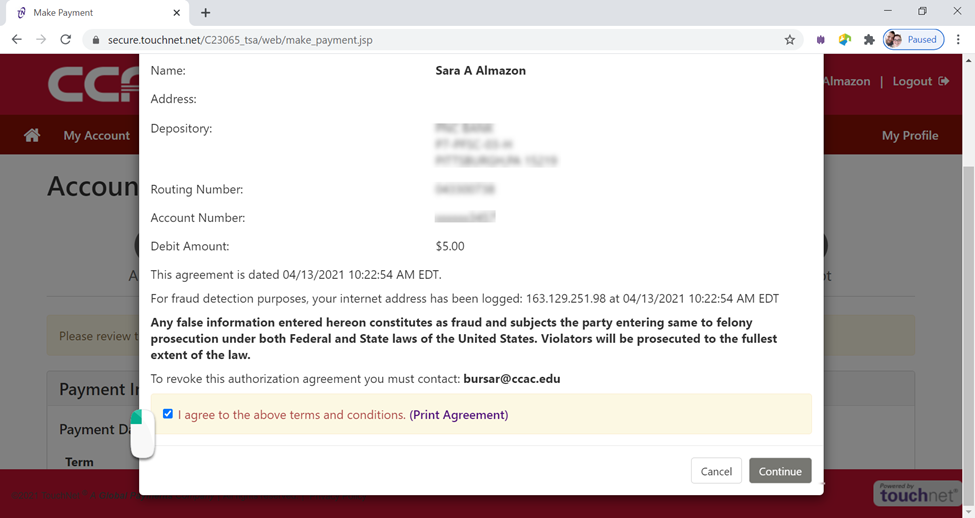
- Review the Authorization Page
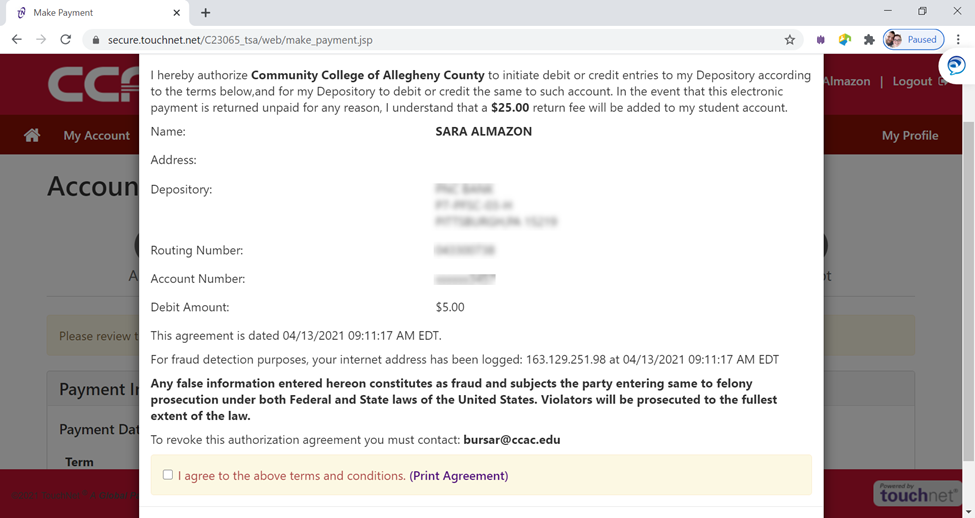
- Check I Agree box

- Click Continue button
- Review Payment Information
If you need to correct anything about your payment click the back button.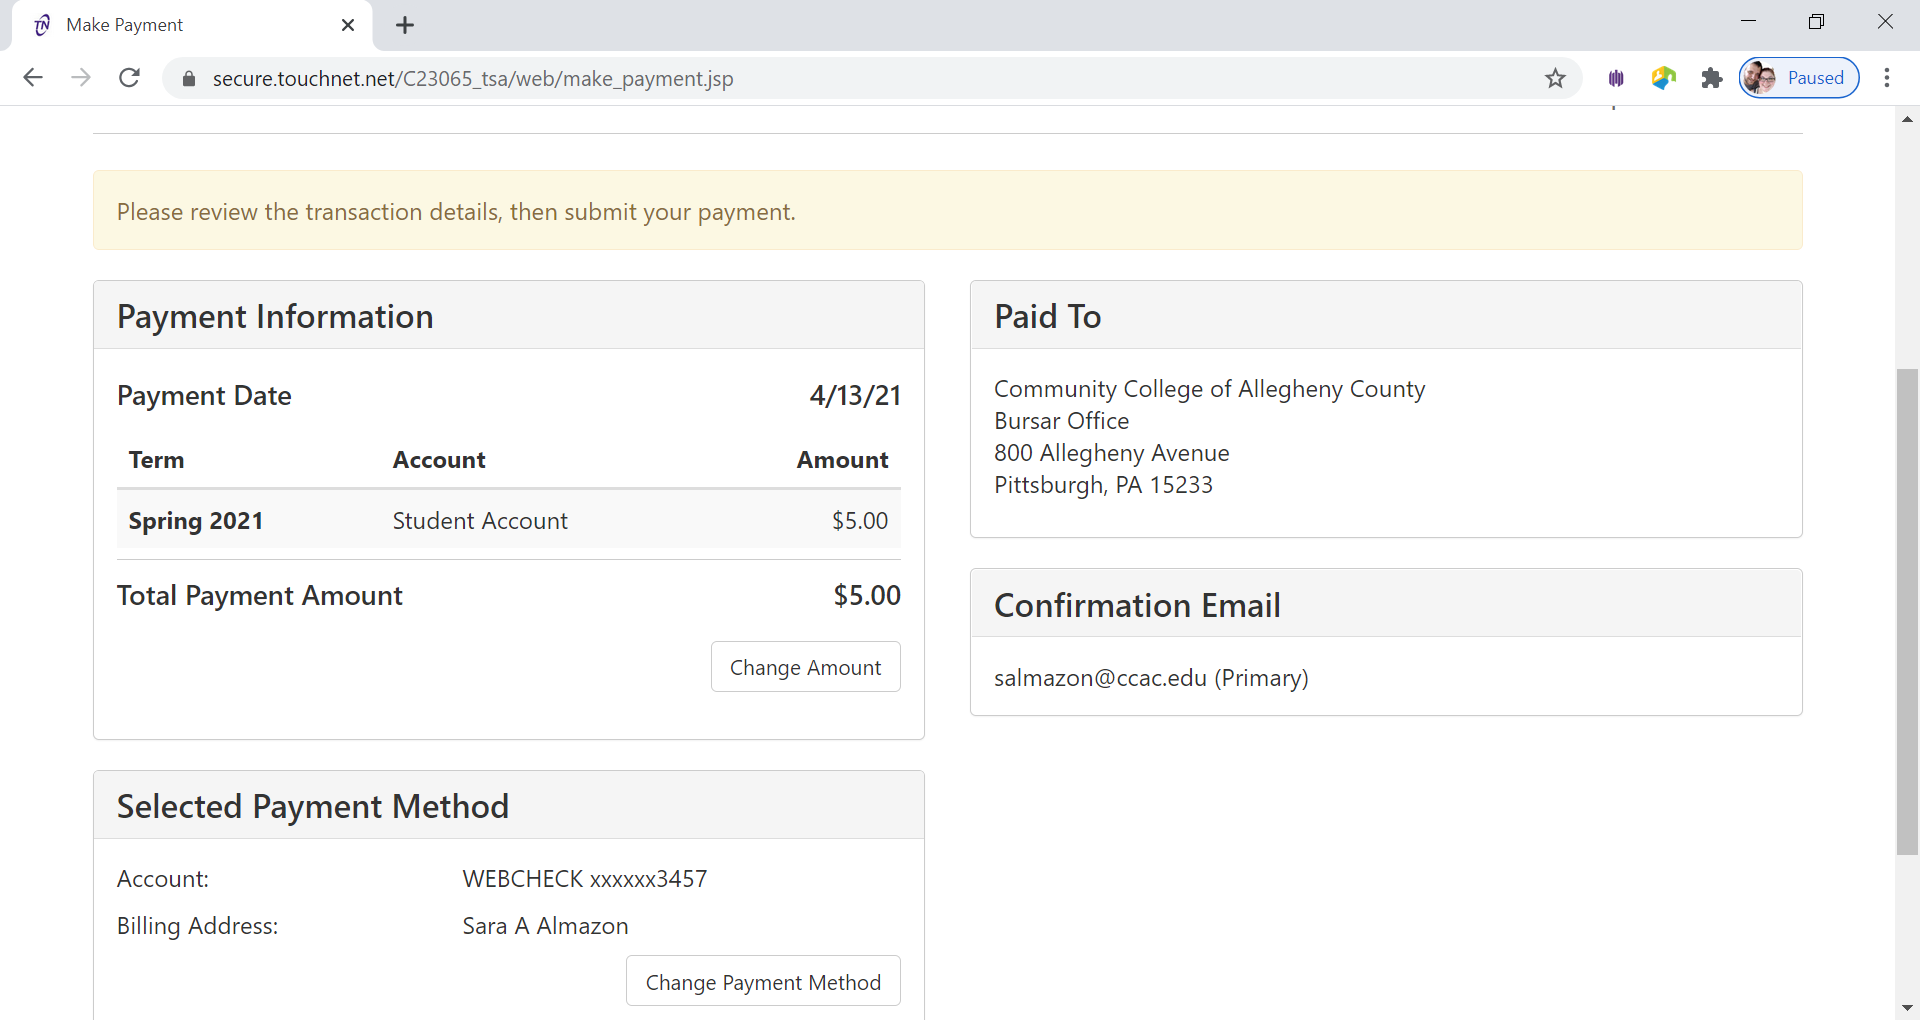
- Click Submit
Payment button

-
Confirmation page will appear
- Payment confirmation will be sent to CCAC Academic Email
You can also set up a payment plan - Setting up a Payment Plan in the Online Student Account Center
Delete