Power
Turning on a Classroom / Desktop Computer
- The computer is located on the back of the monitor
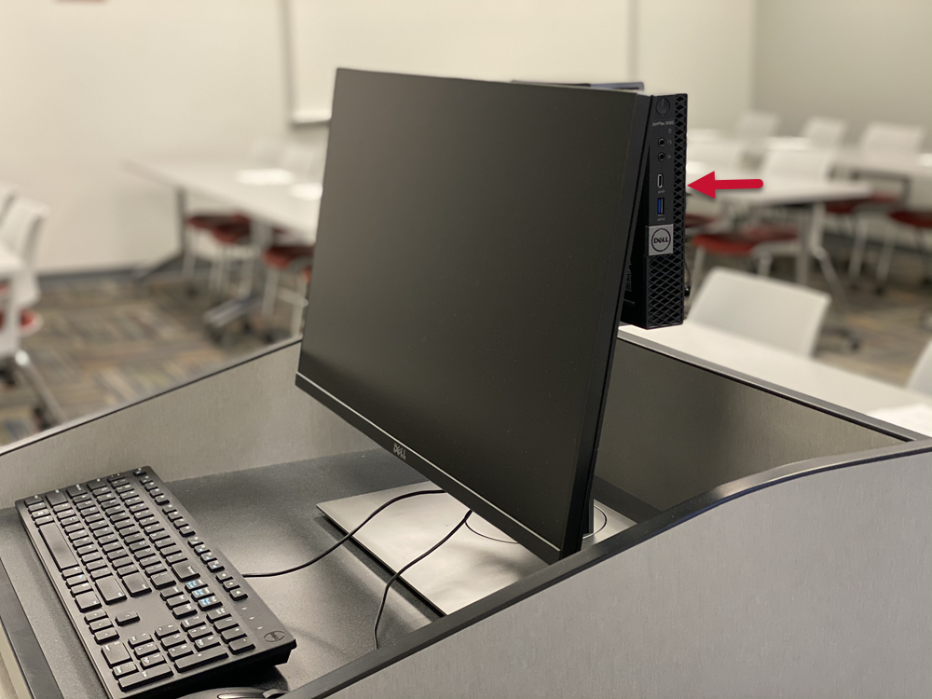
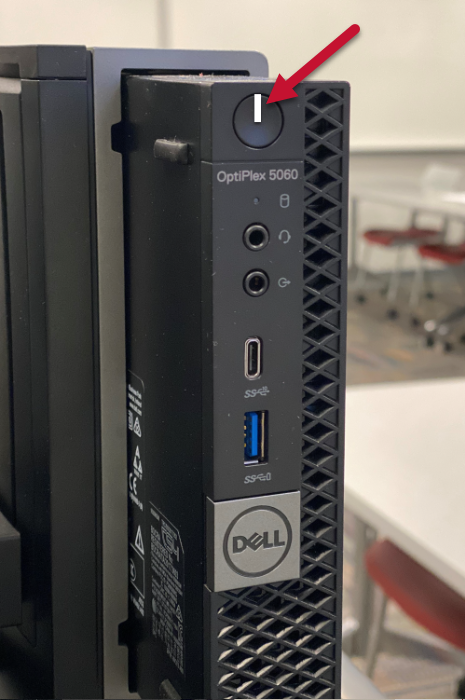
- Press the power button on top of the computer
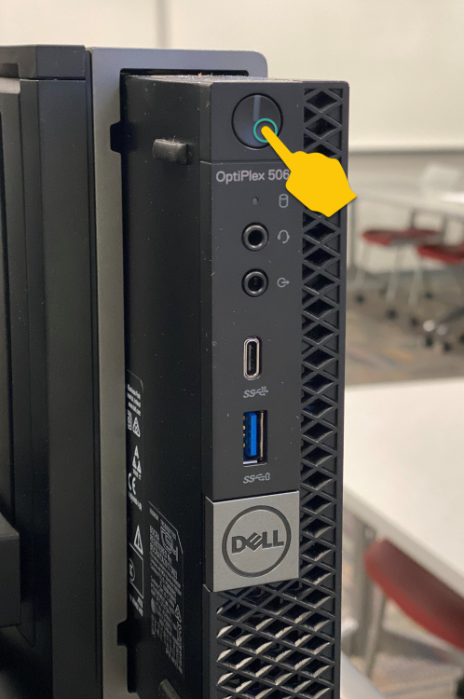
- The power button will turn white when powered on
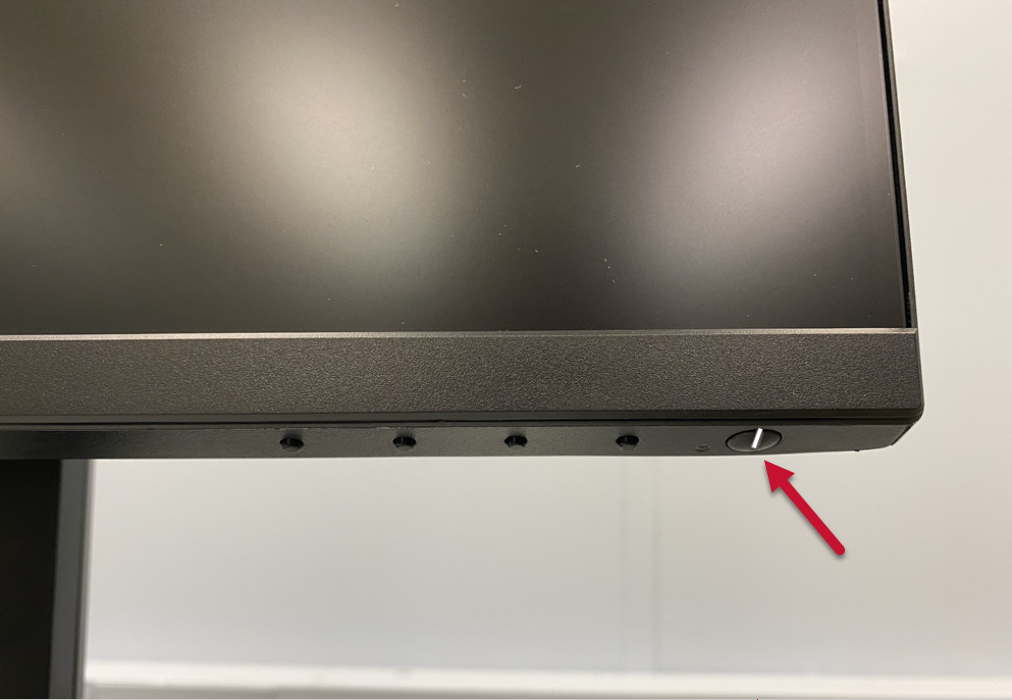
Turning on a Classroom Computer Monitor
- On the bottom right of the computer monitor
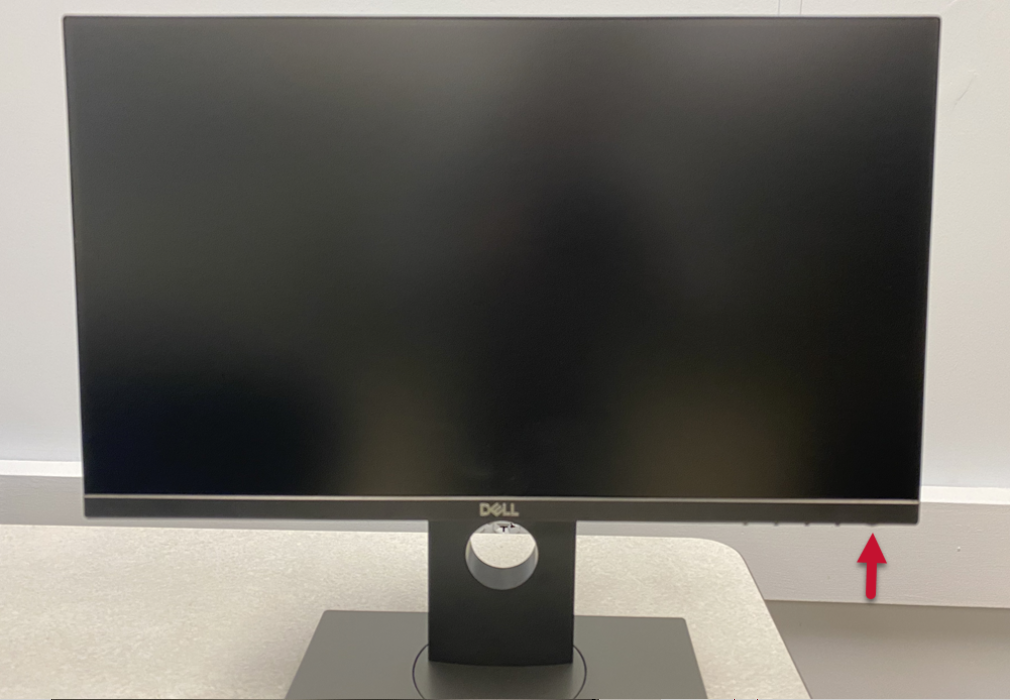
- Press the button on the far right
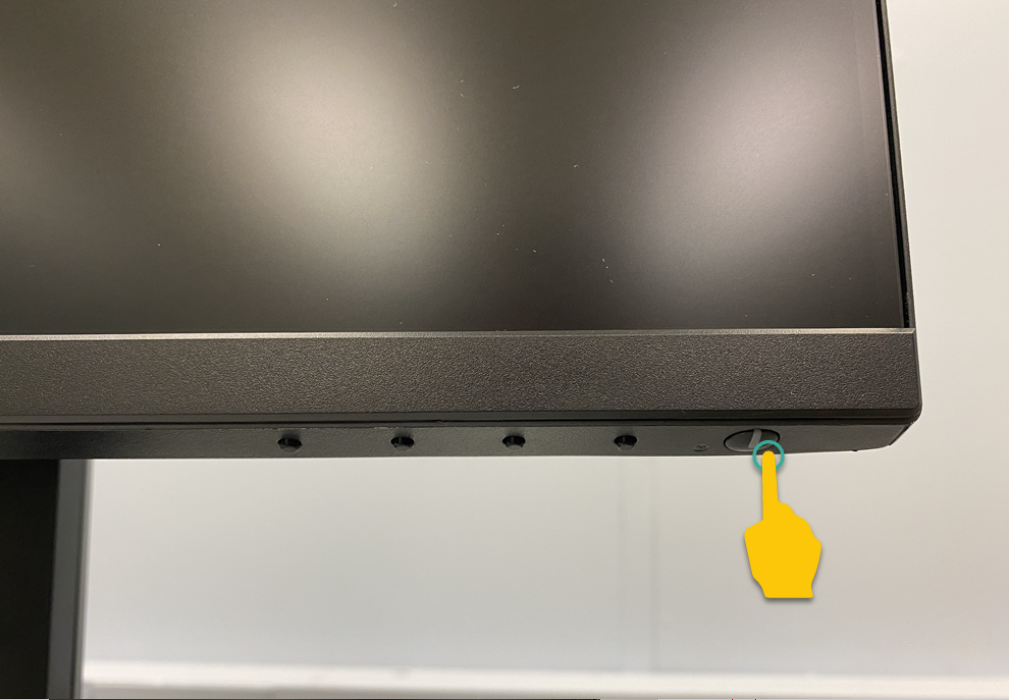
- The power button will turn white when powered on
Turning On the Equipment with the Crestron Touch Panel
Note
This will turn On the projector and the sound equipment. You will still need to power On the PC and monitor if using the room PC.
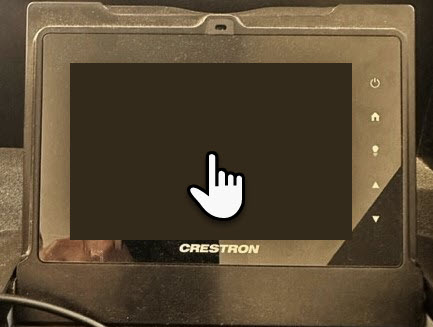
- If the touch panel screen is black (sleeping), press the screen to wake
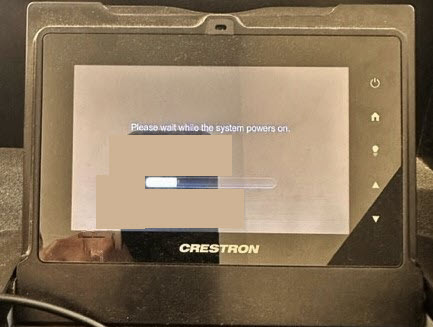
- Select Start
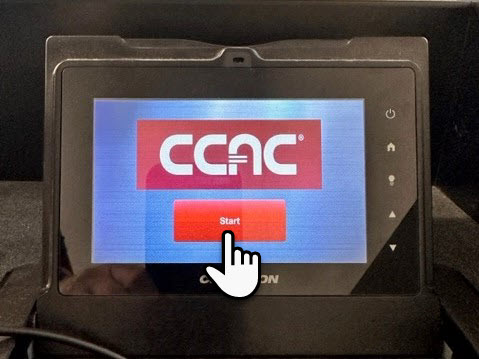
- You will see the message, "Please wait while the system is powers on."
Turning Off the Equipment with the Crestron Touch Panel
Note
In addition to powering the system Off, you must log your profile out of the PC. The touch panel does not power the PC On or Off.
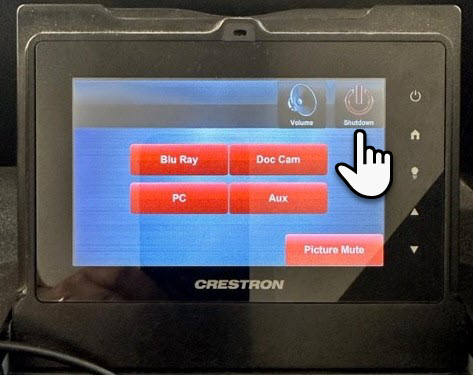
- Press the Shutdown button on the touch panel
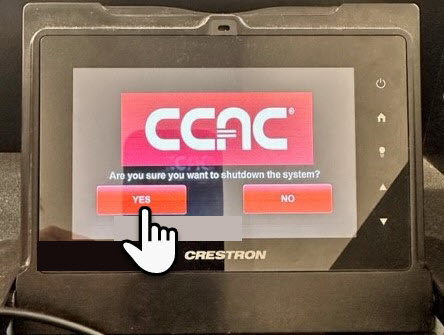
- Select Yes to confirm shutting the system down
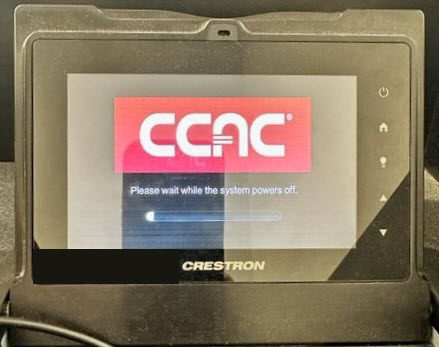
- You will see the message, “Please wait while the system powers off.”
Video
Before you begin
Make sure the classroom equipment is turned On. You can find instructions on how to power the PC and system On under the Power tab of this article.
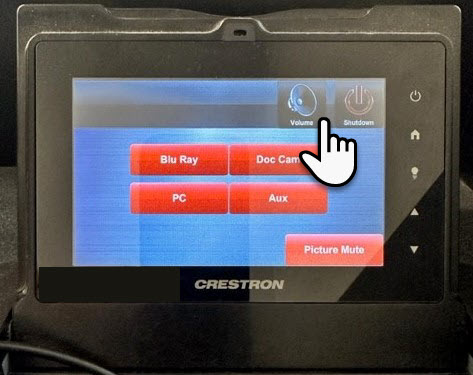
Display the Instructor Computer Screen using the Crestron Touch Panel
- On the touch panel, select the PC source
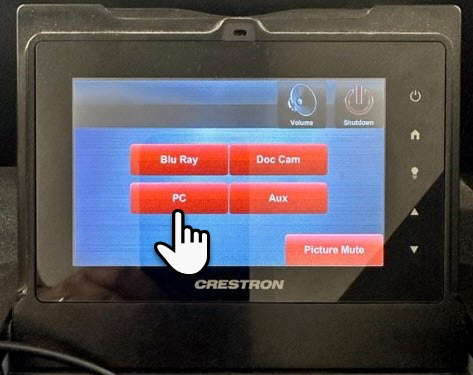
- The instructor's computer screen will now be projected
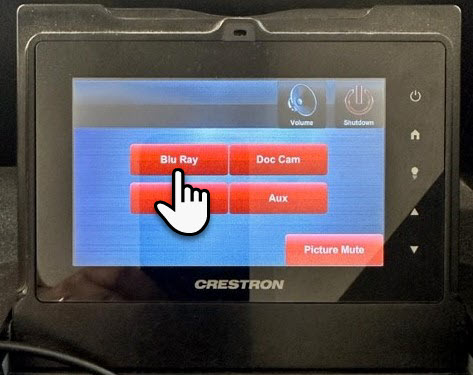
Showing a DVD using the Crestron Touch Panel
- Select the Blu-Ray source on the touch panel
- Press the Eject button on the touch panel
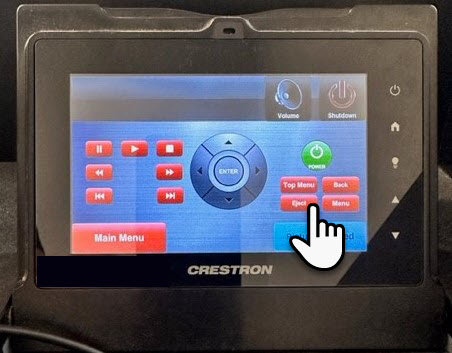
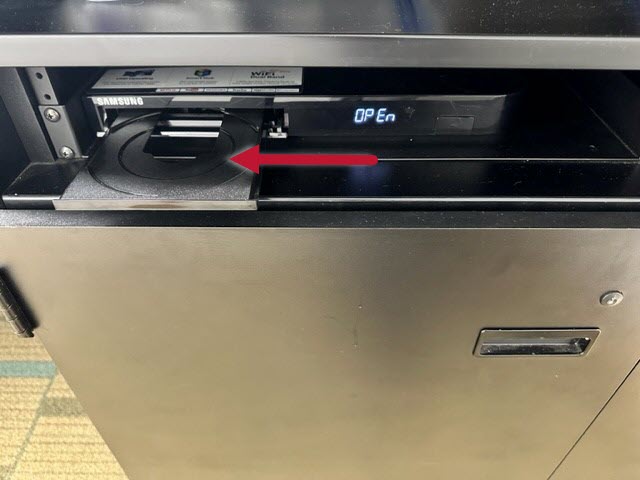
- Locate the Blu-Ray player within the instructor's station and insert the DVD/Blu-Ray
- On the touch panel, press the Eject button again to close the tray

- Use the control buttons on the touch panel to play and navigate the DVD/Blu-Ray
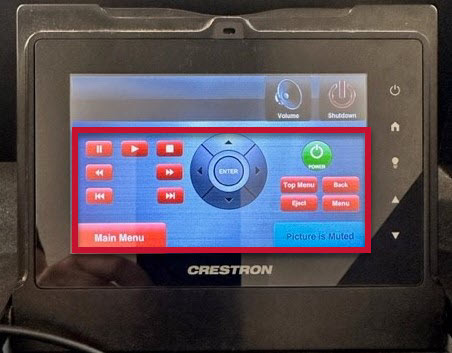
Note
Main Menu will allow you to return to the Source Select screen.
Picture Mute will allow you to make the projector screen go black. Press Picture Mute again to allow the picture to return.
Utilizing the Document Camera using the Crestron Touch Panel
Note
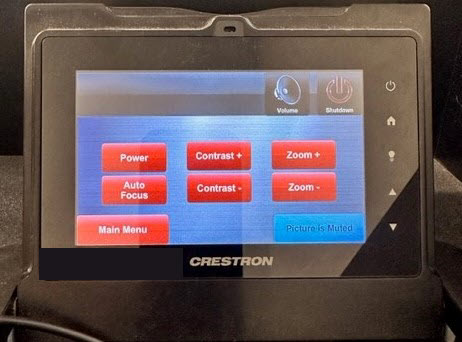
On the touch panel, Main Menu button will allow you to return to the source input select screen.
On the touch panel, the Picture Mute button will allow you to make the projector screen go black. Press Picture Mute again to allow the picture to return.
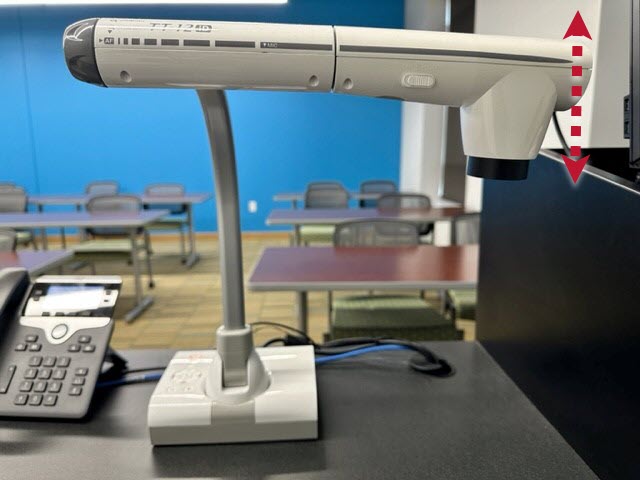
The Document Camera position can be adjusted by turning the lens arm left or right.
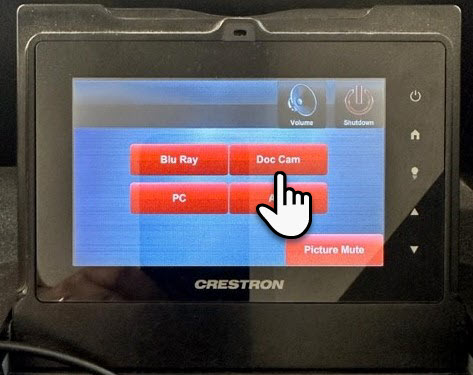
- On the touch panel, select the DOC CAM source
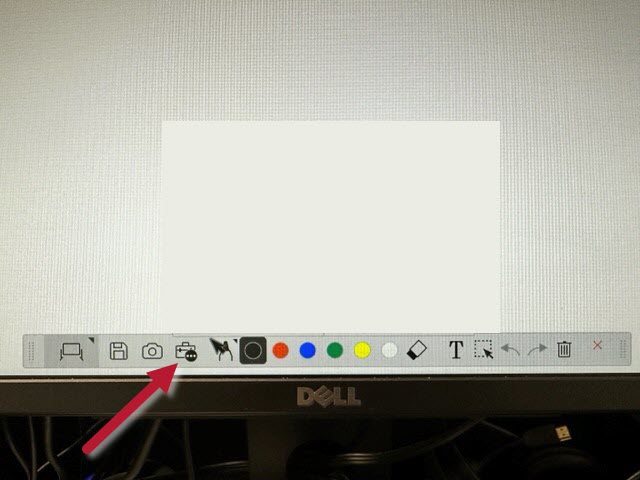
- From the instructor's PC, click the Easy Interactive Tools Ver 5.0.6 icon on the desktop
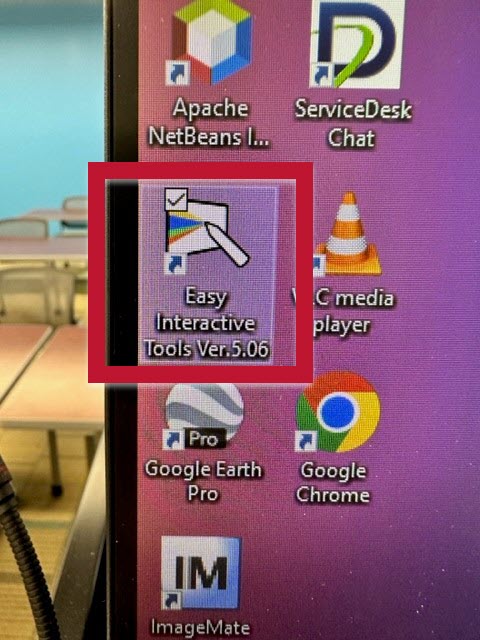
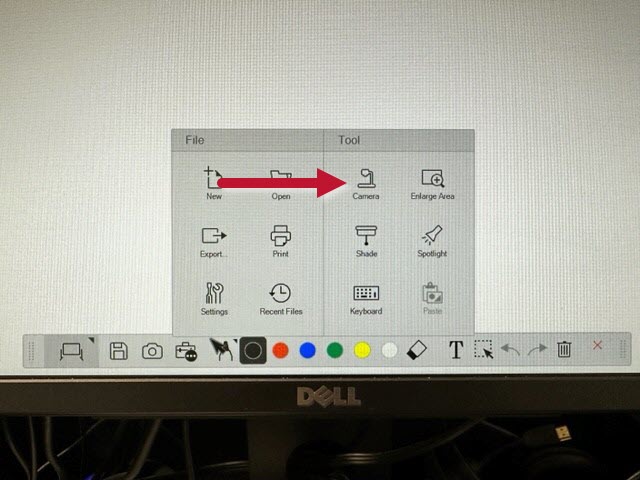
- Select the Tool Box icon
- Select the Camera icon
- You will see the message, “The selected camera does not support audio recording,” click OK
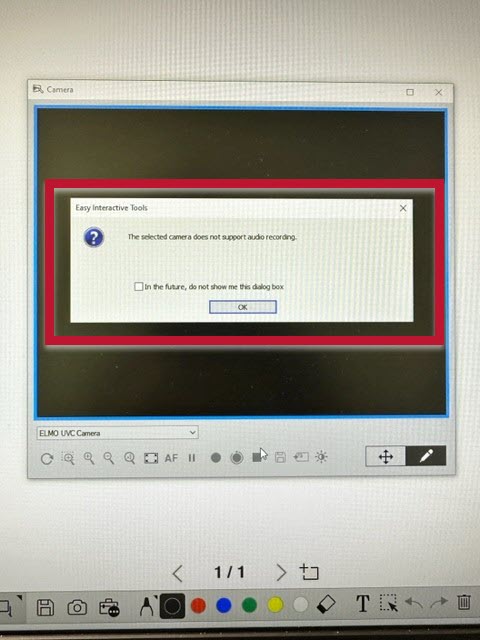
- After the image appears on the projector, on the touch panel, use the control buttons to adjust the image
Display a Personal Device using the Crestron Touch Panel
- Locate the Cable Cubby on the instructor's station
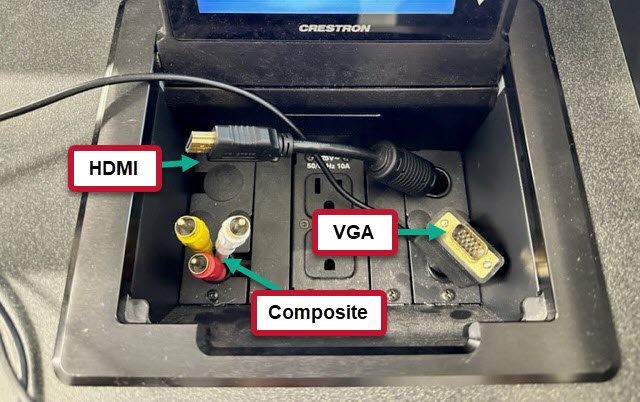
- Connect the HDMI cable to your laptop
- VGA and Composite connections are also available
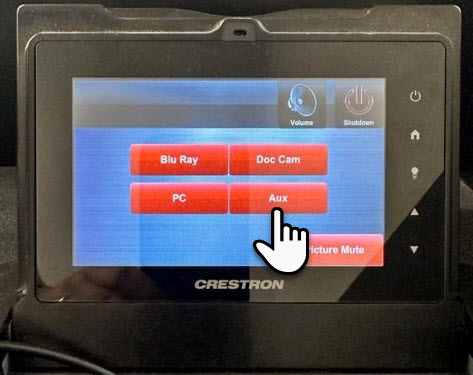
- On the touch panel, select the AUX source
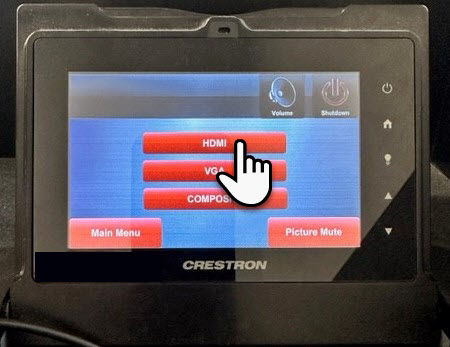
- Select HDMI to send laptop image to the projector
Note
The Main Menu button will allow you to return to the source input select screen.
The Picture Mute button will allow you to make the projector screen go black. Press Picture Mute again to allow the picture to return.
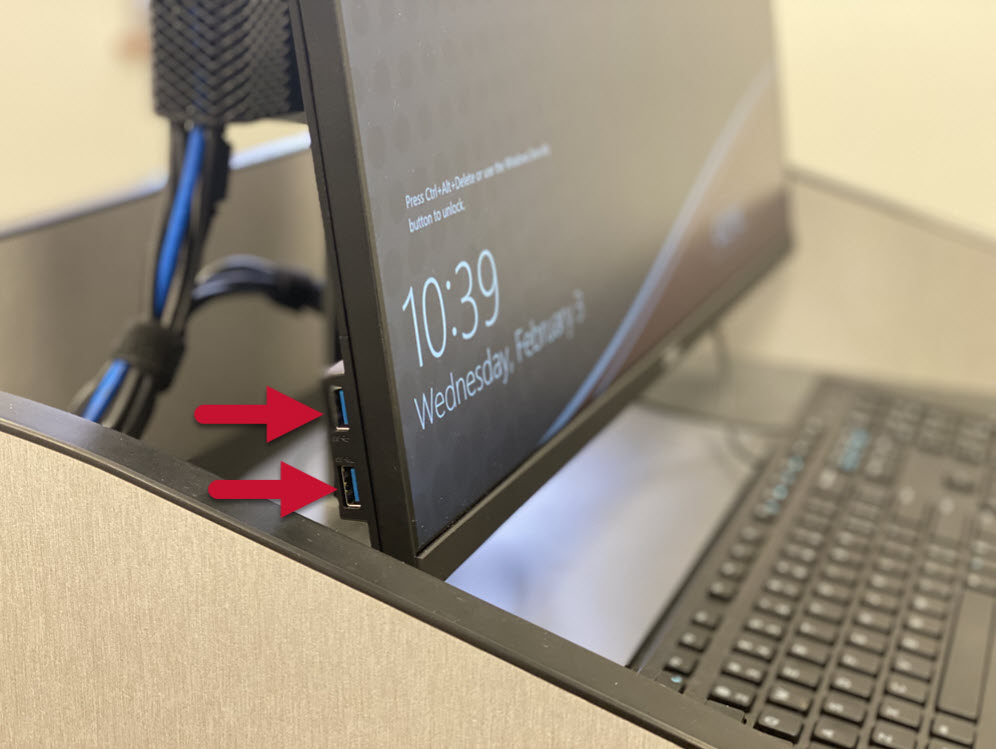
Connecting a USB Drive
- On the left side of the computer monitor, there are 2 USB ports
Audio
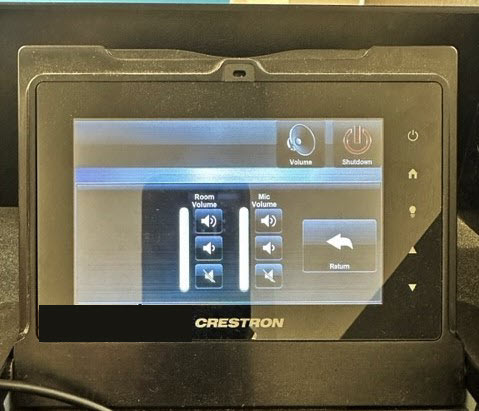
Volume Controls on the Crestron Touch Panel
Note
After making volume adjustments, Return will take you back to the Source Select screen.
- Press the Volume icon to access the volume controls
- Adjust the Room or Mic volume as desired
Classroom Phone
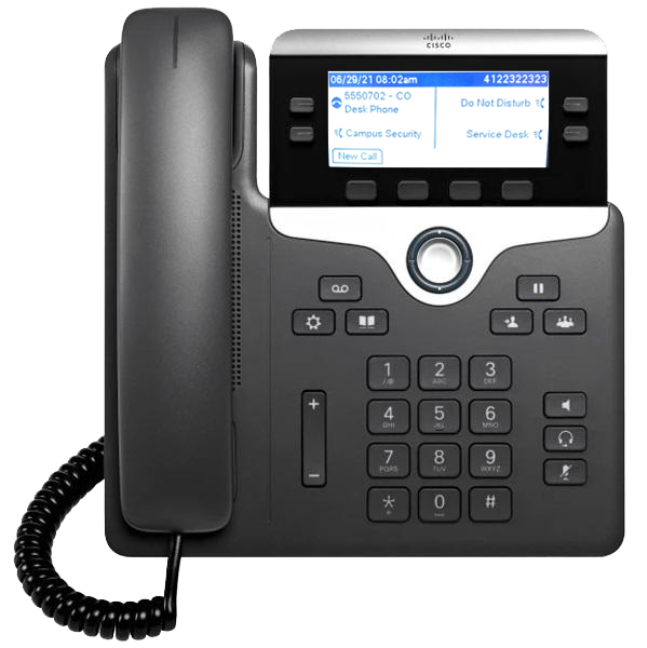
Internal Phone Calls Only
- Your Classroom Number and Extension
- Campus Security Button - Calls your Campus' Security
- ServiceDesk Button - Calls the ITS ServiceDesk
- Do Not Disturb Button - Mutes the phone ringer