Starting/Scheduling a Zoom Meeting
Roles in a Meeting
There are multiple roles available for a meeting: host, co-host, alternative hosts, and participants. The role that you have in a meeting is designated by the host.
- Host: The user that scheduled the meeting. They have full permissions to manage the meeting. There can only be one host of a meeting.
- Co-hosts: Shares most of the controls that hosts have, allowing the co-host to manage the administrative side of the meeting, such as managing attendees. The host must assign a co-host during the meeting. Co-hosts cannot start a meeting. If a host needs someone else to start the meeting, they can assign an alternative host.
- Alternative hosts: Shares the same controls as co-hosts, but can also start the meeting. Hosts can assign alternative hosts when they schedule a meeting. Assigning someone as an Alternate Host in Zoom Article
Making someone a co-host during a Zoom Meeting
The co-host feature allows the host to share hosting privileges with another user, allowing the co-host to manage the administrative side of the meeting, such as managing participants or starting/stopping the recording. The host is the only user who can assign a co-host. There is no limitation on the number of co-hosts you can have in a meeting or webinar.
- From within the Zoom meeting
- Click Participants
 in the meeting controls at the bottom of the Zoom window
- Hover over the name of the participant who is going to be a co-host

- Choose More

- Click Make Co-Host

From the Video Thumbnail
- From within the Zoom meeting
- Hover over a user's video
- Click the ellipsis icon

- Click Make Co-Host
Granting access to allow Scheduling on Behalf of someone in Zoom
In these instructions, the host would be the person that typically has someone schedule meetings for them. The meeting scheduler would be the person actually scheduling the meeting. So, for example, the CIO would like their administrative assistant to schedule Zoom meetings on their behalf, the first set of instructions the CIO will need to perform, the second set of instructions, Zoom meeting scheduler would be for the administrative assistant.
- Go to https://ccac.zoom.us/ from any browser
- Click Sign In
- Use your CCAC username and password to sign in
- Click Settings on the left side of the screen

- Click Other

- Locate to Schedule Privilege

- Click the + next to Assign Scheduling Privilege to

- Enter the email address of the individual you wantto grant access to schedule your Zoom meetings here
- TIP! You can have more than 1 person schedule on behalf of you
- Click Assign

- This individual's email will now appear as highlighted

- Click the X beside their name to remove this privilege.
Scheduling on Behalf of someone for a Zoom meeting
From a Web Browser
- Go to https://ccac.zoom.us/
- Click Meetings on the left side
- Click Schedule a New Meeting

- Complete all of your meeting details and settings
- You will see a Schedule For drop down, choose the individuals name you wish to schedule the meeting for from the drop down

From Outlook Application
- From the Outlook application, navigate to the date and time of the meeting in Outlook on the calendar
- Click Schedule a Meeting Icon, complete all of your meeting details and settings

- Click Advanced Options

- Scroll down and locate the Schedule For Check Box
- Click to check the box and then choose the individuals name you wish to schedule the meeting for from the drop down
- Click to Continue

- Back in Outlook, the meeting is created and you can invite participants.
You will now see it worked because you should see that individuals name in the Subject Line and Body of the meeting invite.
The example pictured below is Scheduler, scheduling a meeting for Host (Vincent Connelly).
Assigning someone as an Alternate Host in Zoom
When scheduling a meeting, the host can designate another Licensed user on the same account to be the alternative host. The alternative host can start the meeting on the host's behalf. This user will receive an email notifying them that they've been added as an alternative host, with a link to start the meeting. If this email notification is disabled in the Zoom web portal, the alternative host will not receive an email to start the meeting.
Outlook
- Click the Schedule a Meeting button.

- In the Scheduling Options, enter the alternative host's email address in the Alternative hosts field.

- After selecting your other options, click Continue.
- Add the meeting invitees and Save or Send your invitation.
Browser
- Sign into https://ccac.zoom.us/.
- Click Meetings, and select Schedule A Meeting.

- Click Advanced Options.
- In the Alternative Host field, enter the alternative host's email address.

- Click Save to finish.
- The alternative host will now receive an email letting them know that they have been added as an alternative host, as long as they have not disabled this email notification in the Zoom web portal.

Basic Troubleshooting in a Zoom Meeting
Signing into the Zoom Meeting Client
Browser
- Go to https://ccac.zoom.us/
- Choose the Sign in button

- Enter your CCAC Username and Password
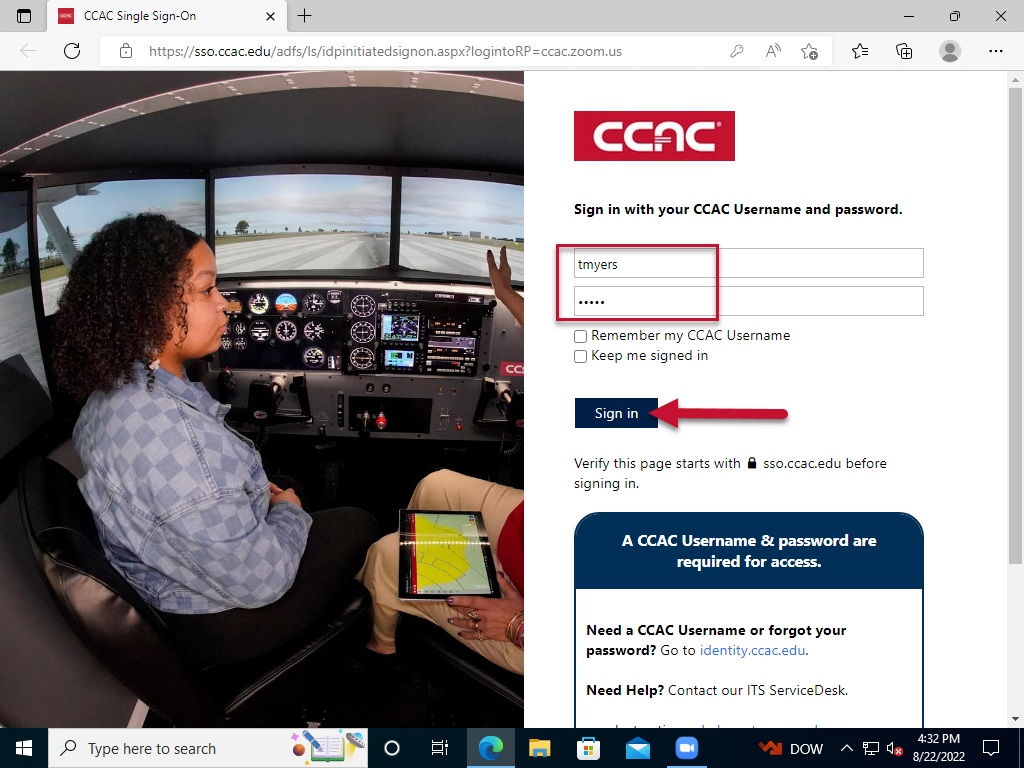
- Click the Sign In button

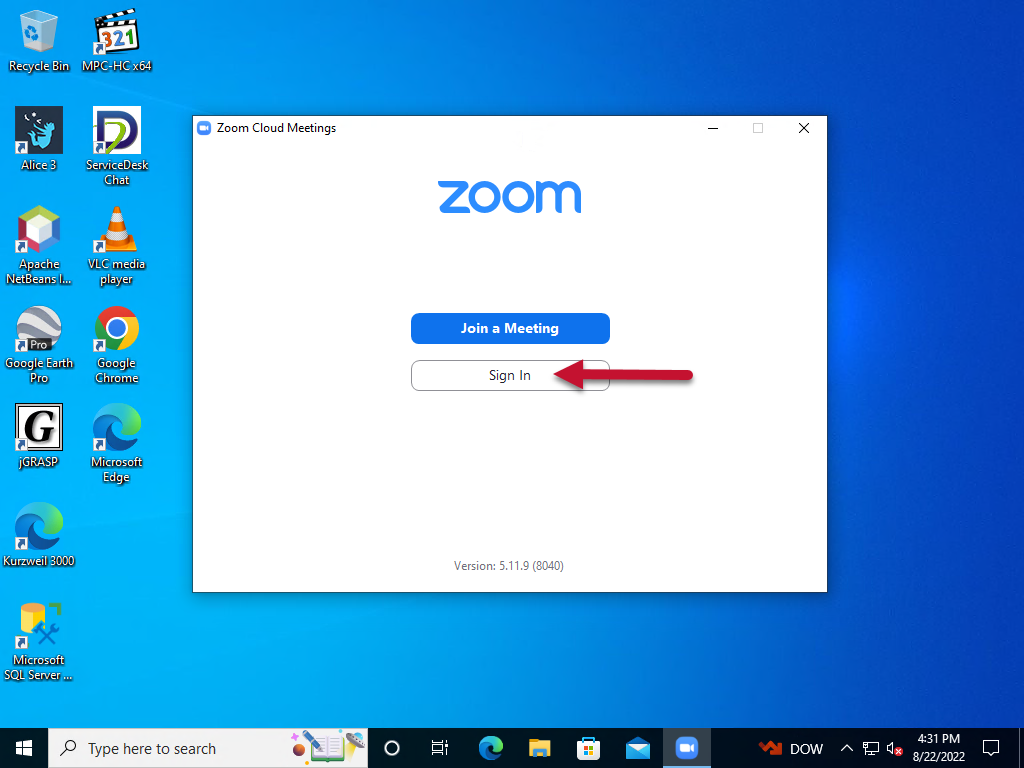
Desktop Client
- After launching Zoom Cloud Meetings, click Sign In.
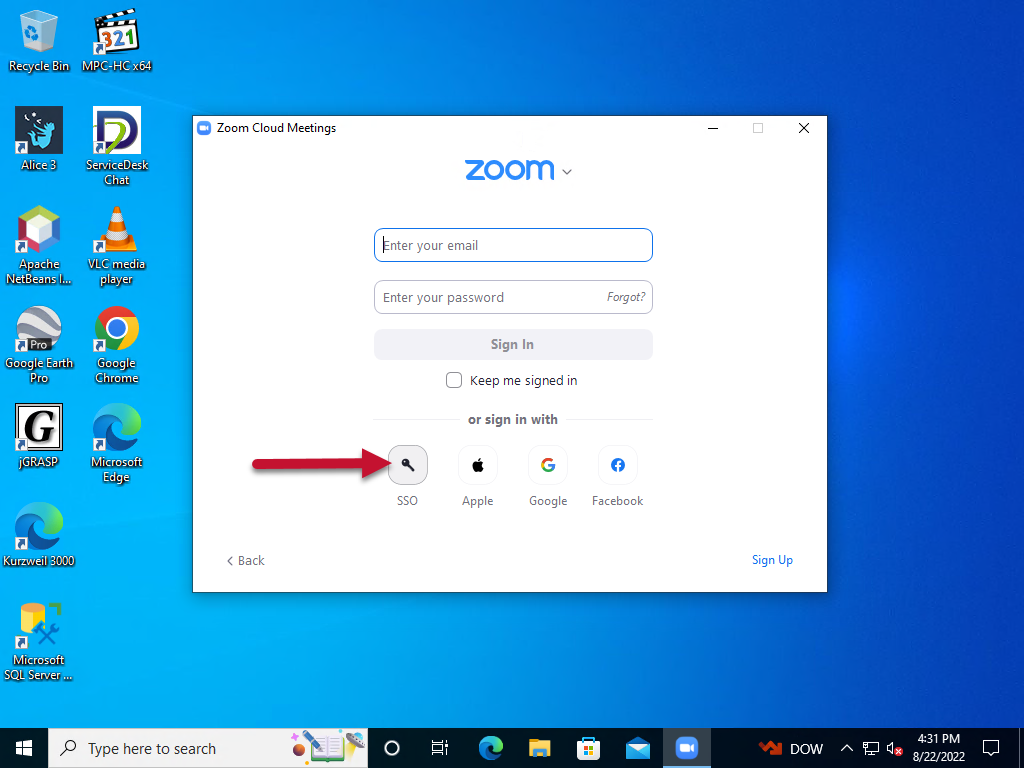
- Click the SSO button at the bottom of the window.
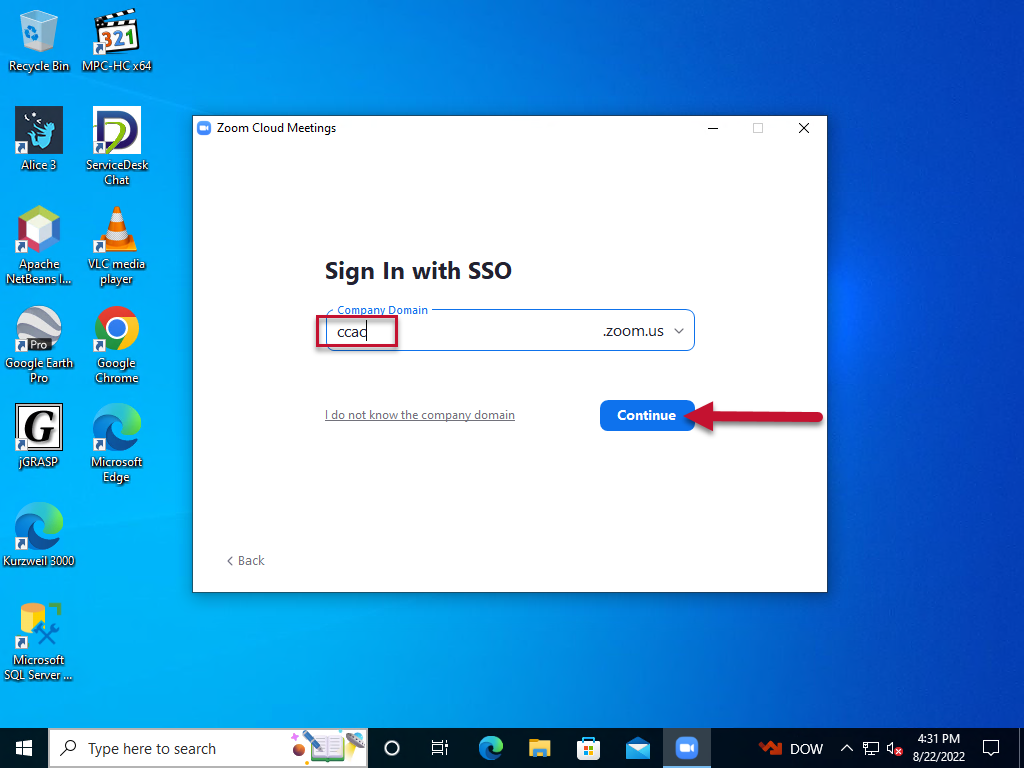
- Enter “ccac” for the company domain, then click Continue.
- A Web browser will launch and open to the CCAC SSO sign-on page if you are not already signed into another service with SSO. Enter your CCAC username and password, then click Sign in.

- Your browser may warn you that it wants to open Zoom Meetings. Click Open.

- The Zoom client will be signed in and on the Home tab.

iOS
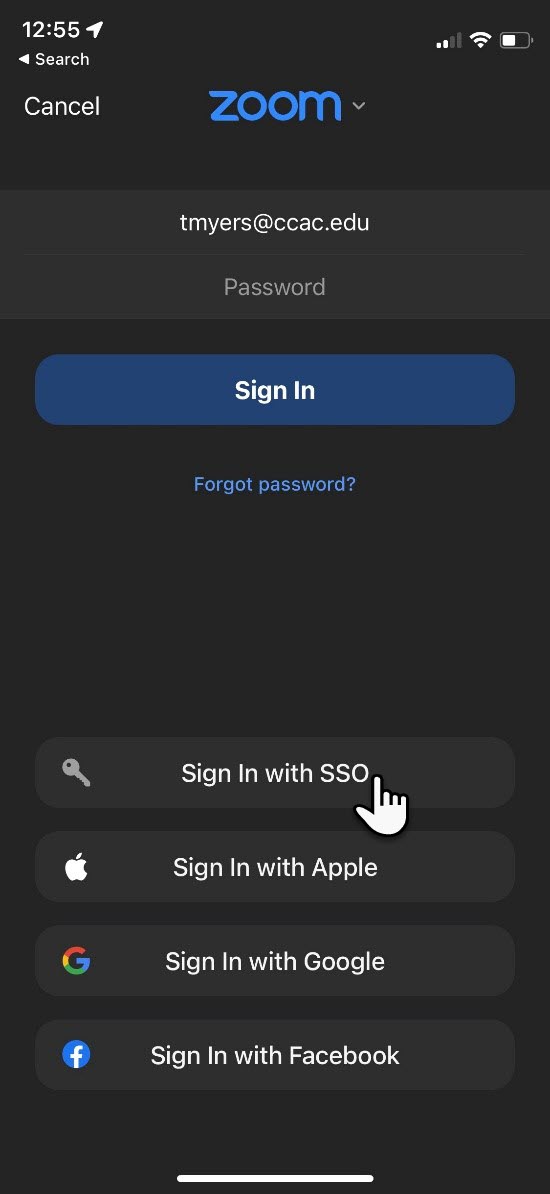
- After launching Zoom, tap Sign In.
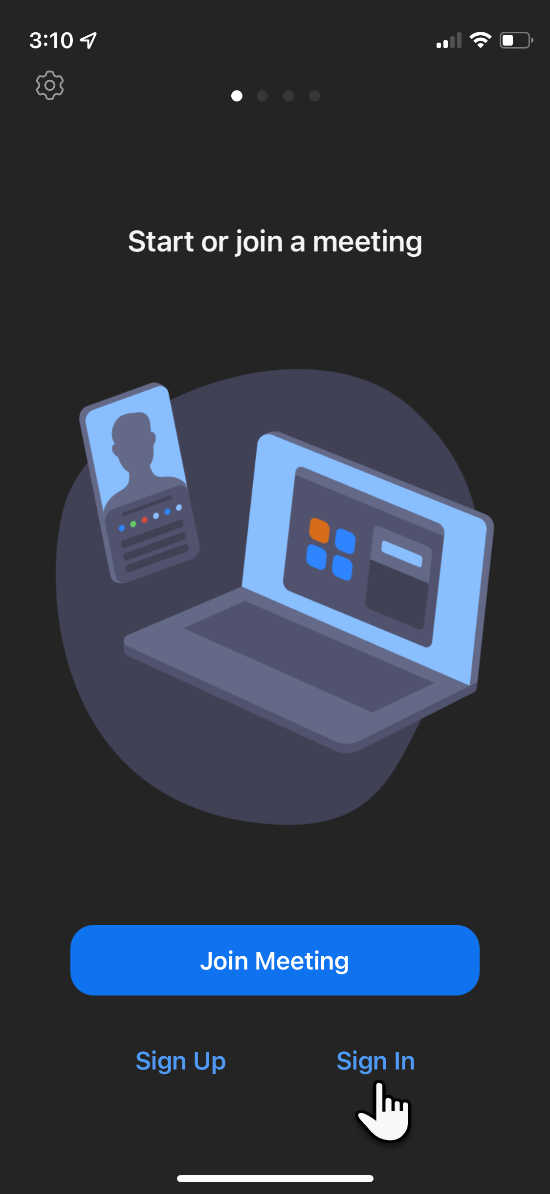
- Select the Sign In with SSO option.
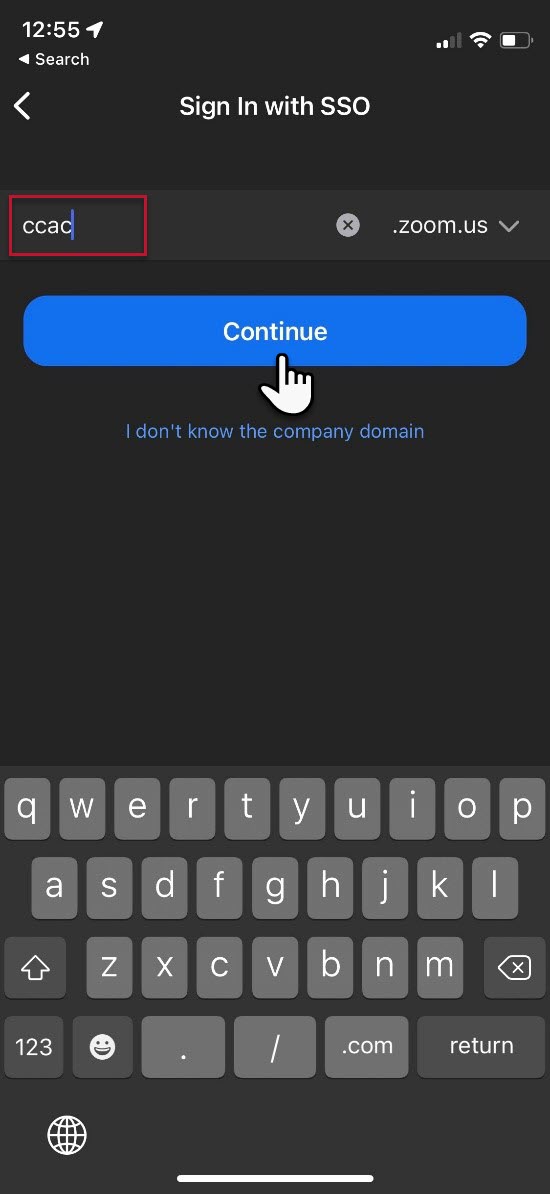
- Enter “ccac” as the company domain, then tap Continue.
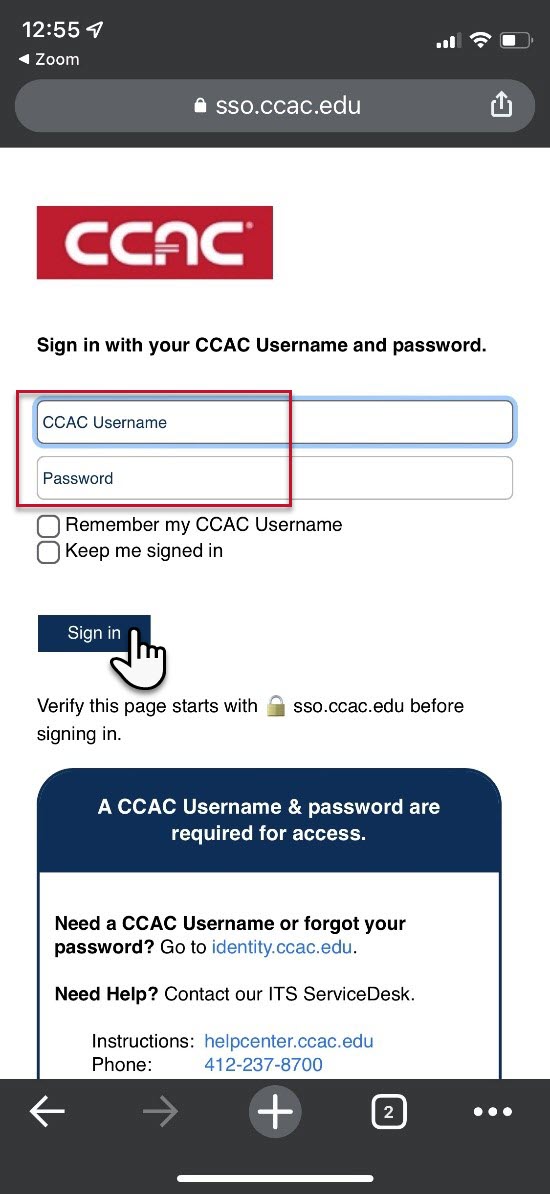
- A Web browser will launch and open to the CCAC SSO sign-on page if you are not already signed into another service with SSO. Enter your CCAC username and password, then tap Sign in.
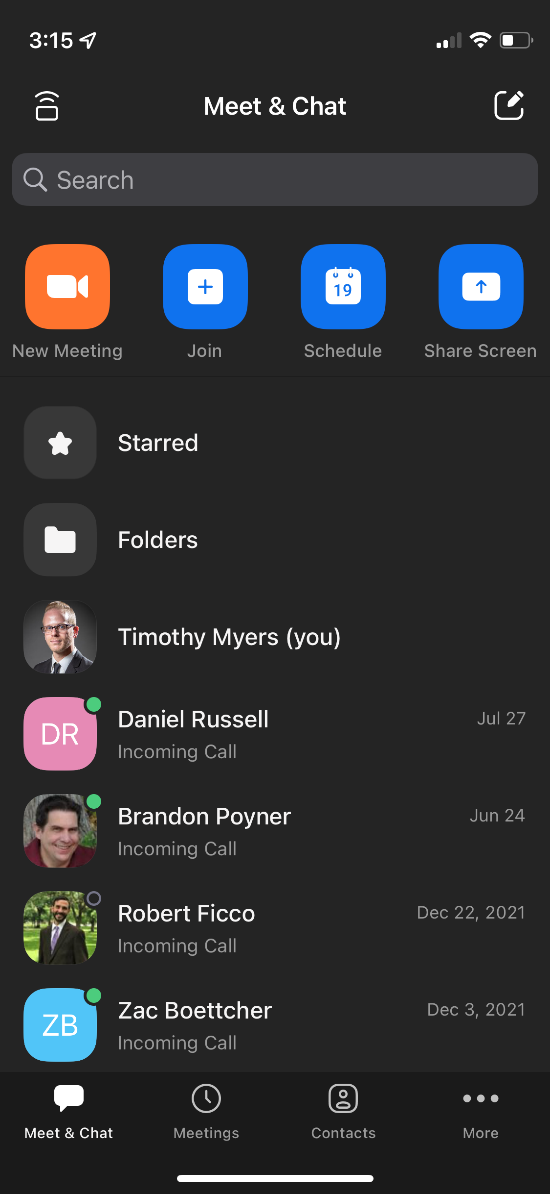
- The Zoom app will be signed in and on the Meet & Chat tab.
Adjusting your Audio and Video settings in Zoom
Zoom Application Settings
- From the Zoom Application screen

- Click the Gear

- The settings window will appear

- Click Video

- Under Camera

-
Choose the camera you want to use from the drop-down menu

- You will see a preview of what the camera selected is showing
- Under Camera
- Click the Audio

- Under Speaker

-
Choose the speaker you want to use from the drop-down menu

- You can click the Test Speaker button to hear the volume

- Under Microphone

-
Choose the microphone you want to use from the drop-down menu

- You can click the Test Mic button to hear the volume

- Under Speaker
While in a Zoom meeting
- From within a Zoom meeting
- Click the ^ beside the microphone

- Under Select a Microphone

-
Choose the microphone you want to use from the list

- There will be a check mark by the one Zoom is using
- Under Select a Speaker

-
Choose the speakers you want to use from the list

- There will be a check mark by the one Zoom is using
- Under Select a Microphone
- Click the ^ beside the camera

- Under Select a Camera

- Choose the camera you want to use from the list
- There will be a check mark by the one Zoom is using
- Under Select a Camera
Waiting Room
Waiting Room in Zoom
The Waiting Room feature allows the host to control when a participant joins the meeting. As the meeting host, you can admit attendees one by one, or hold all attendees in the Waiting Room and admit them all at once. You can send all participants to the Waiting Room when joining your meeting, or you can allow participants from your Zoom account and participants at specified domains to bypass the Waiting Room.
Enabling or disabling Waiting Room during a meeting
- As the meeting host, click Participants.

- Click More and choose Enable Waiting Room to enable or disable the feature.

Admitting participants
- As the meeting host, click Manage Participants.

- Click Admit to have the participant join the meeting.

Waiting Room Participants View in Zoom
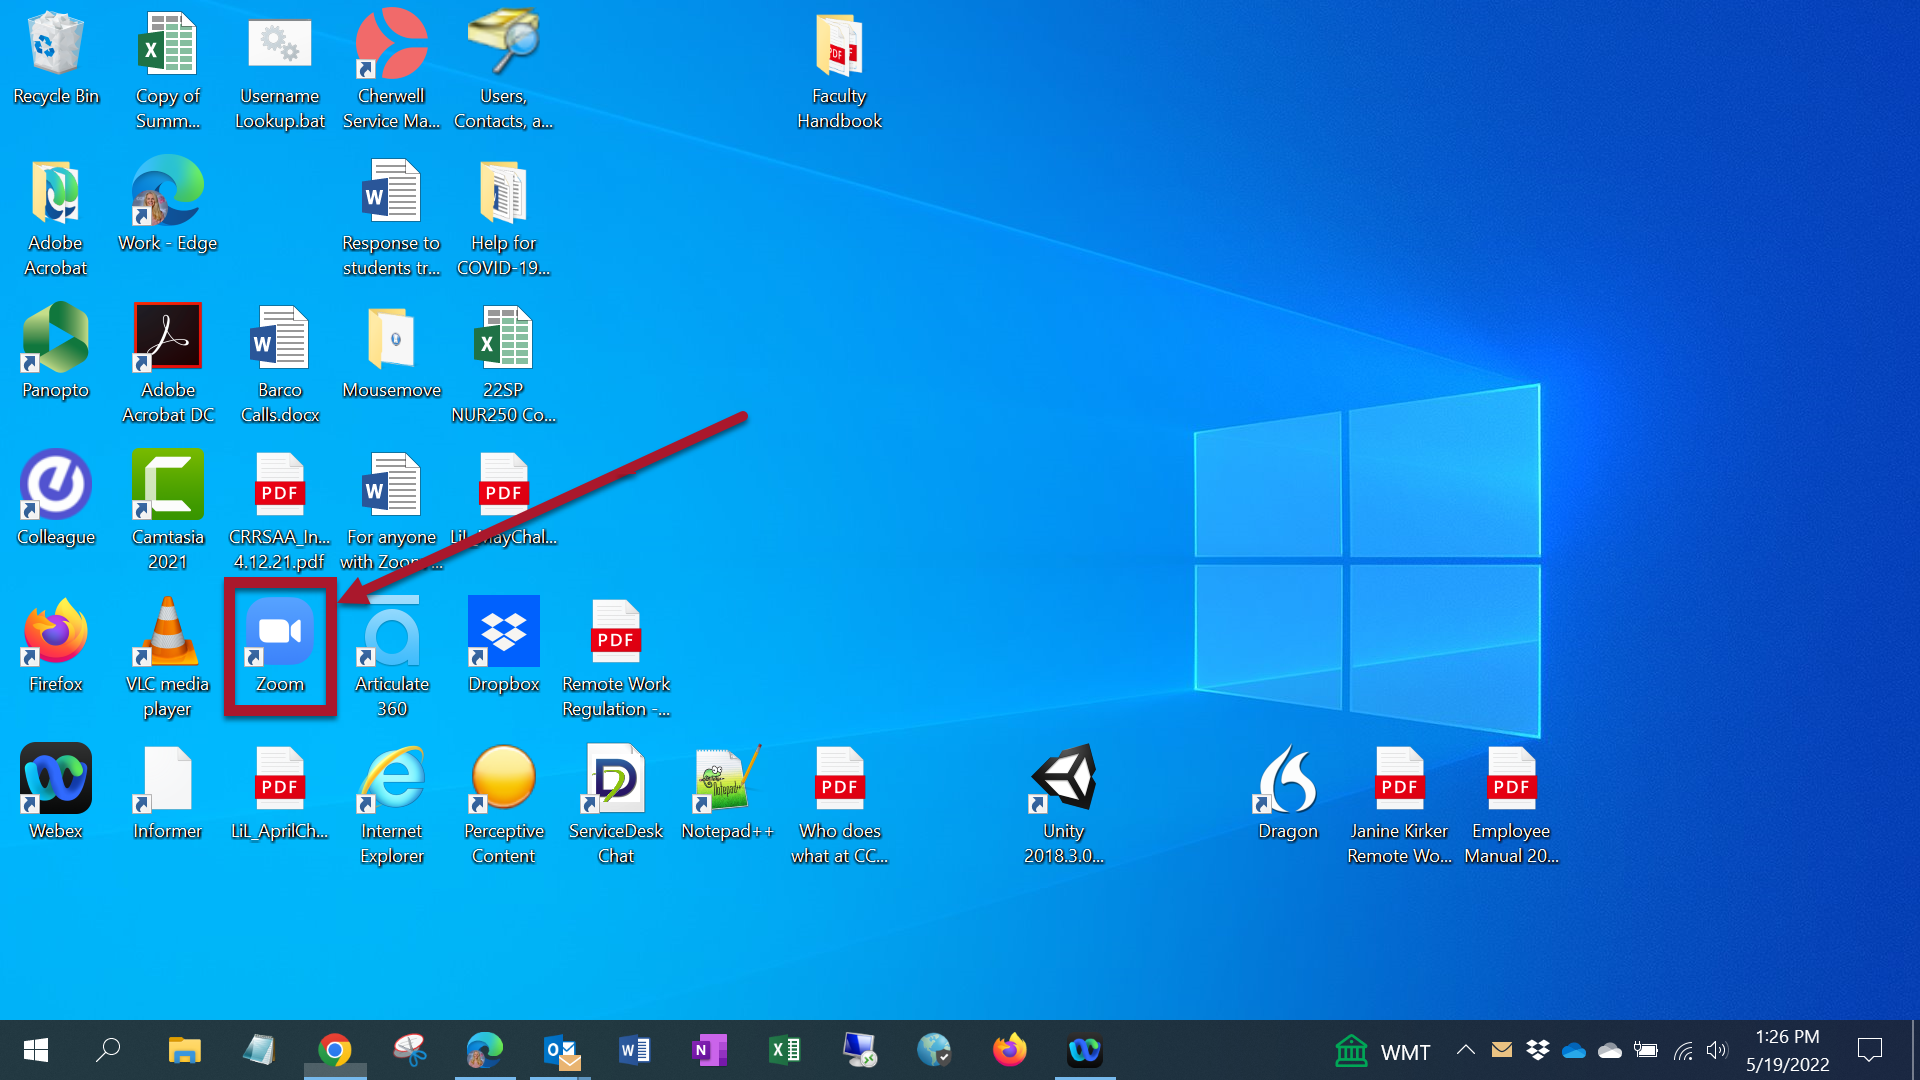
- Click on the Zoom icon on your desktop
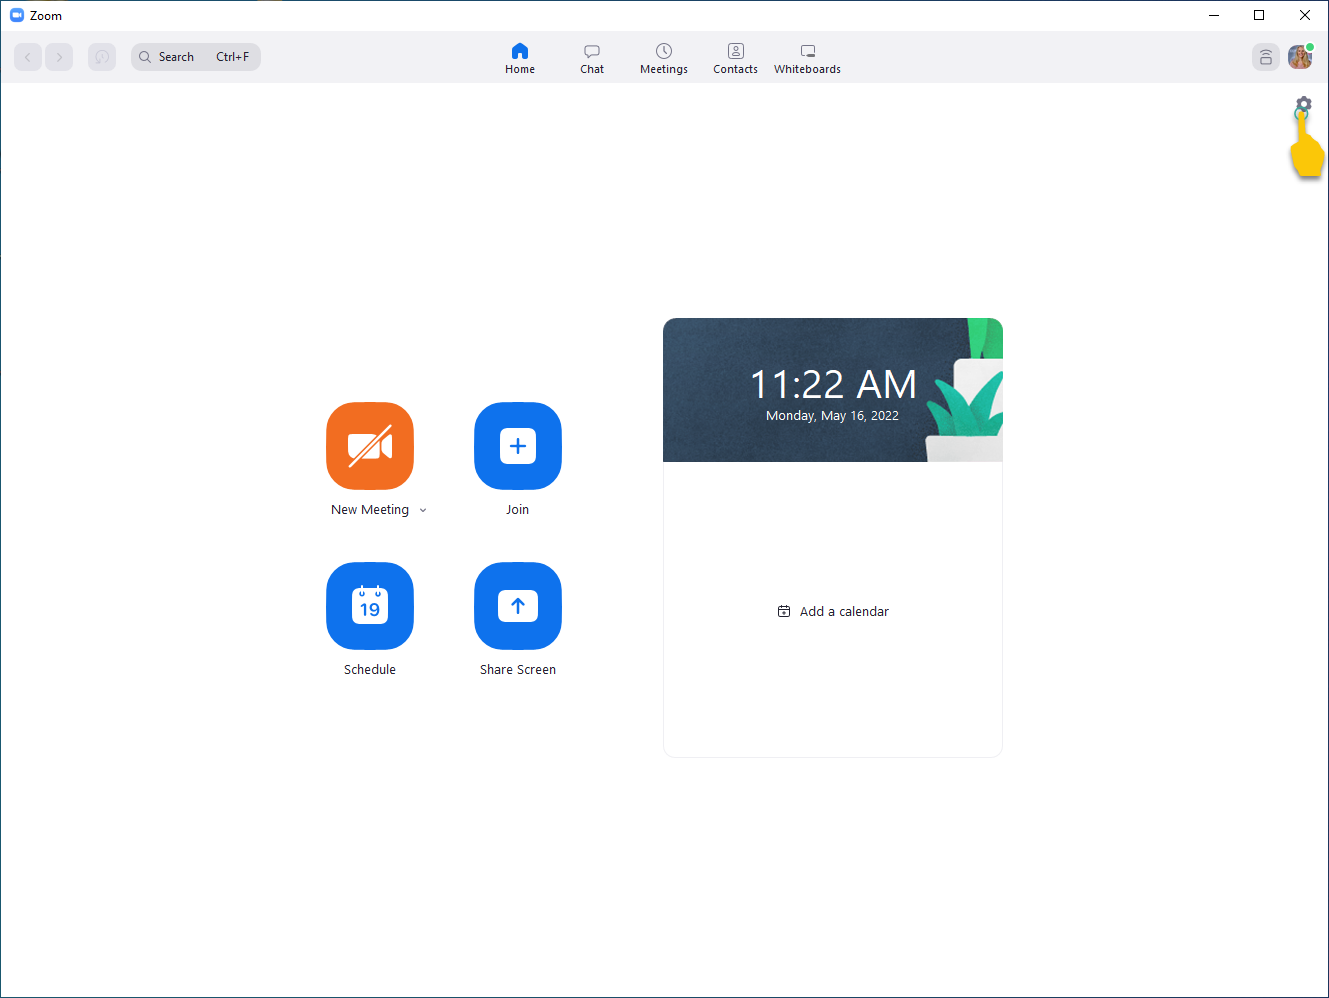
- Click on the Settings Gear
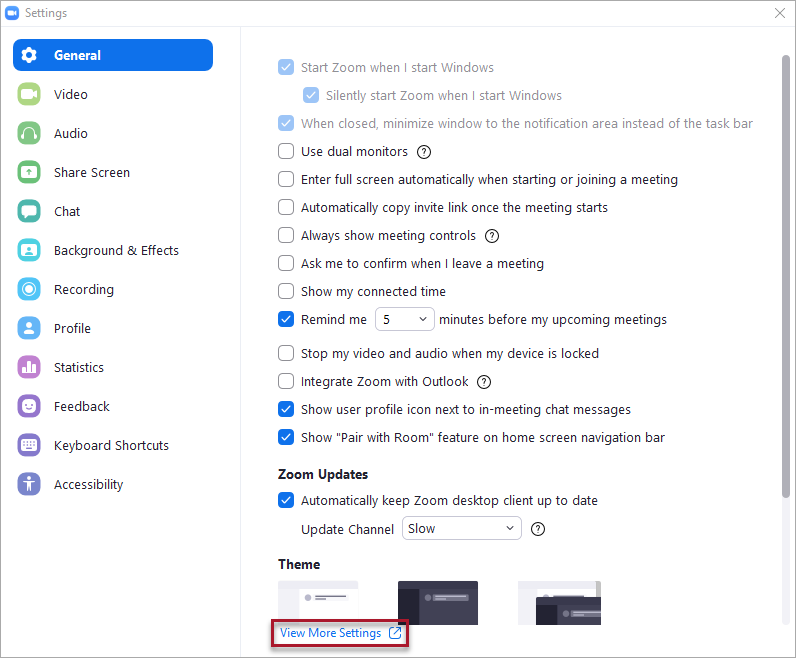
- On the General tab, go to the bottom of the screen and click on View More Settings
- Sign in using the SSO page

- This will bring you into the Settings tab in the web portal.
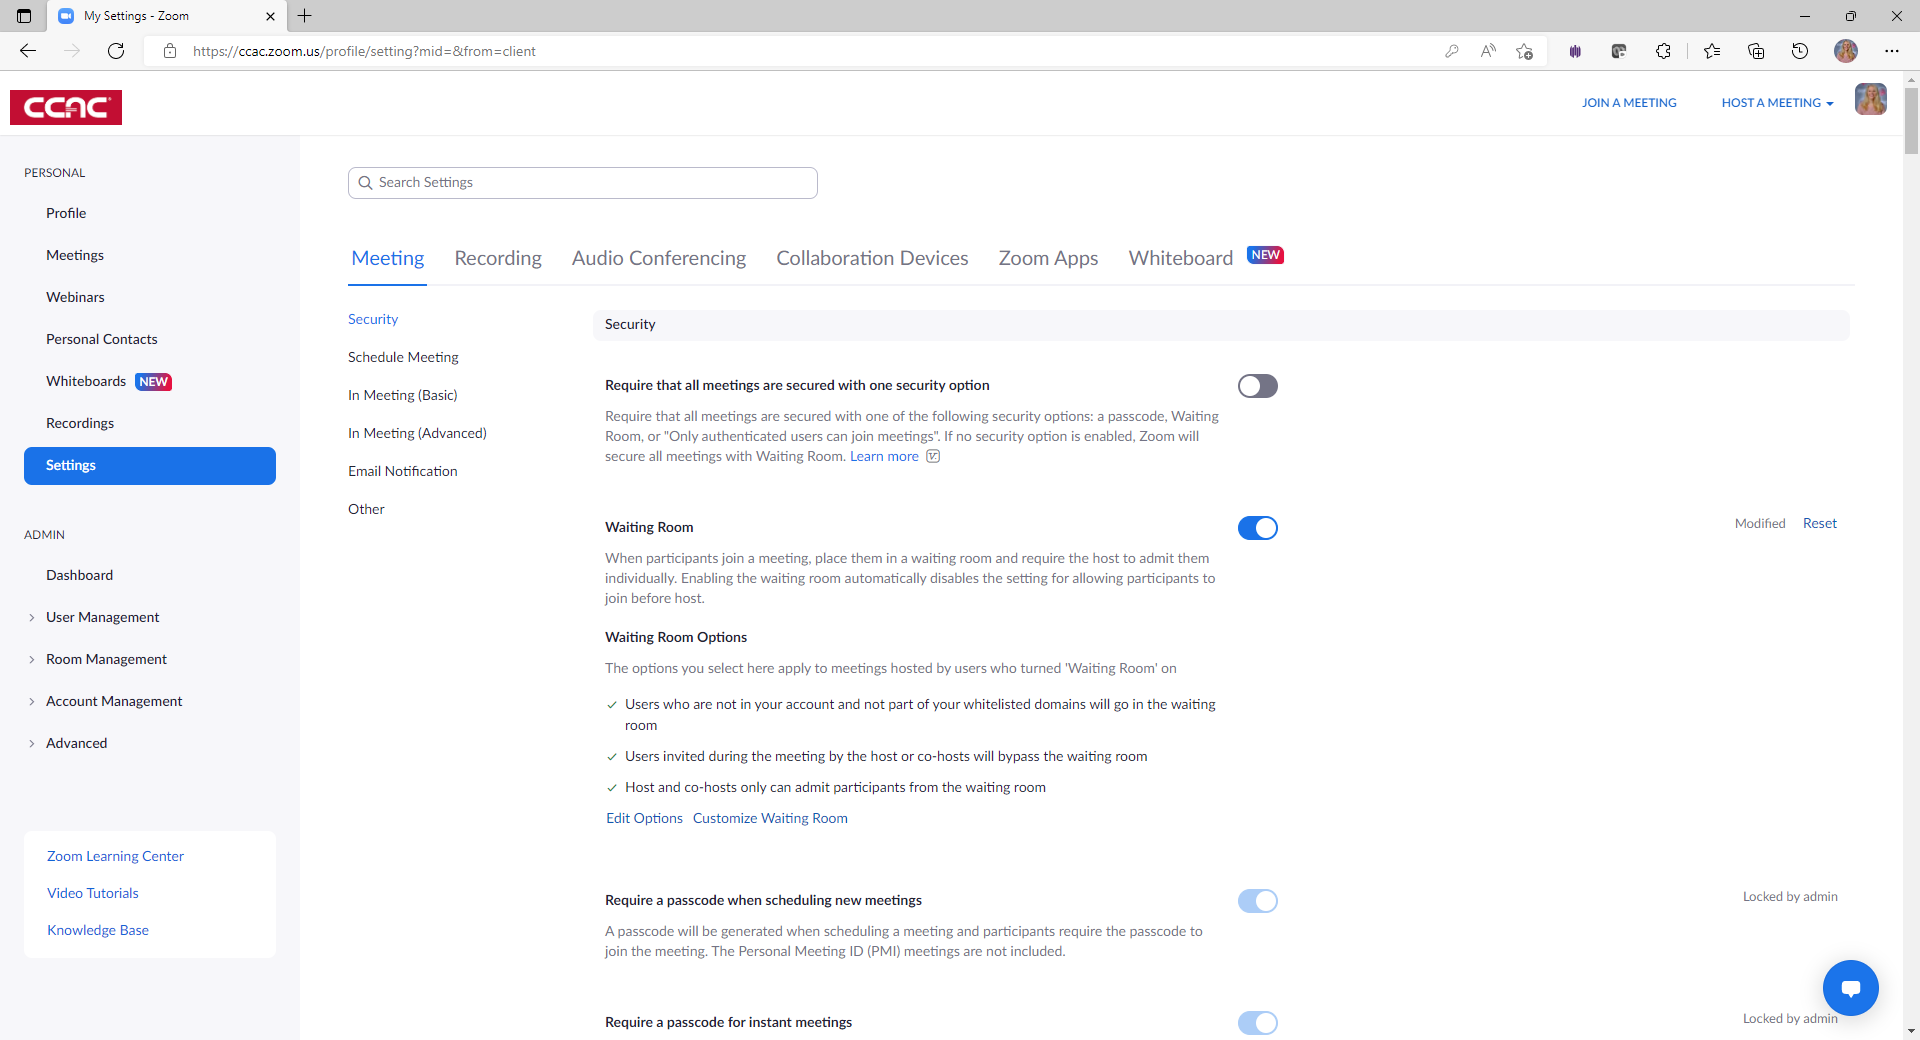
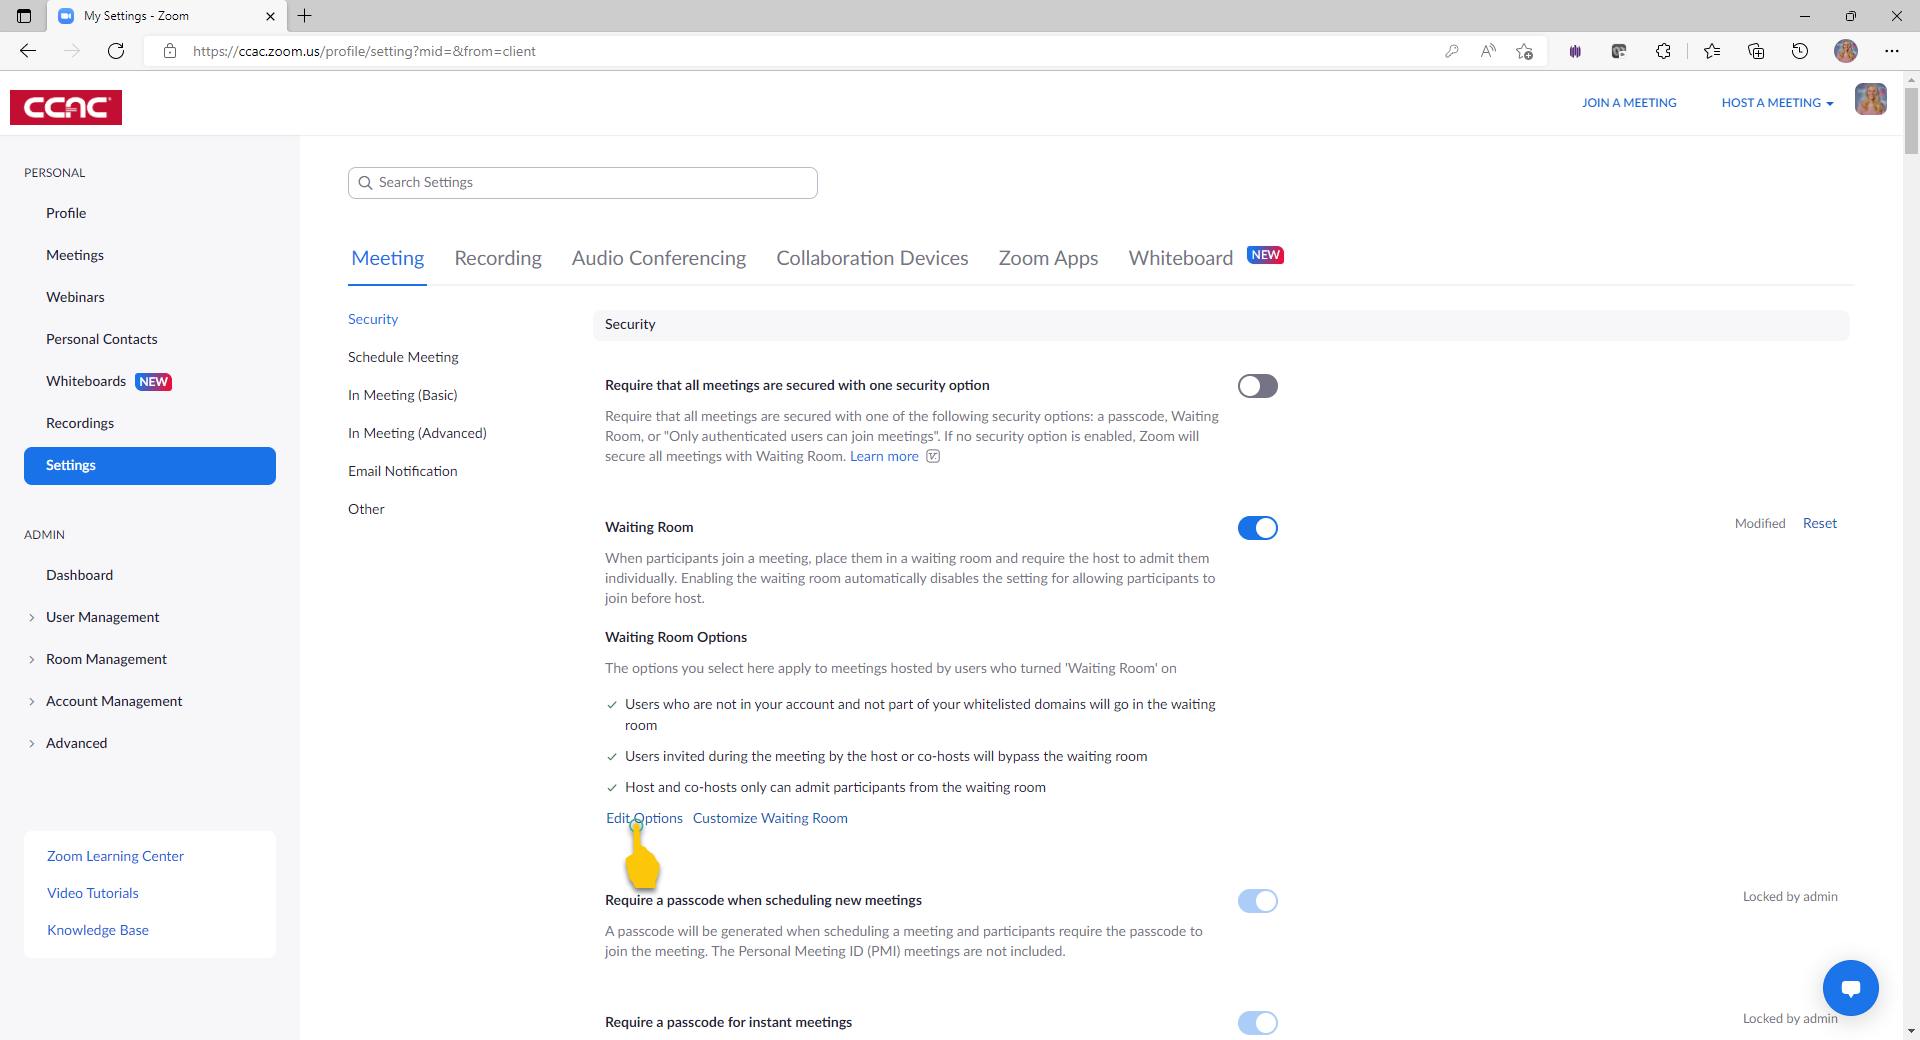
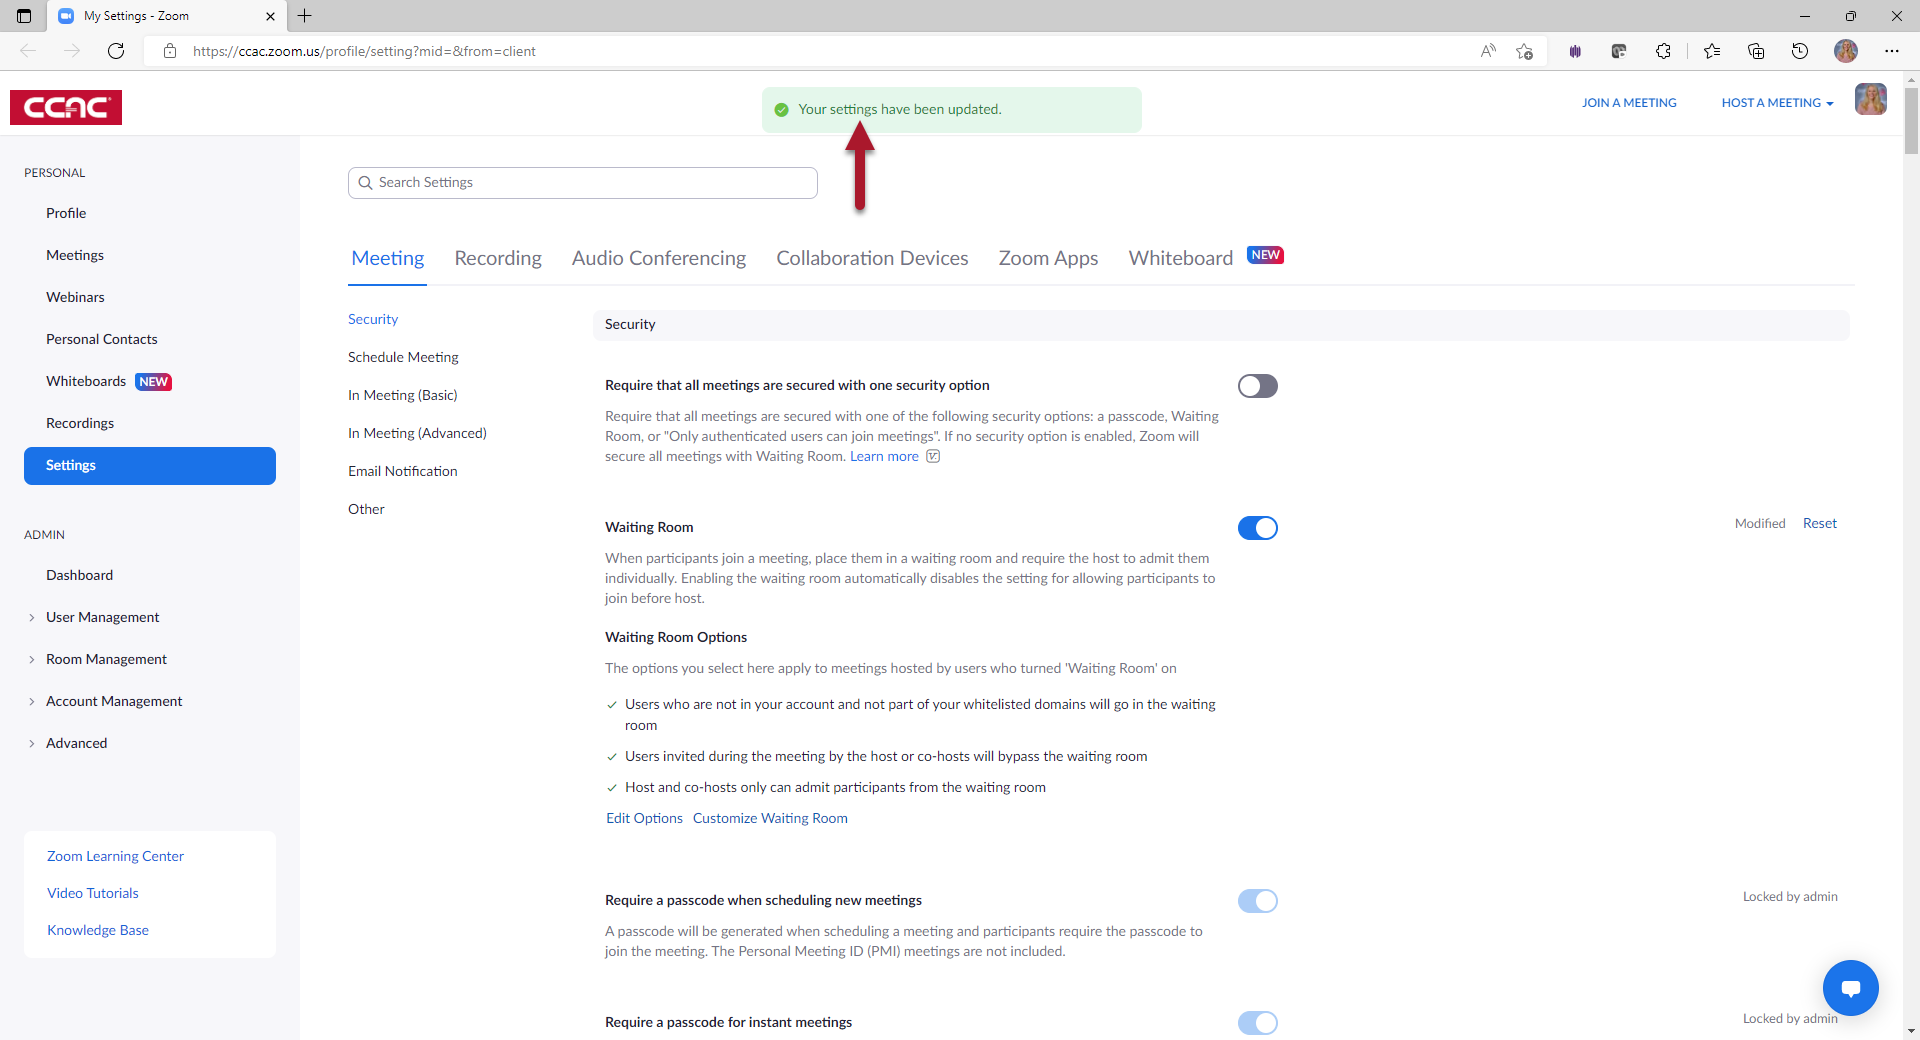
- Under the Waiting Room Options section click on Edit Options
- Choose if you want to sort participants in the waiting room by the order in which they joined or alphabetically
-
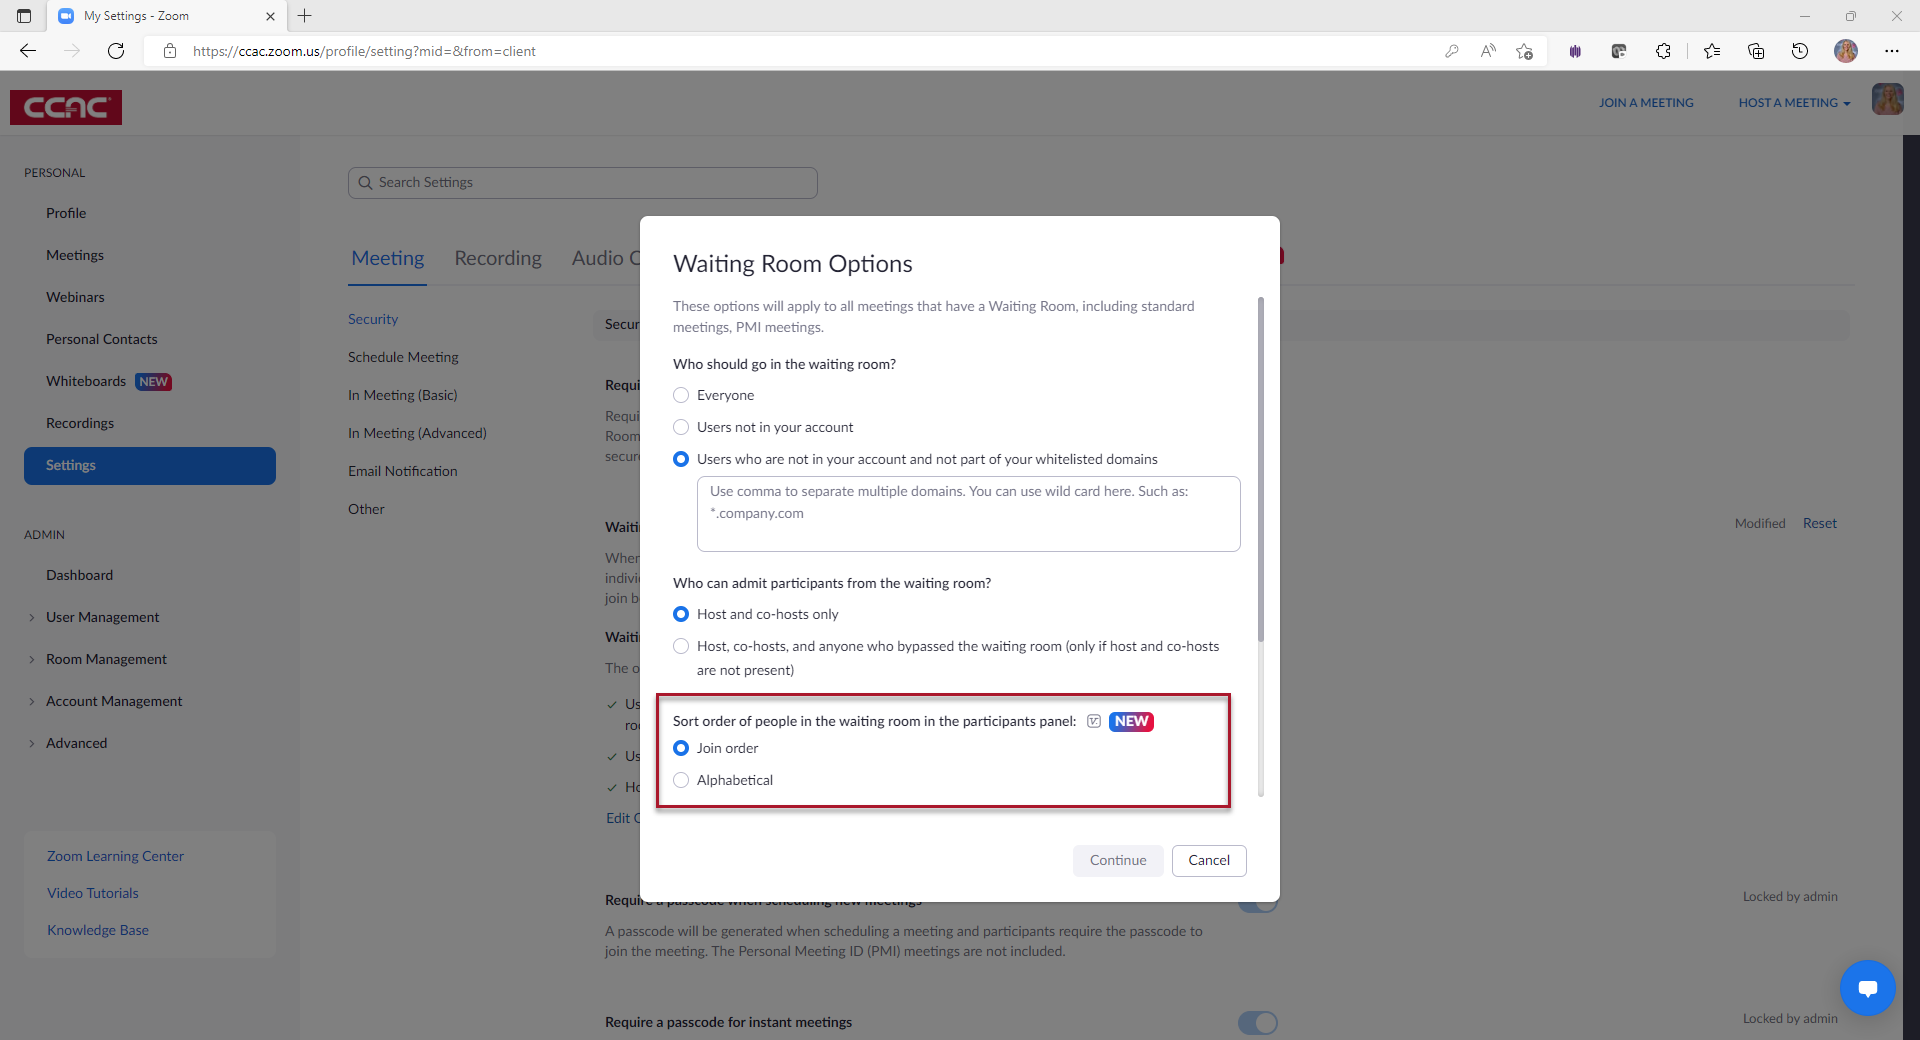 Click Continue
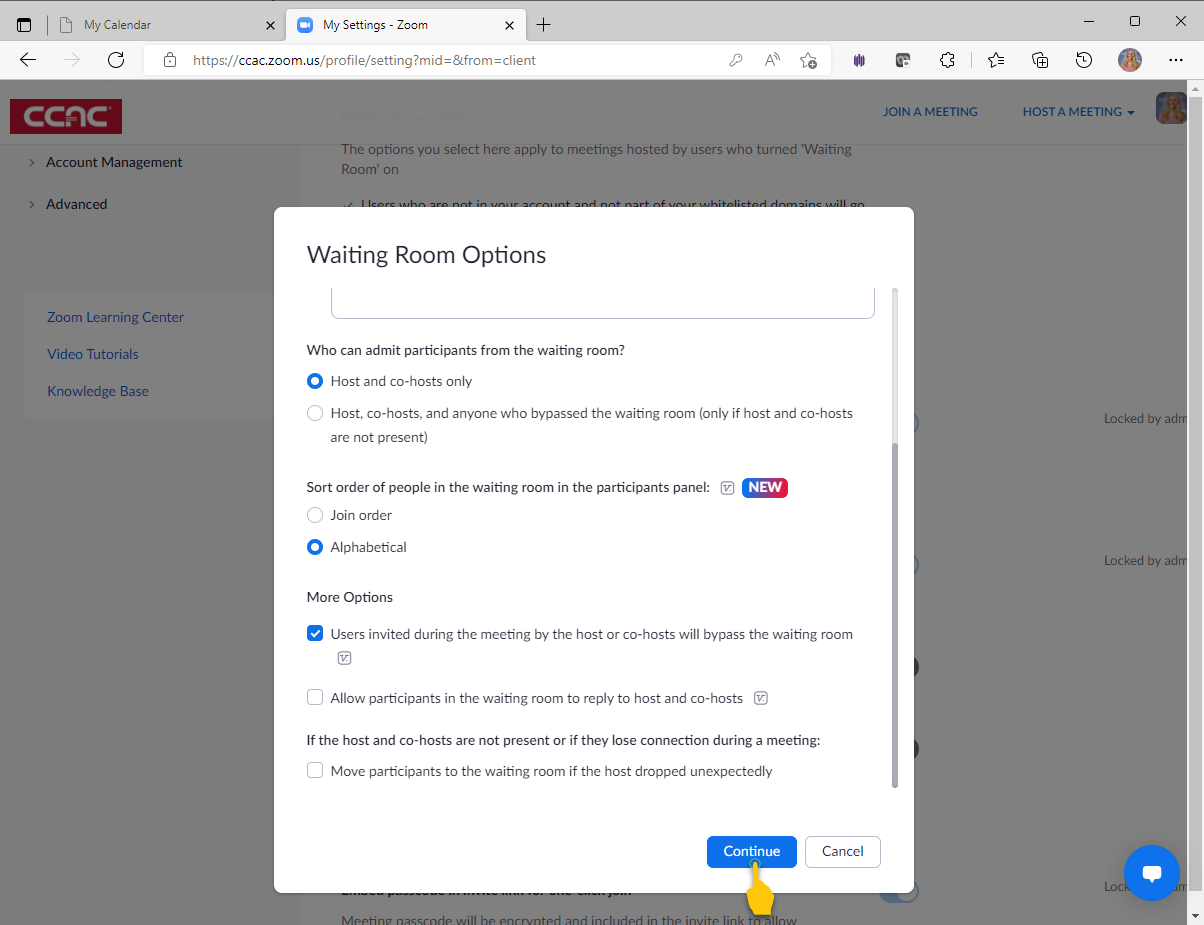
- You will receive a message stating the your settings have been updated
- You can then close out of the window.